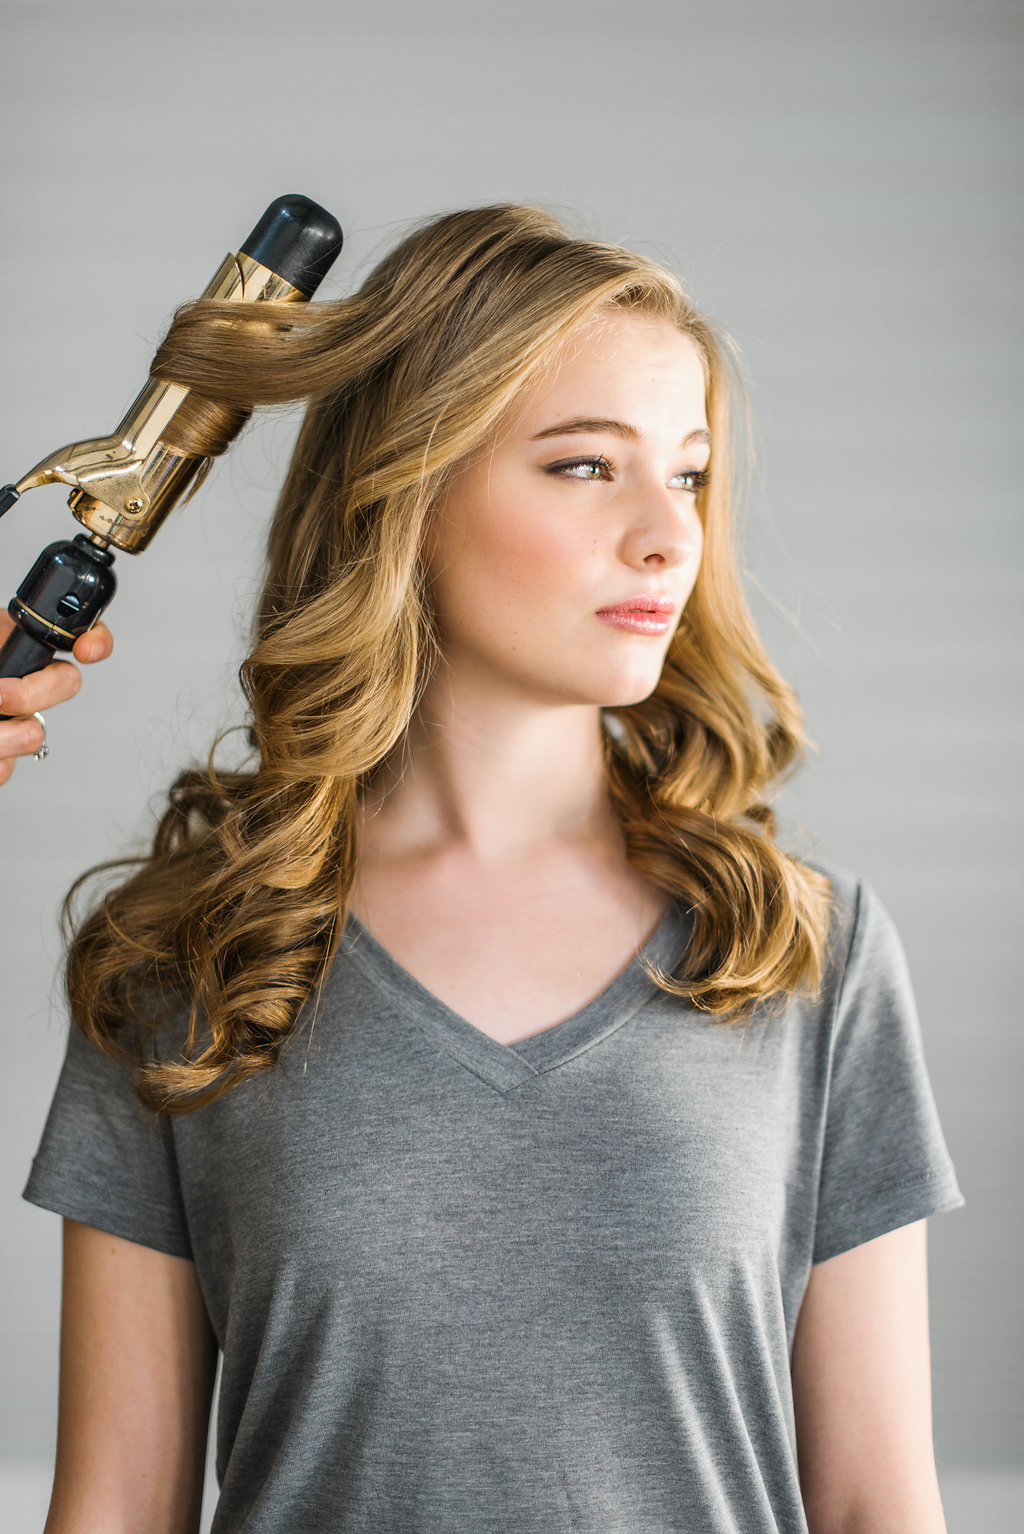
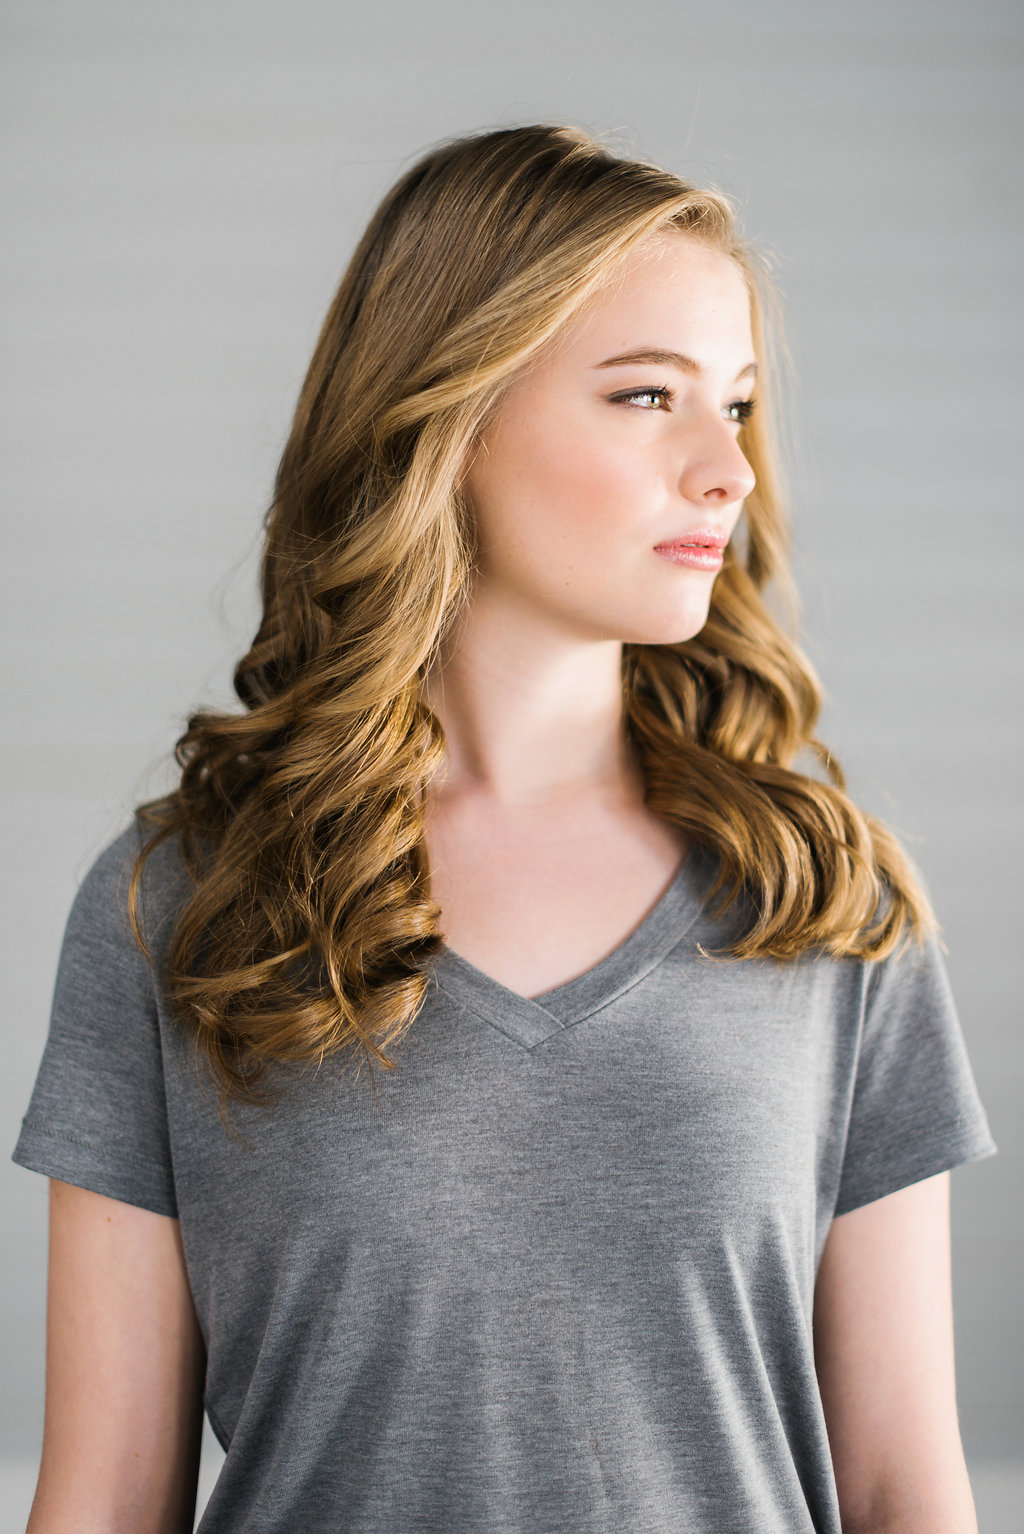
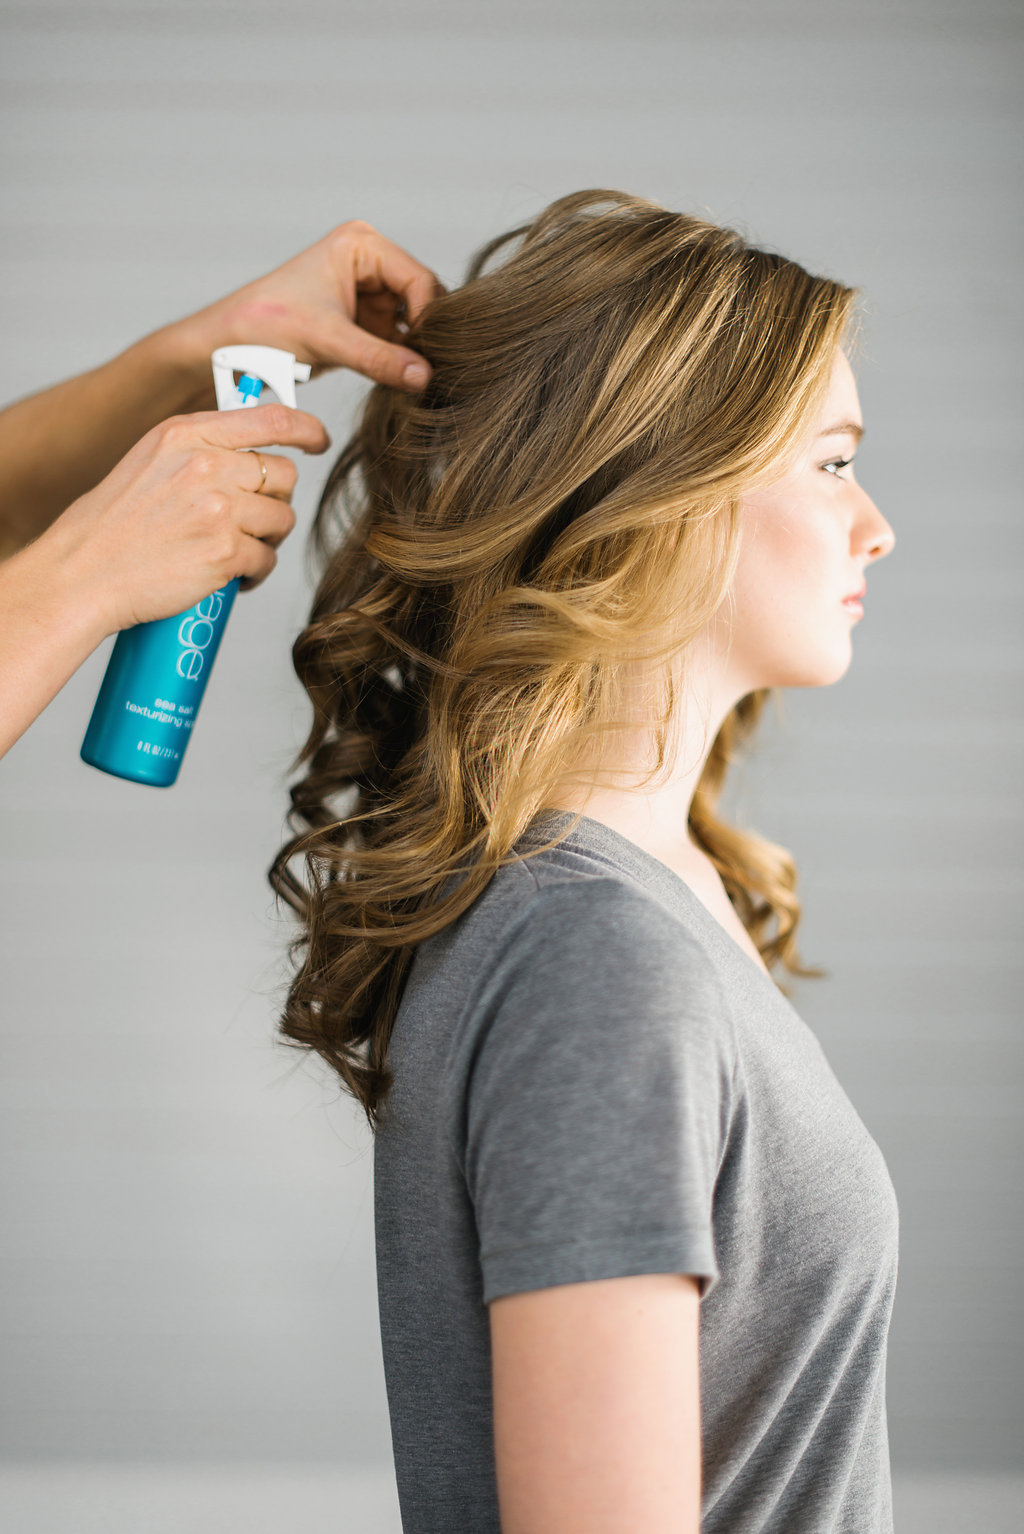
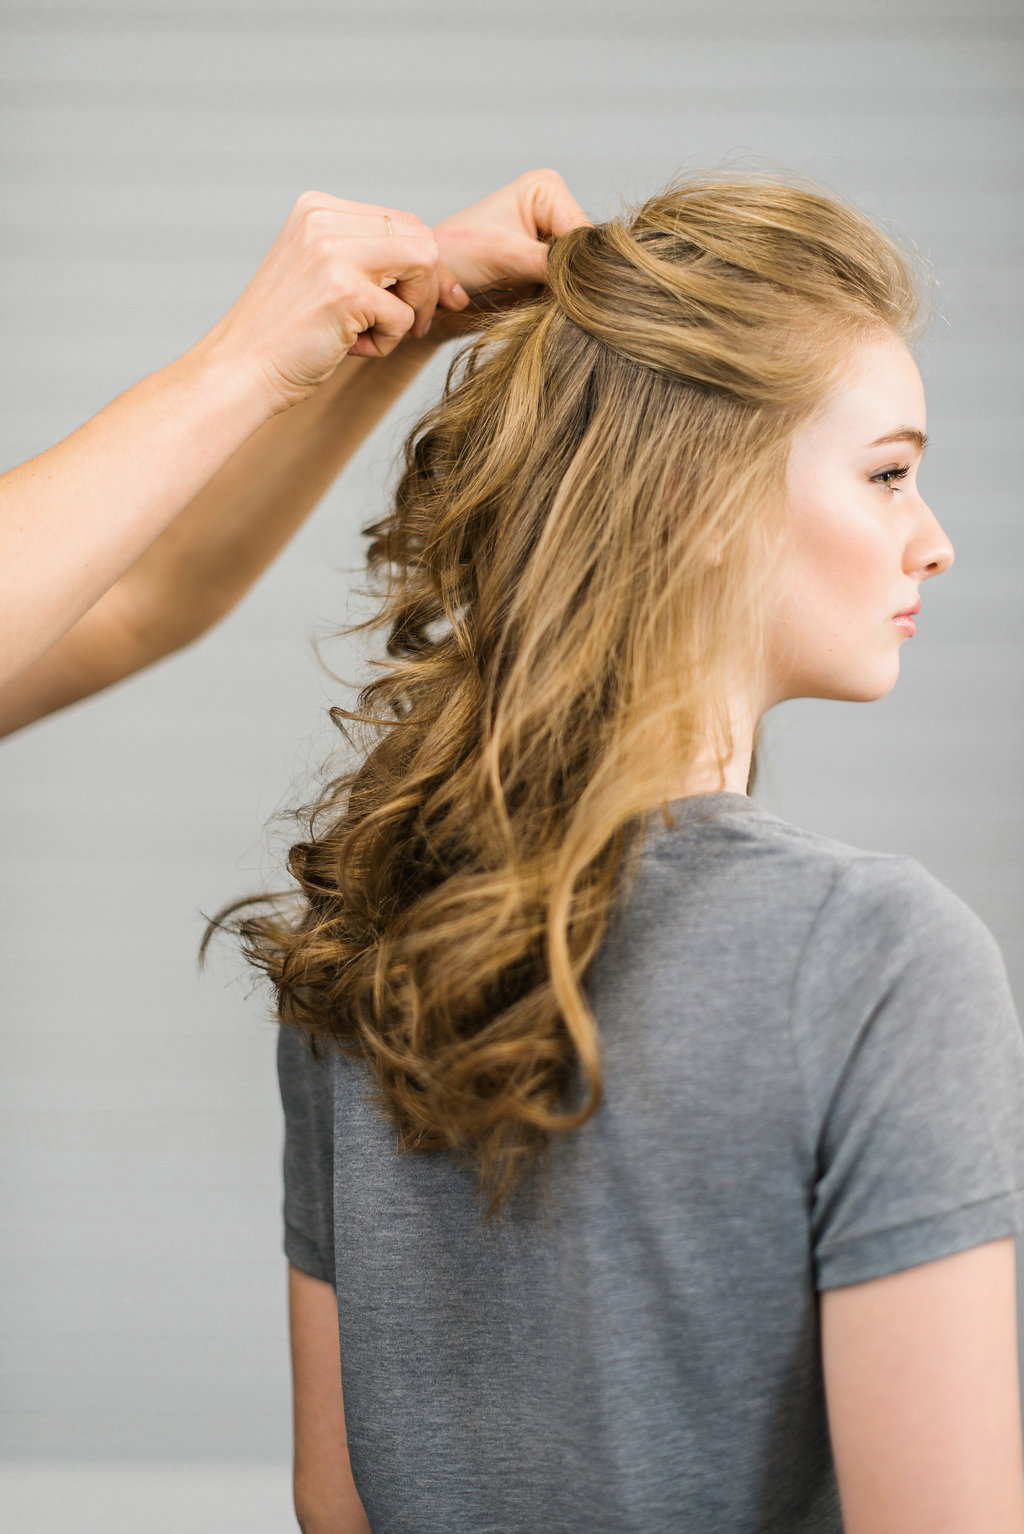
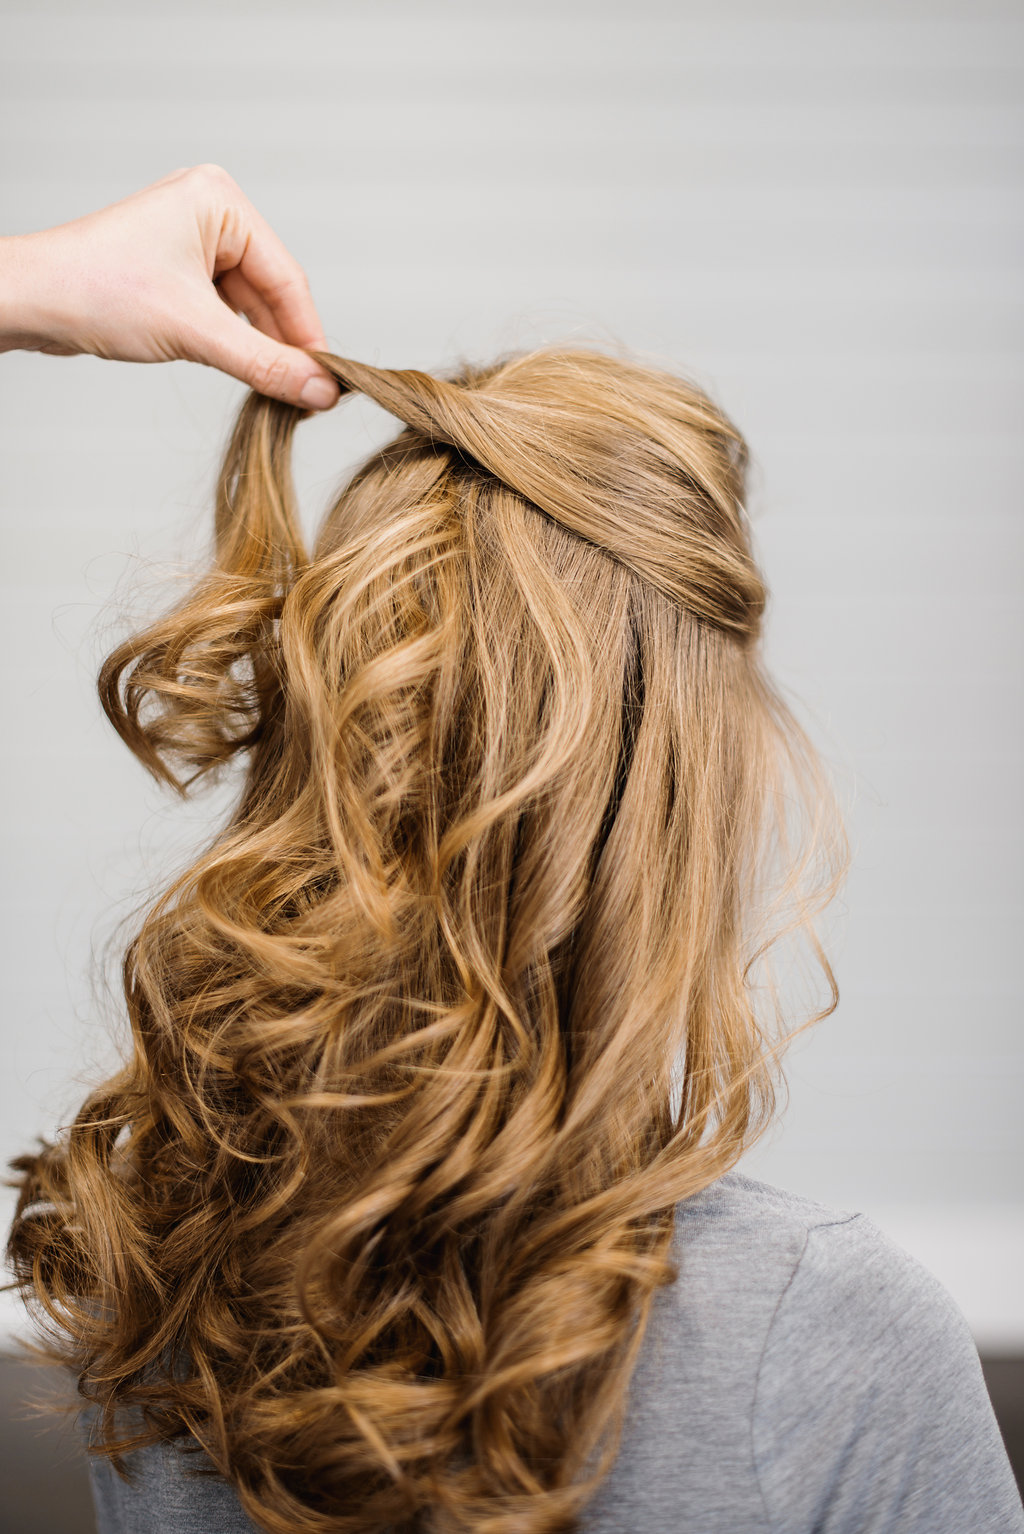
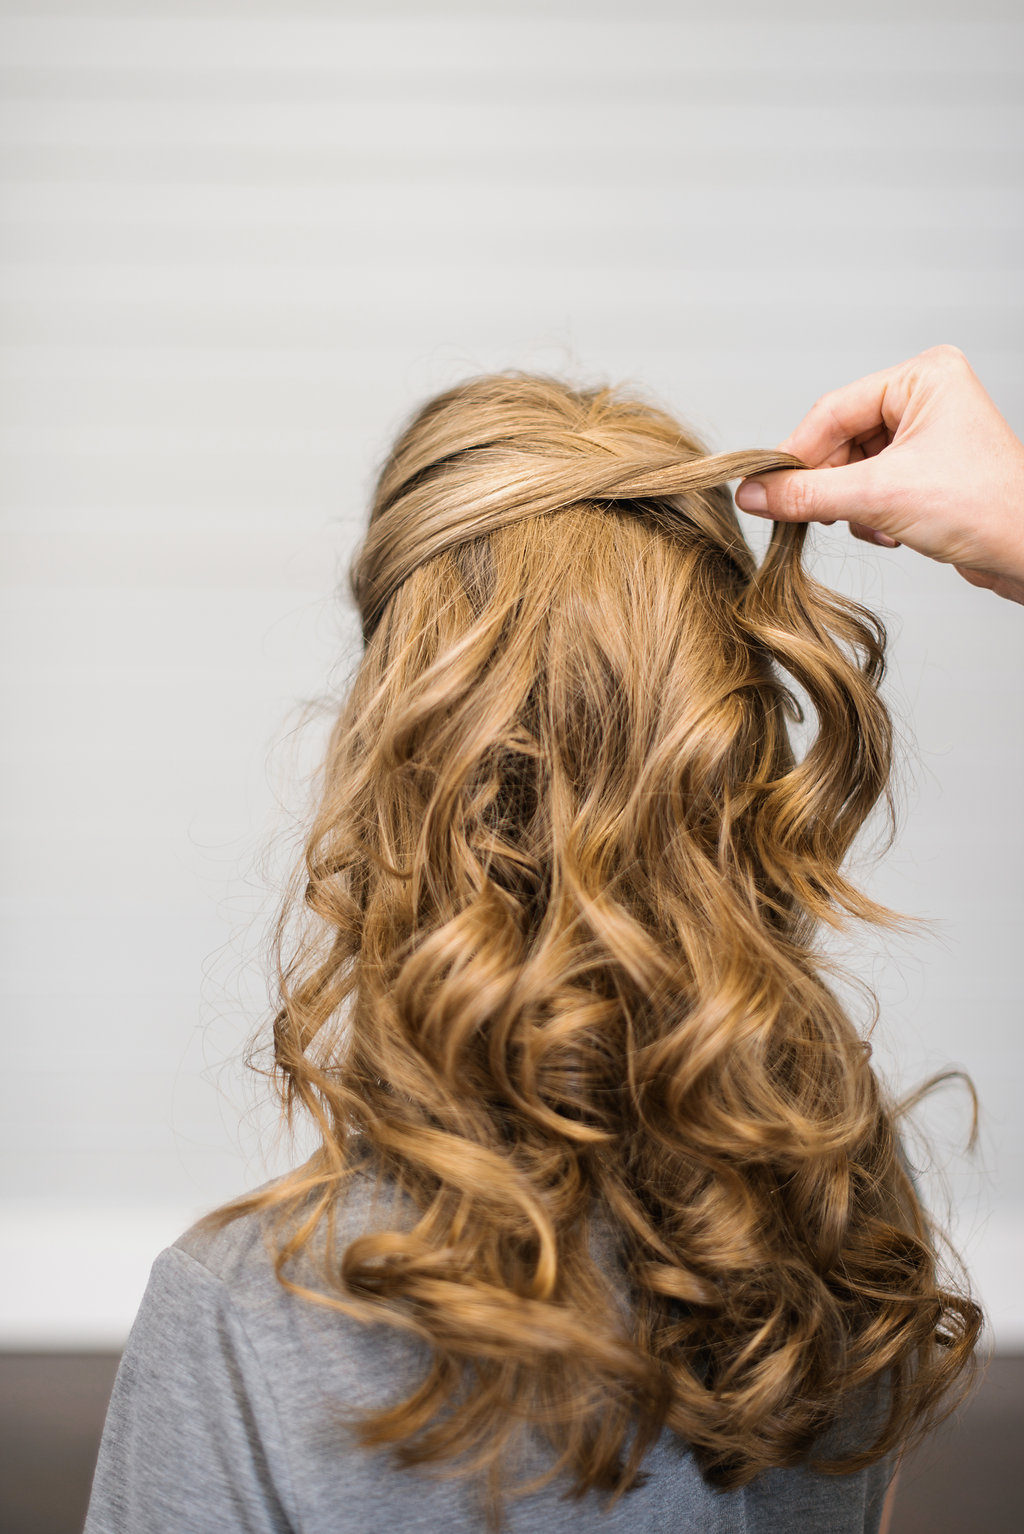
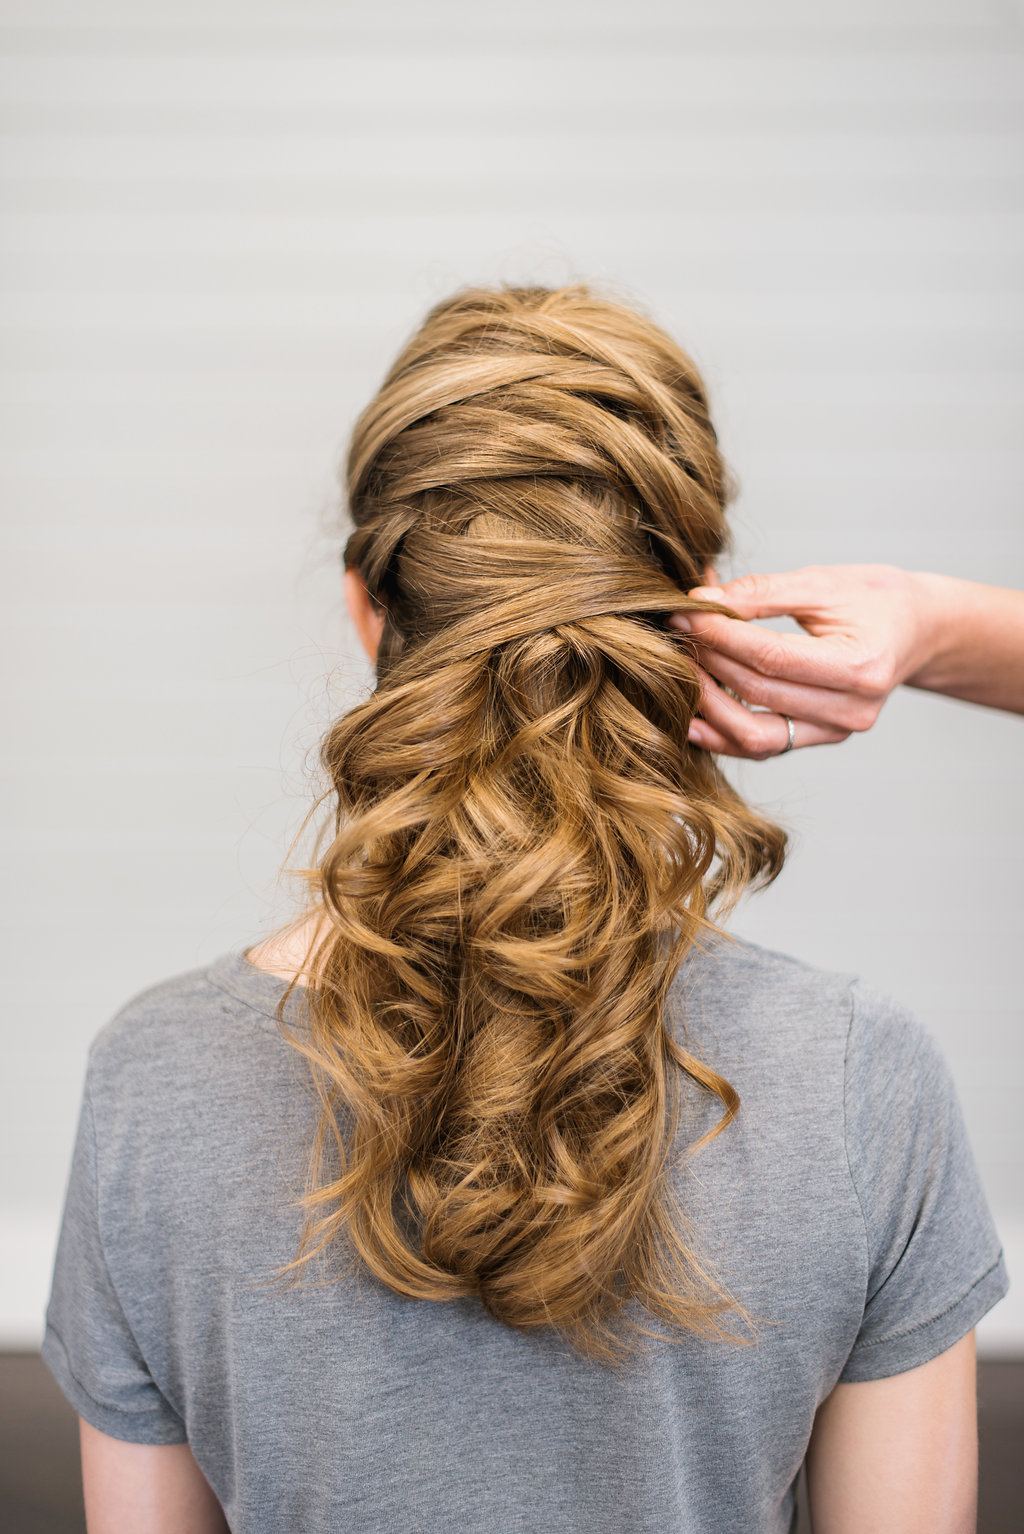
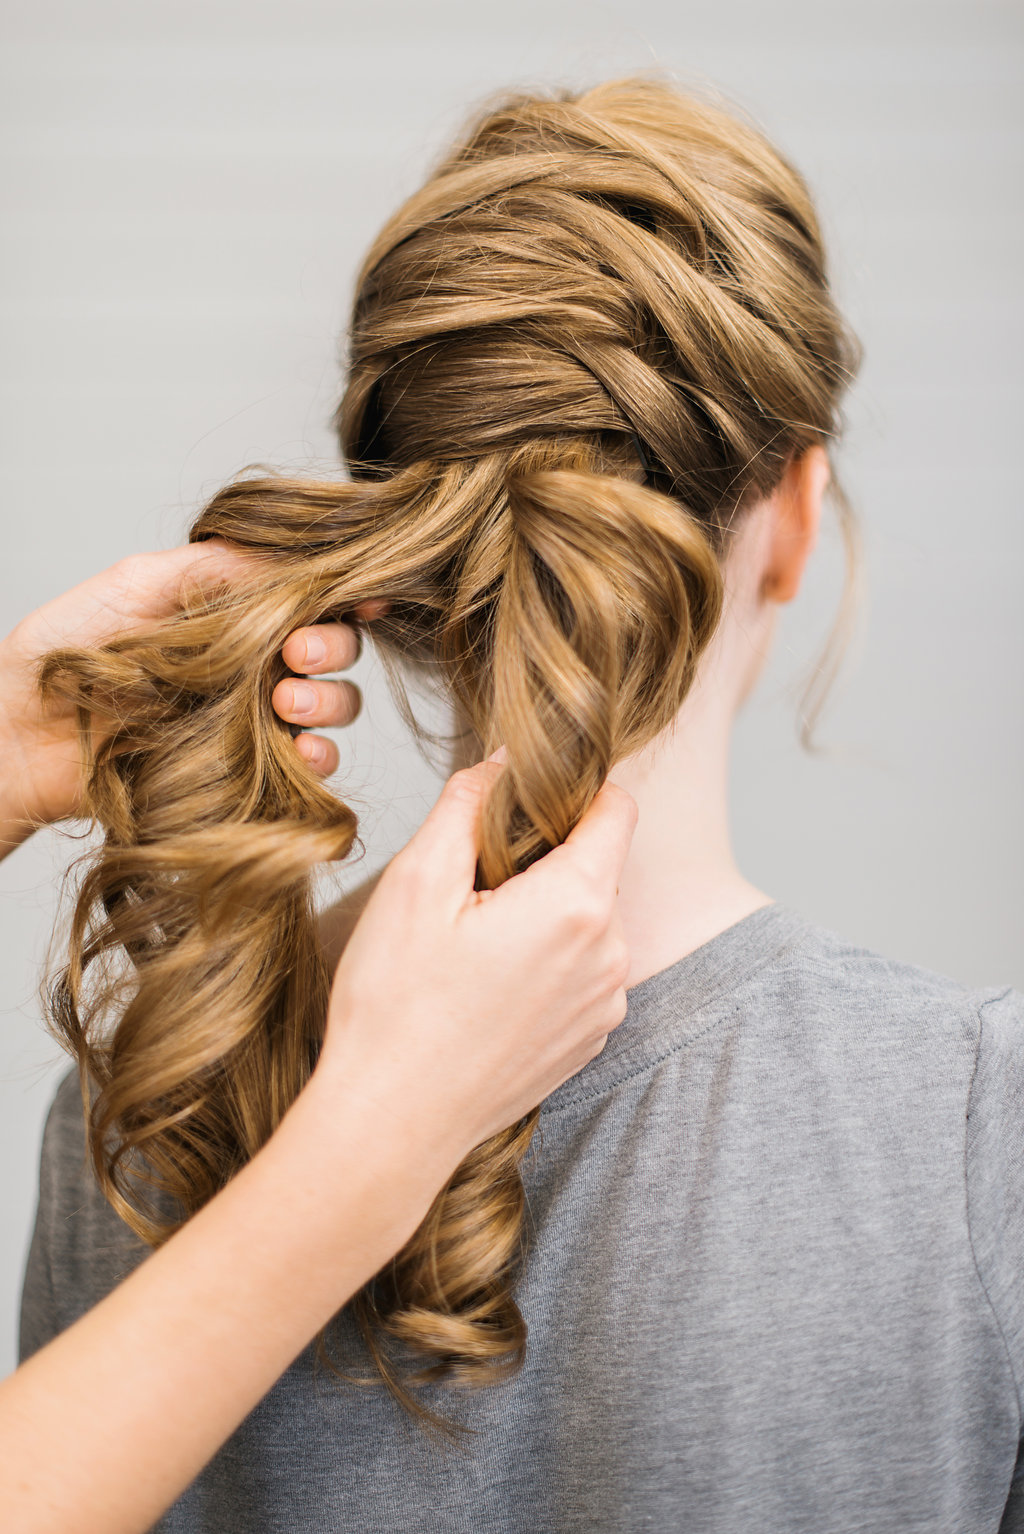
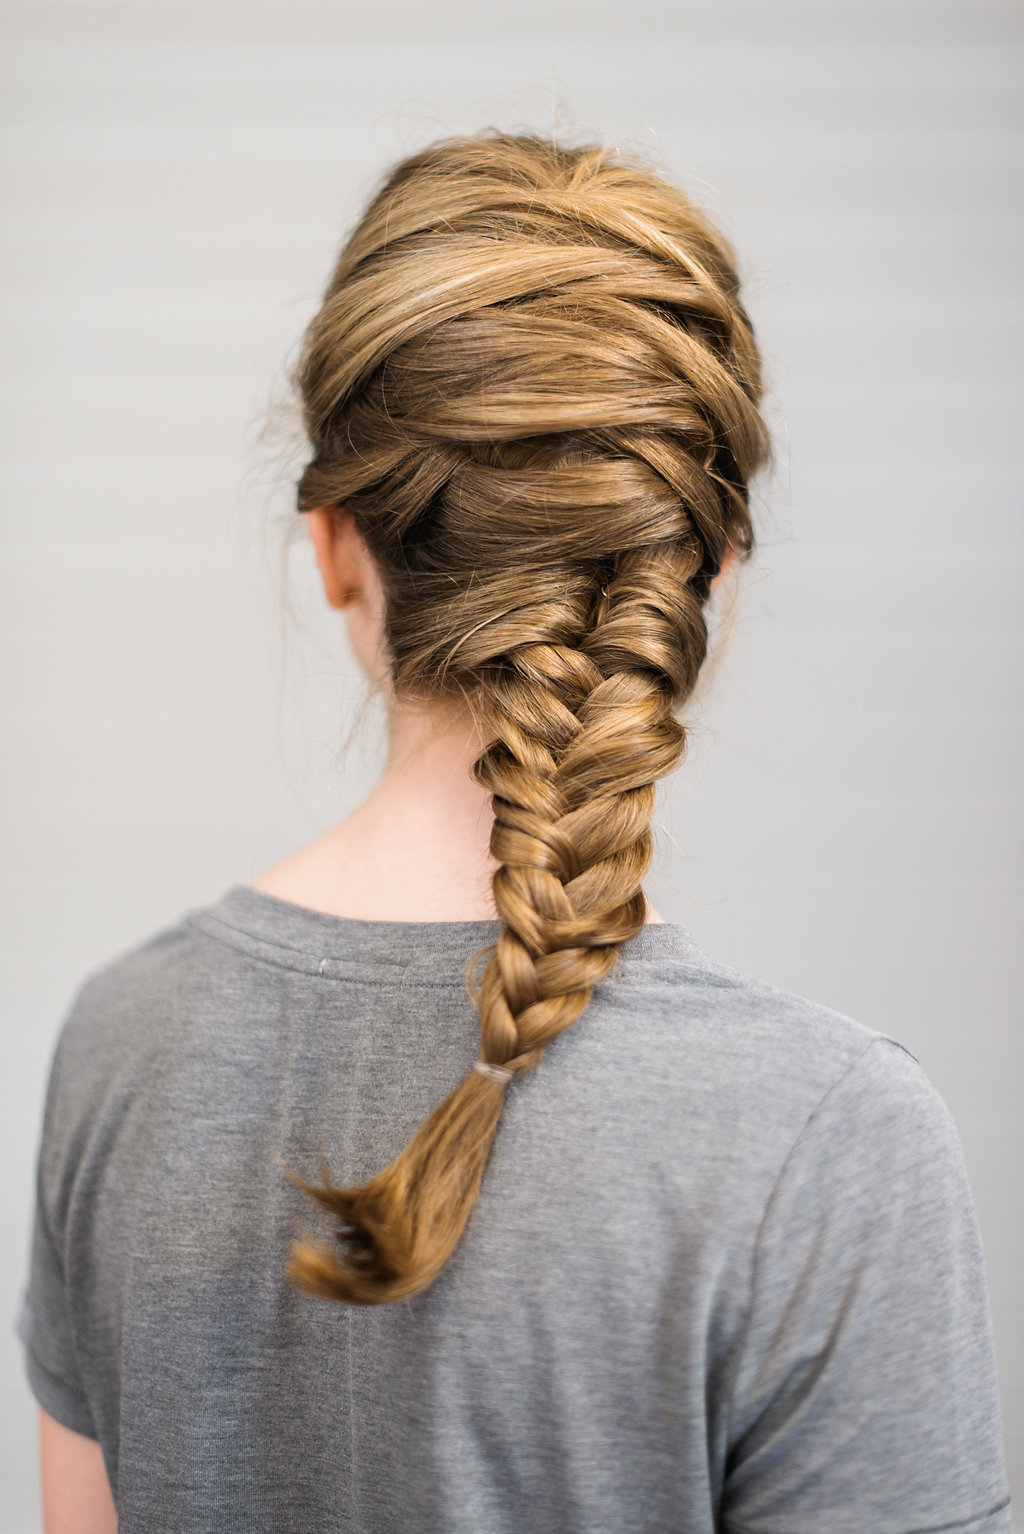
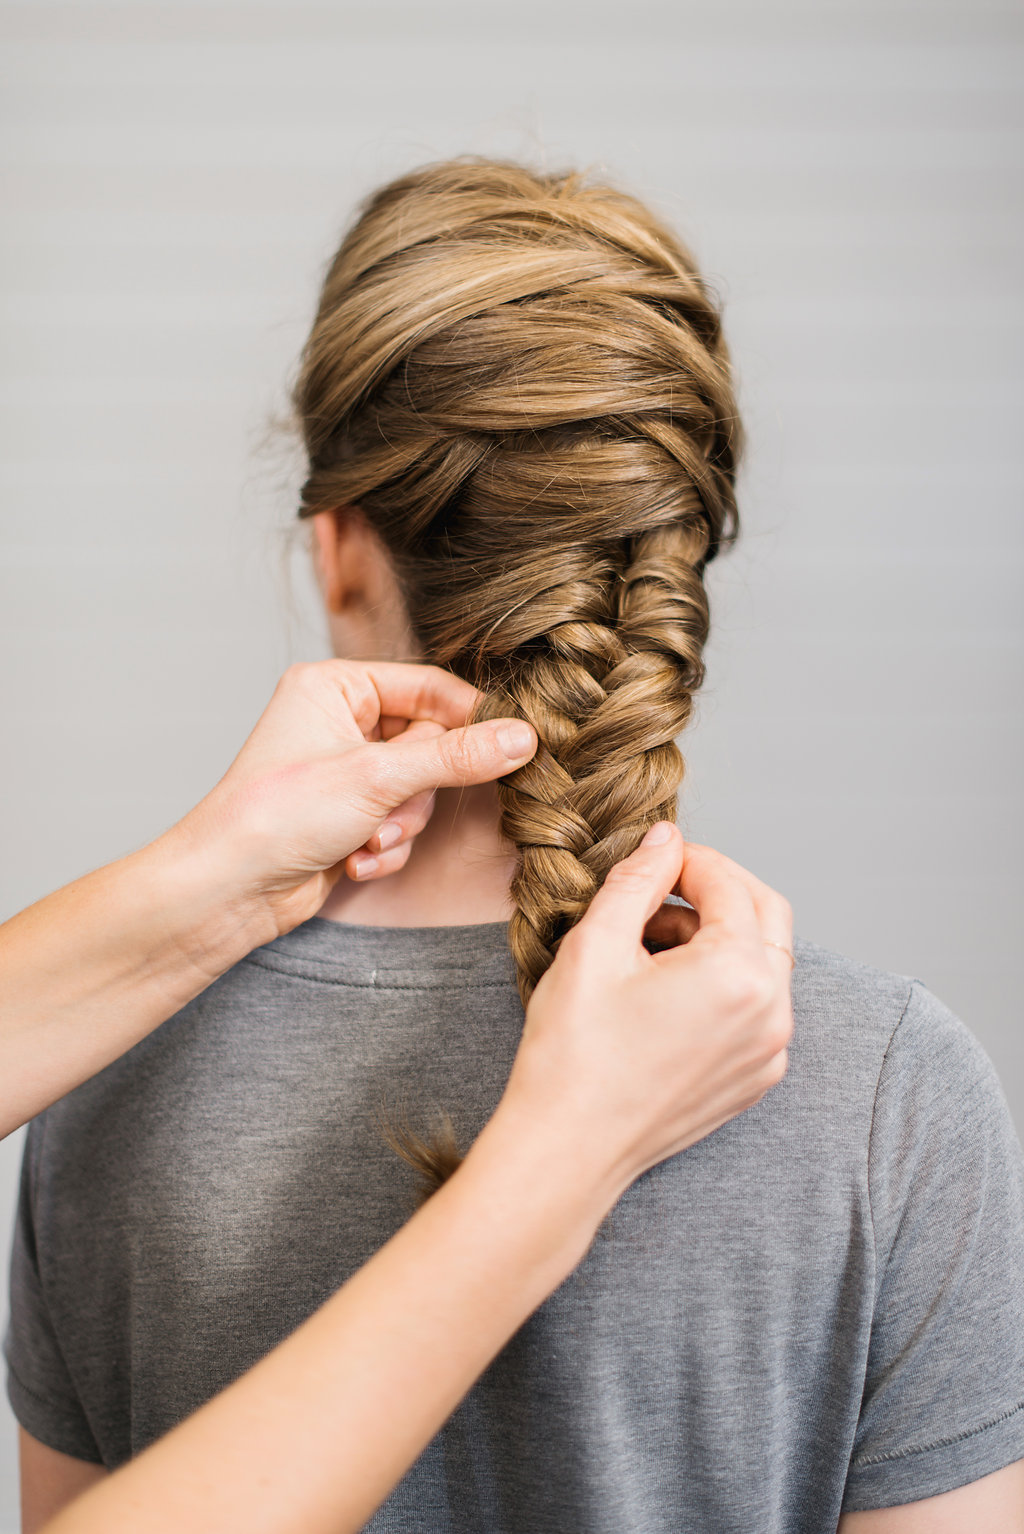
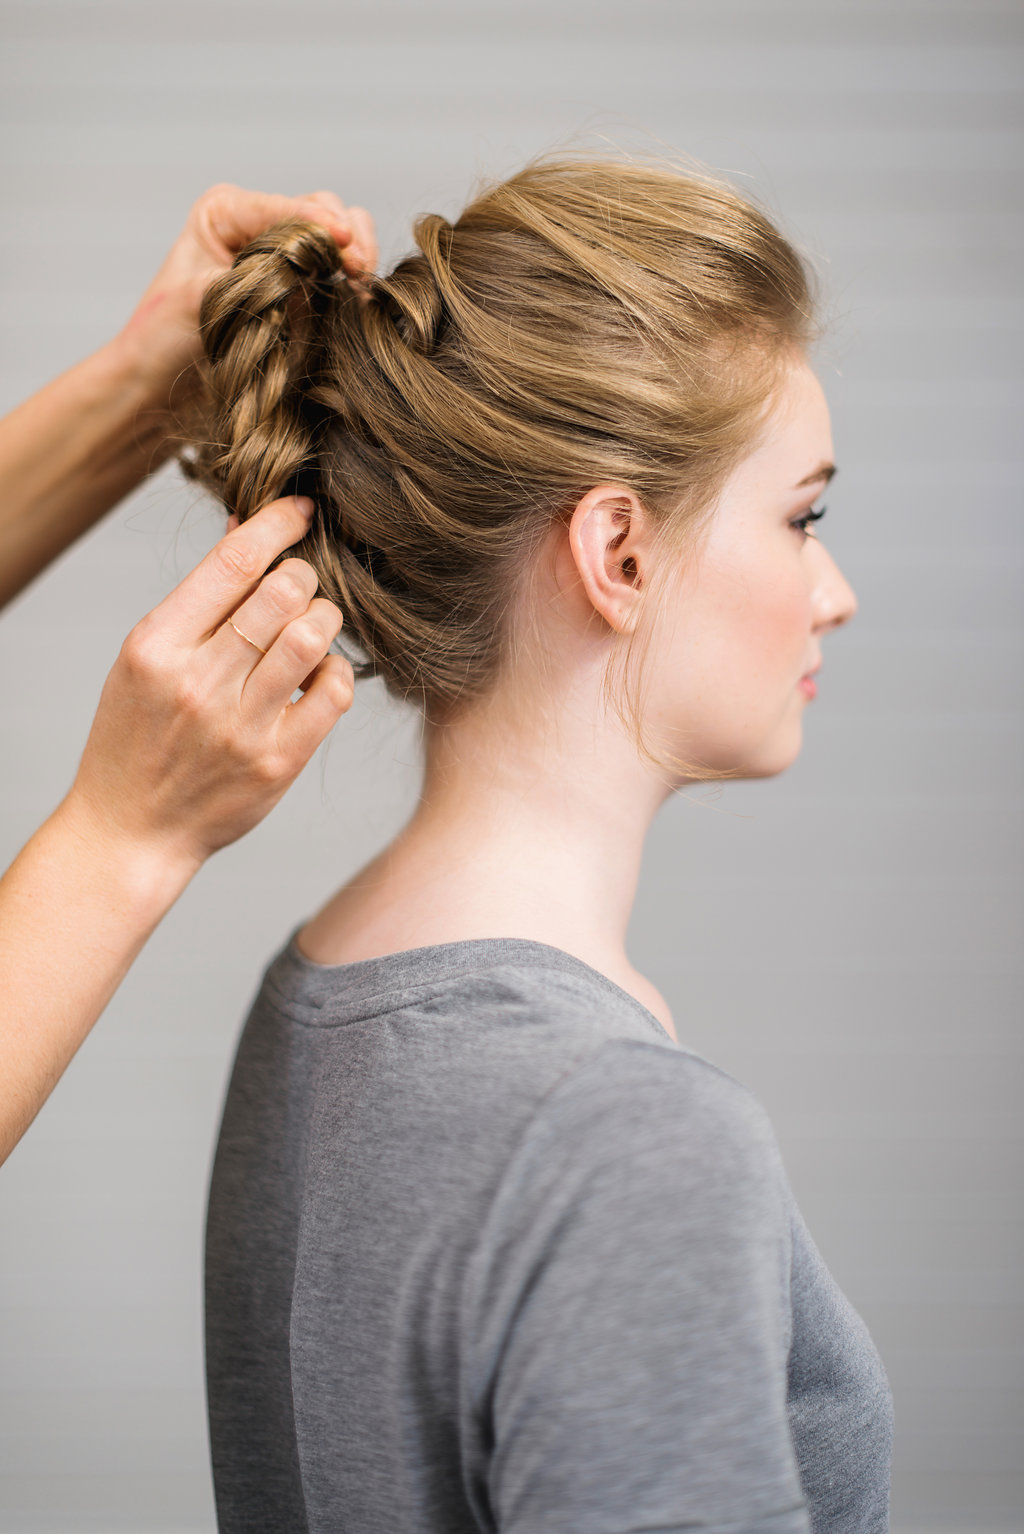
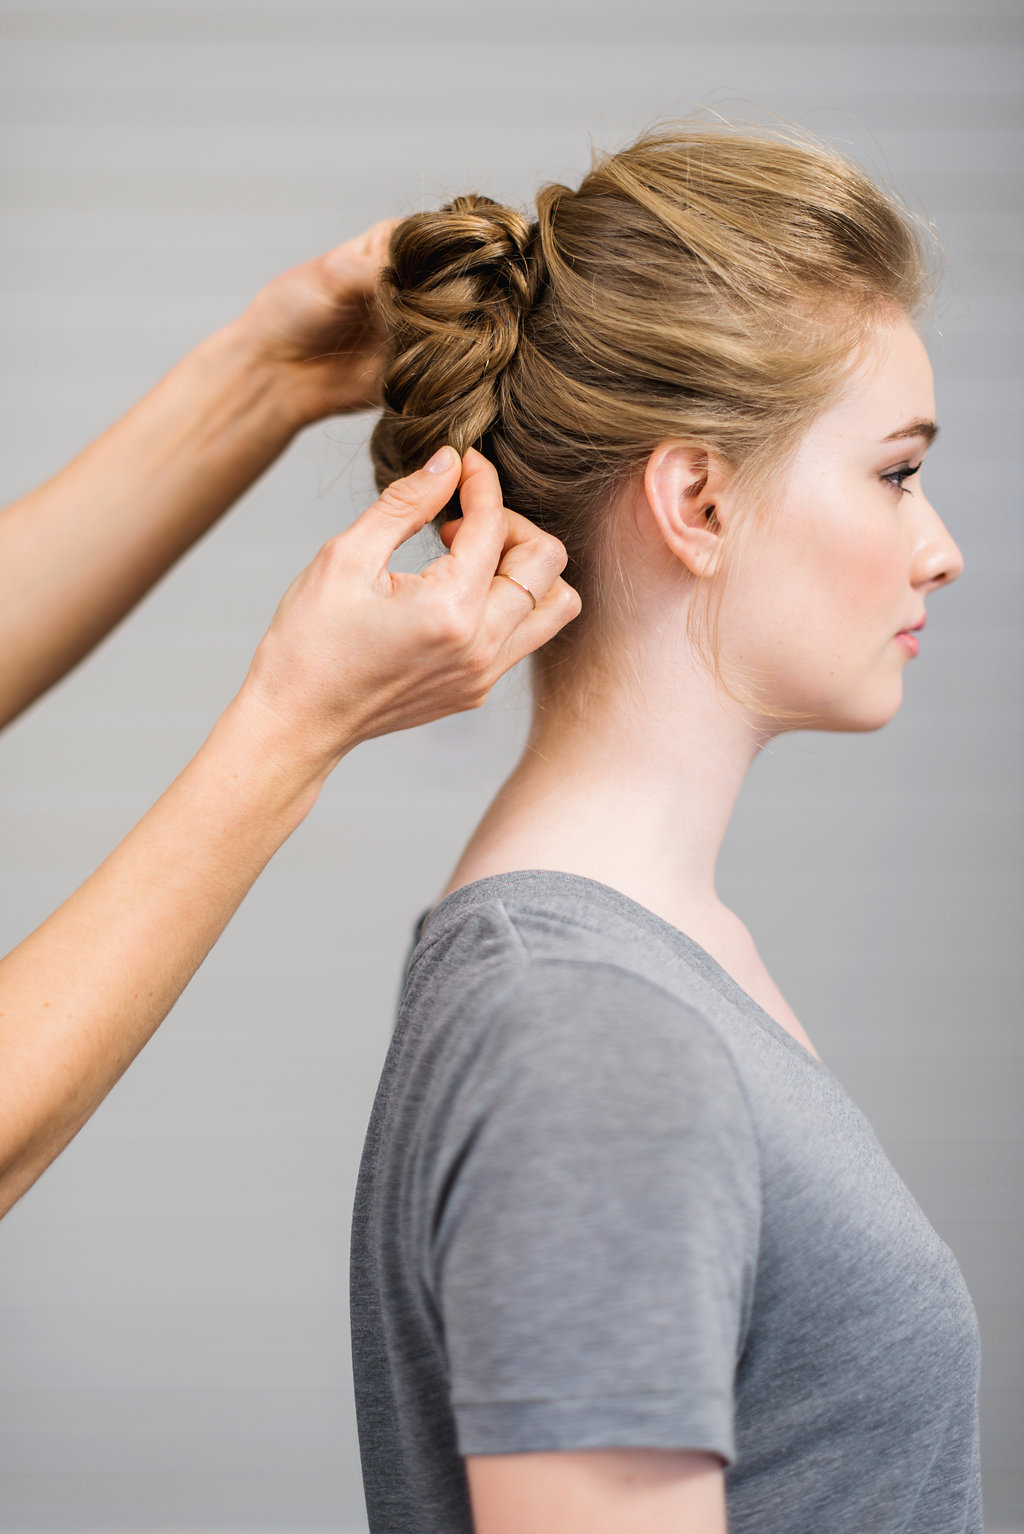
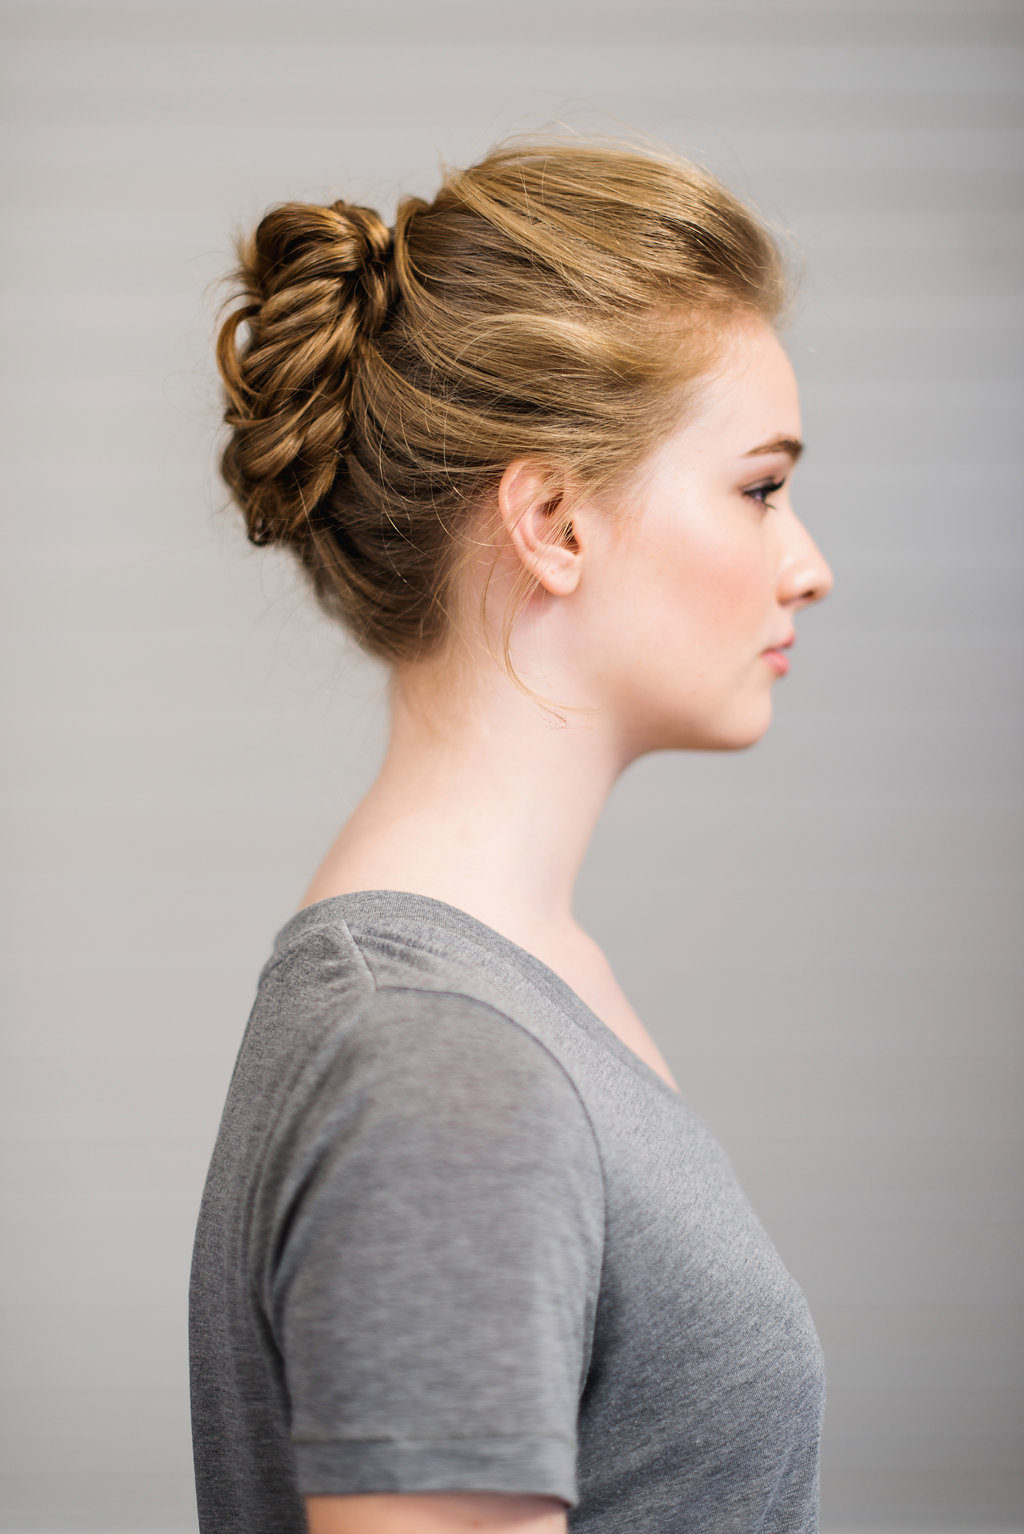
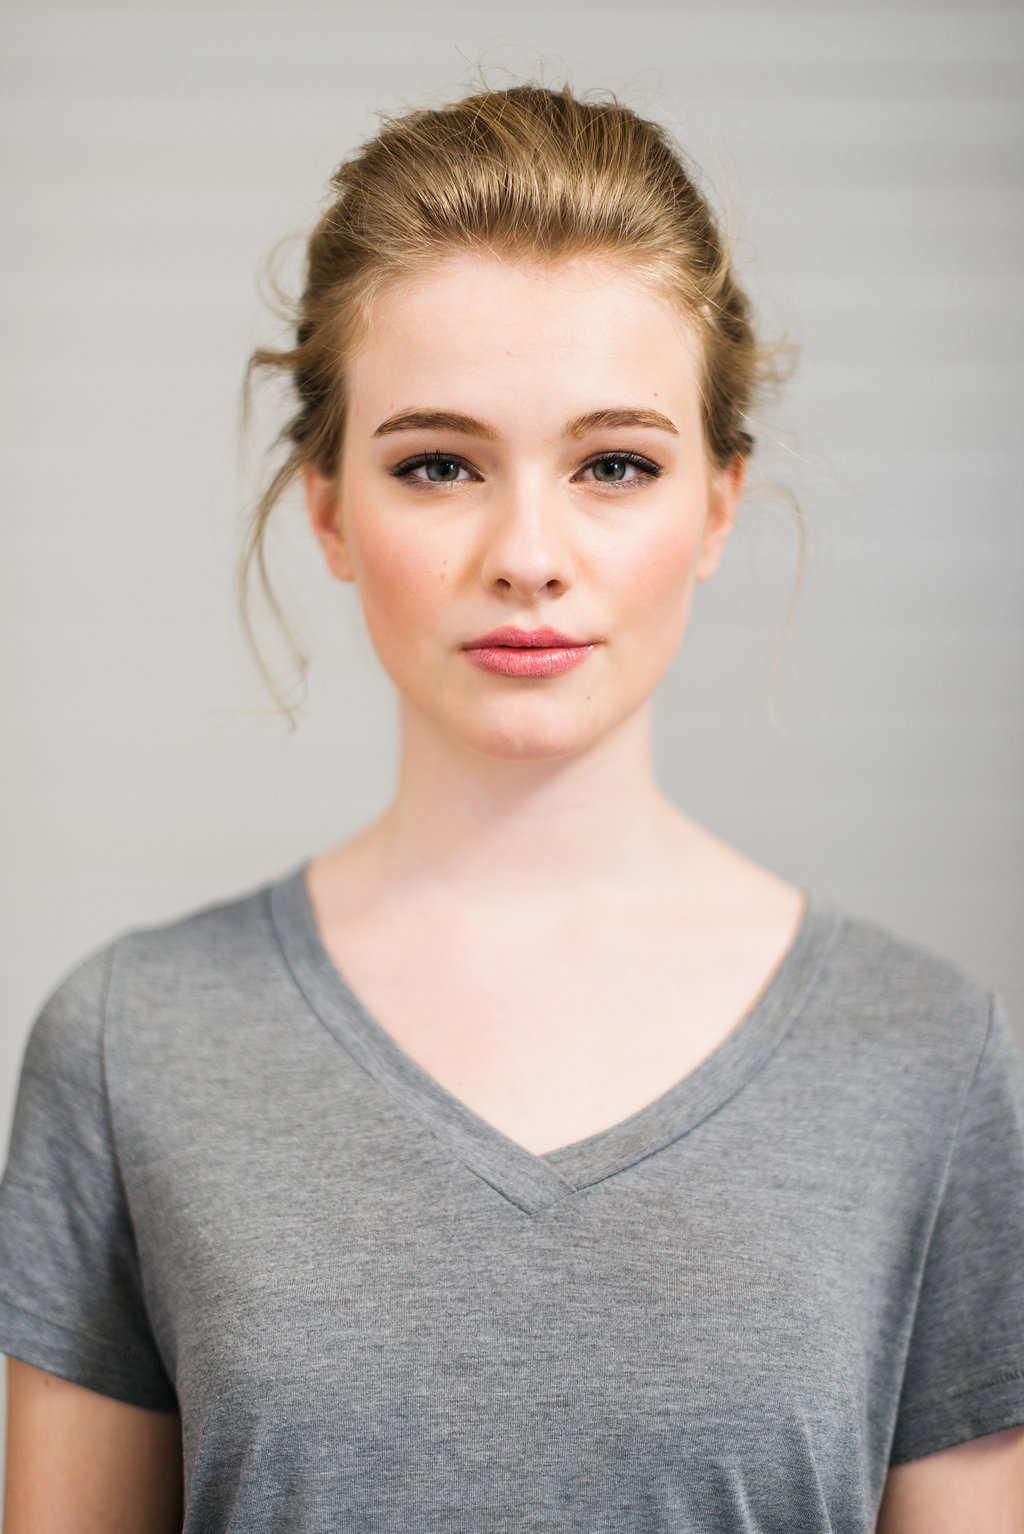
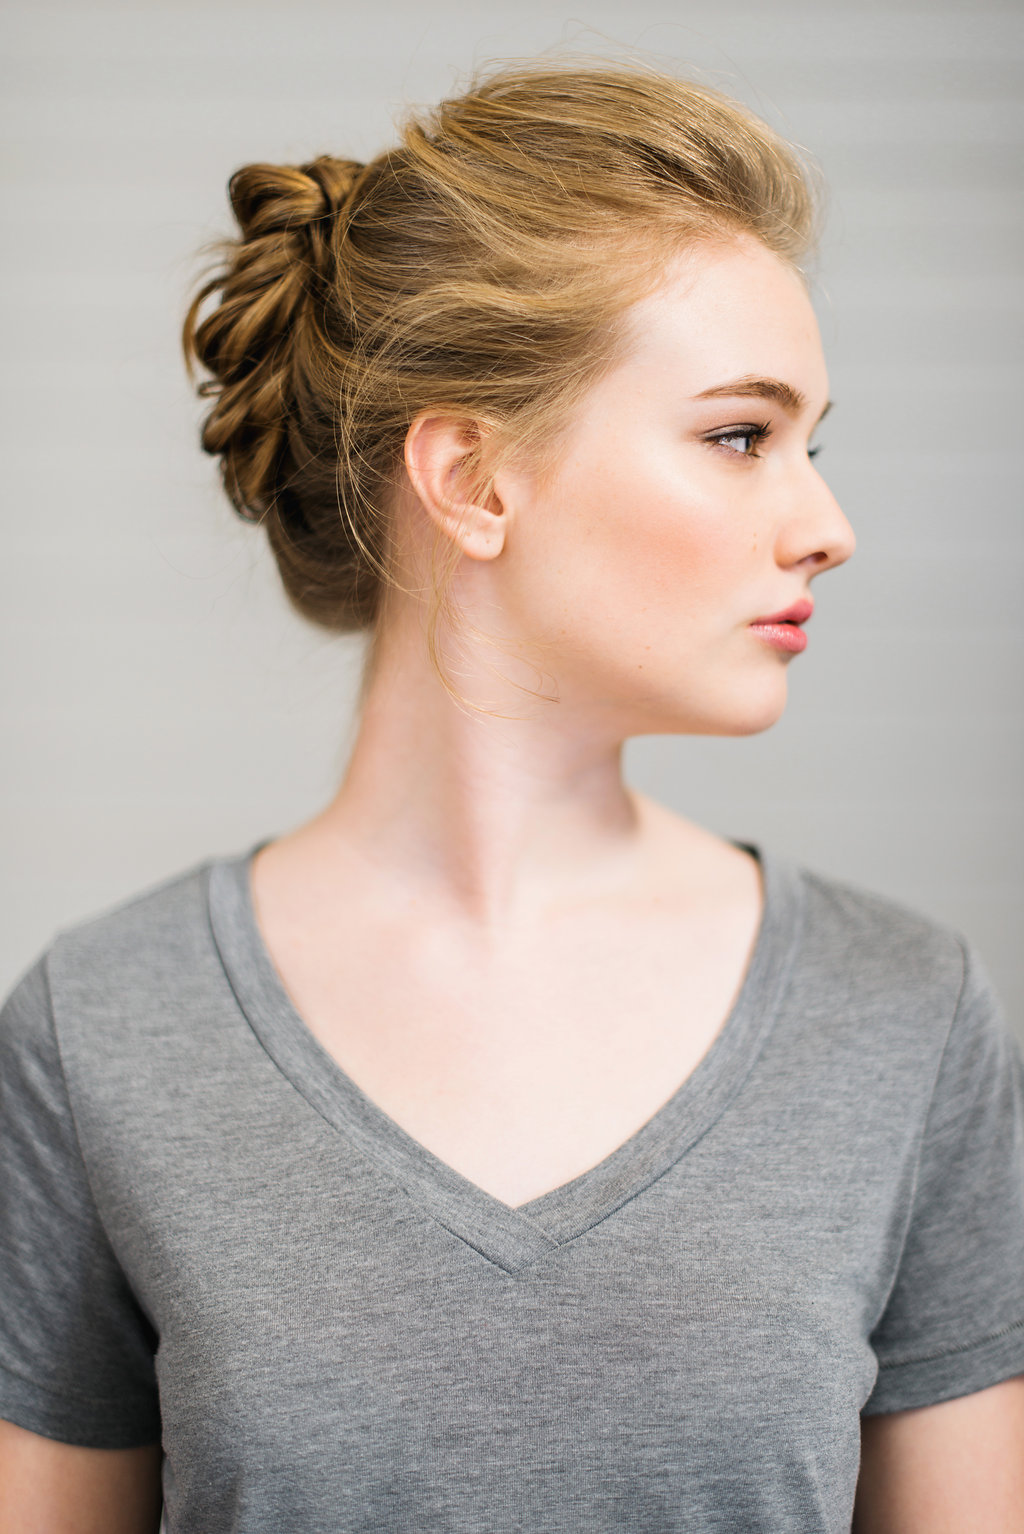
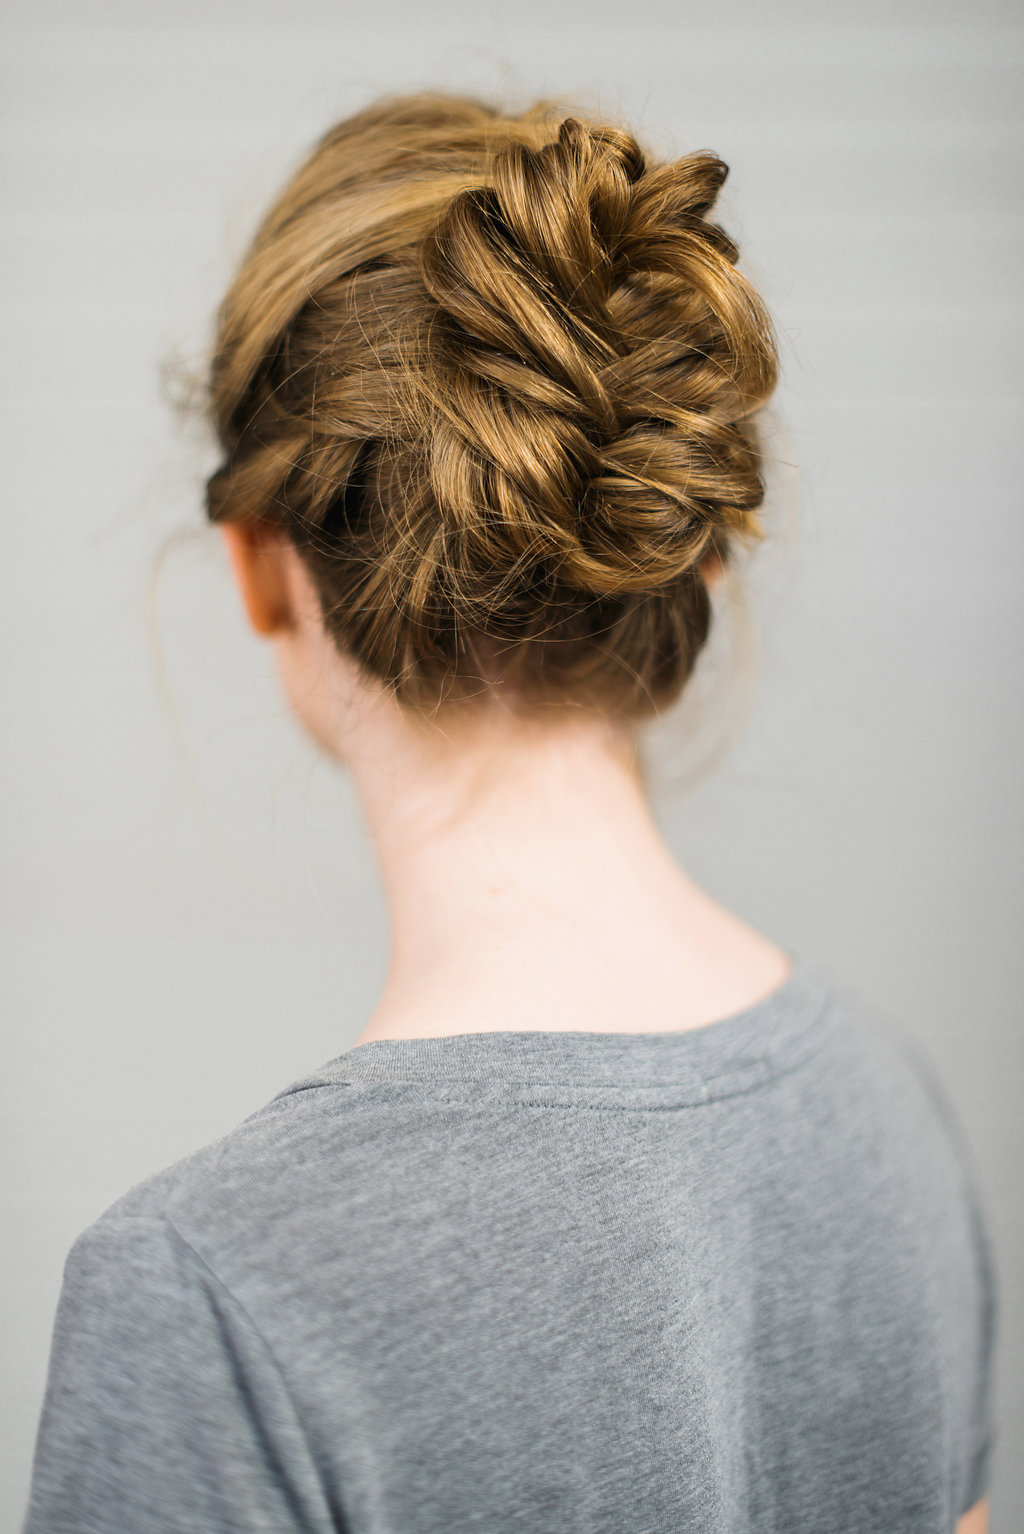
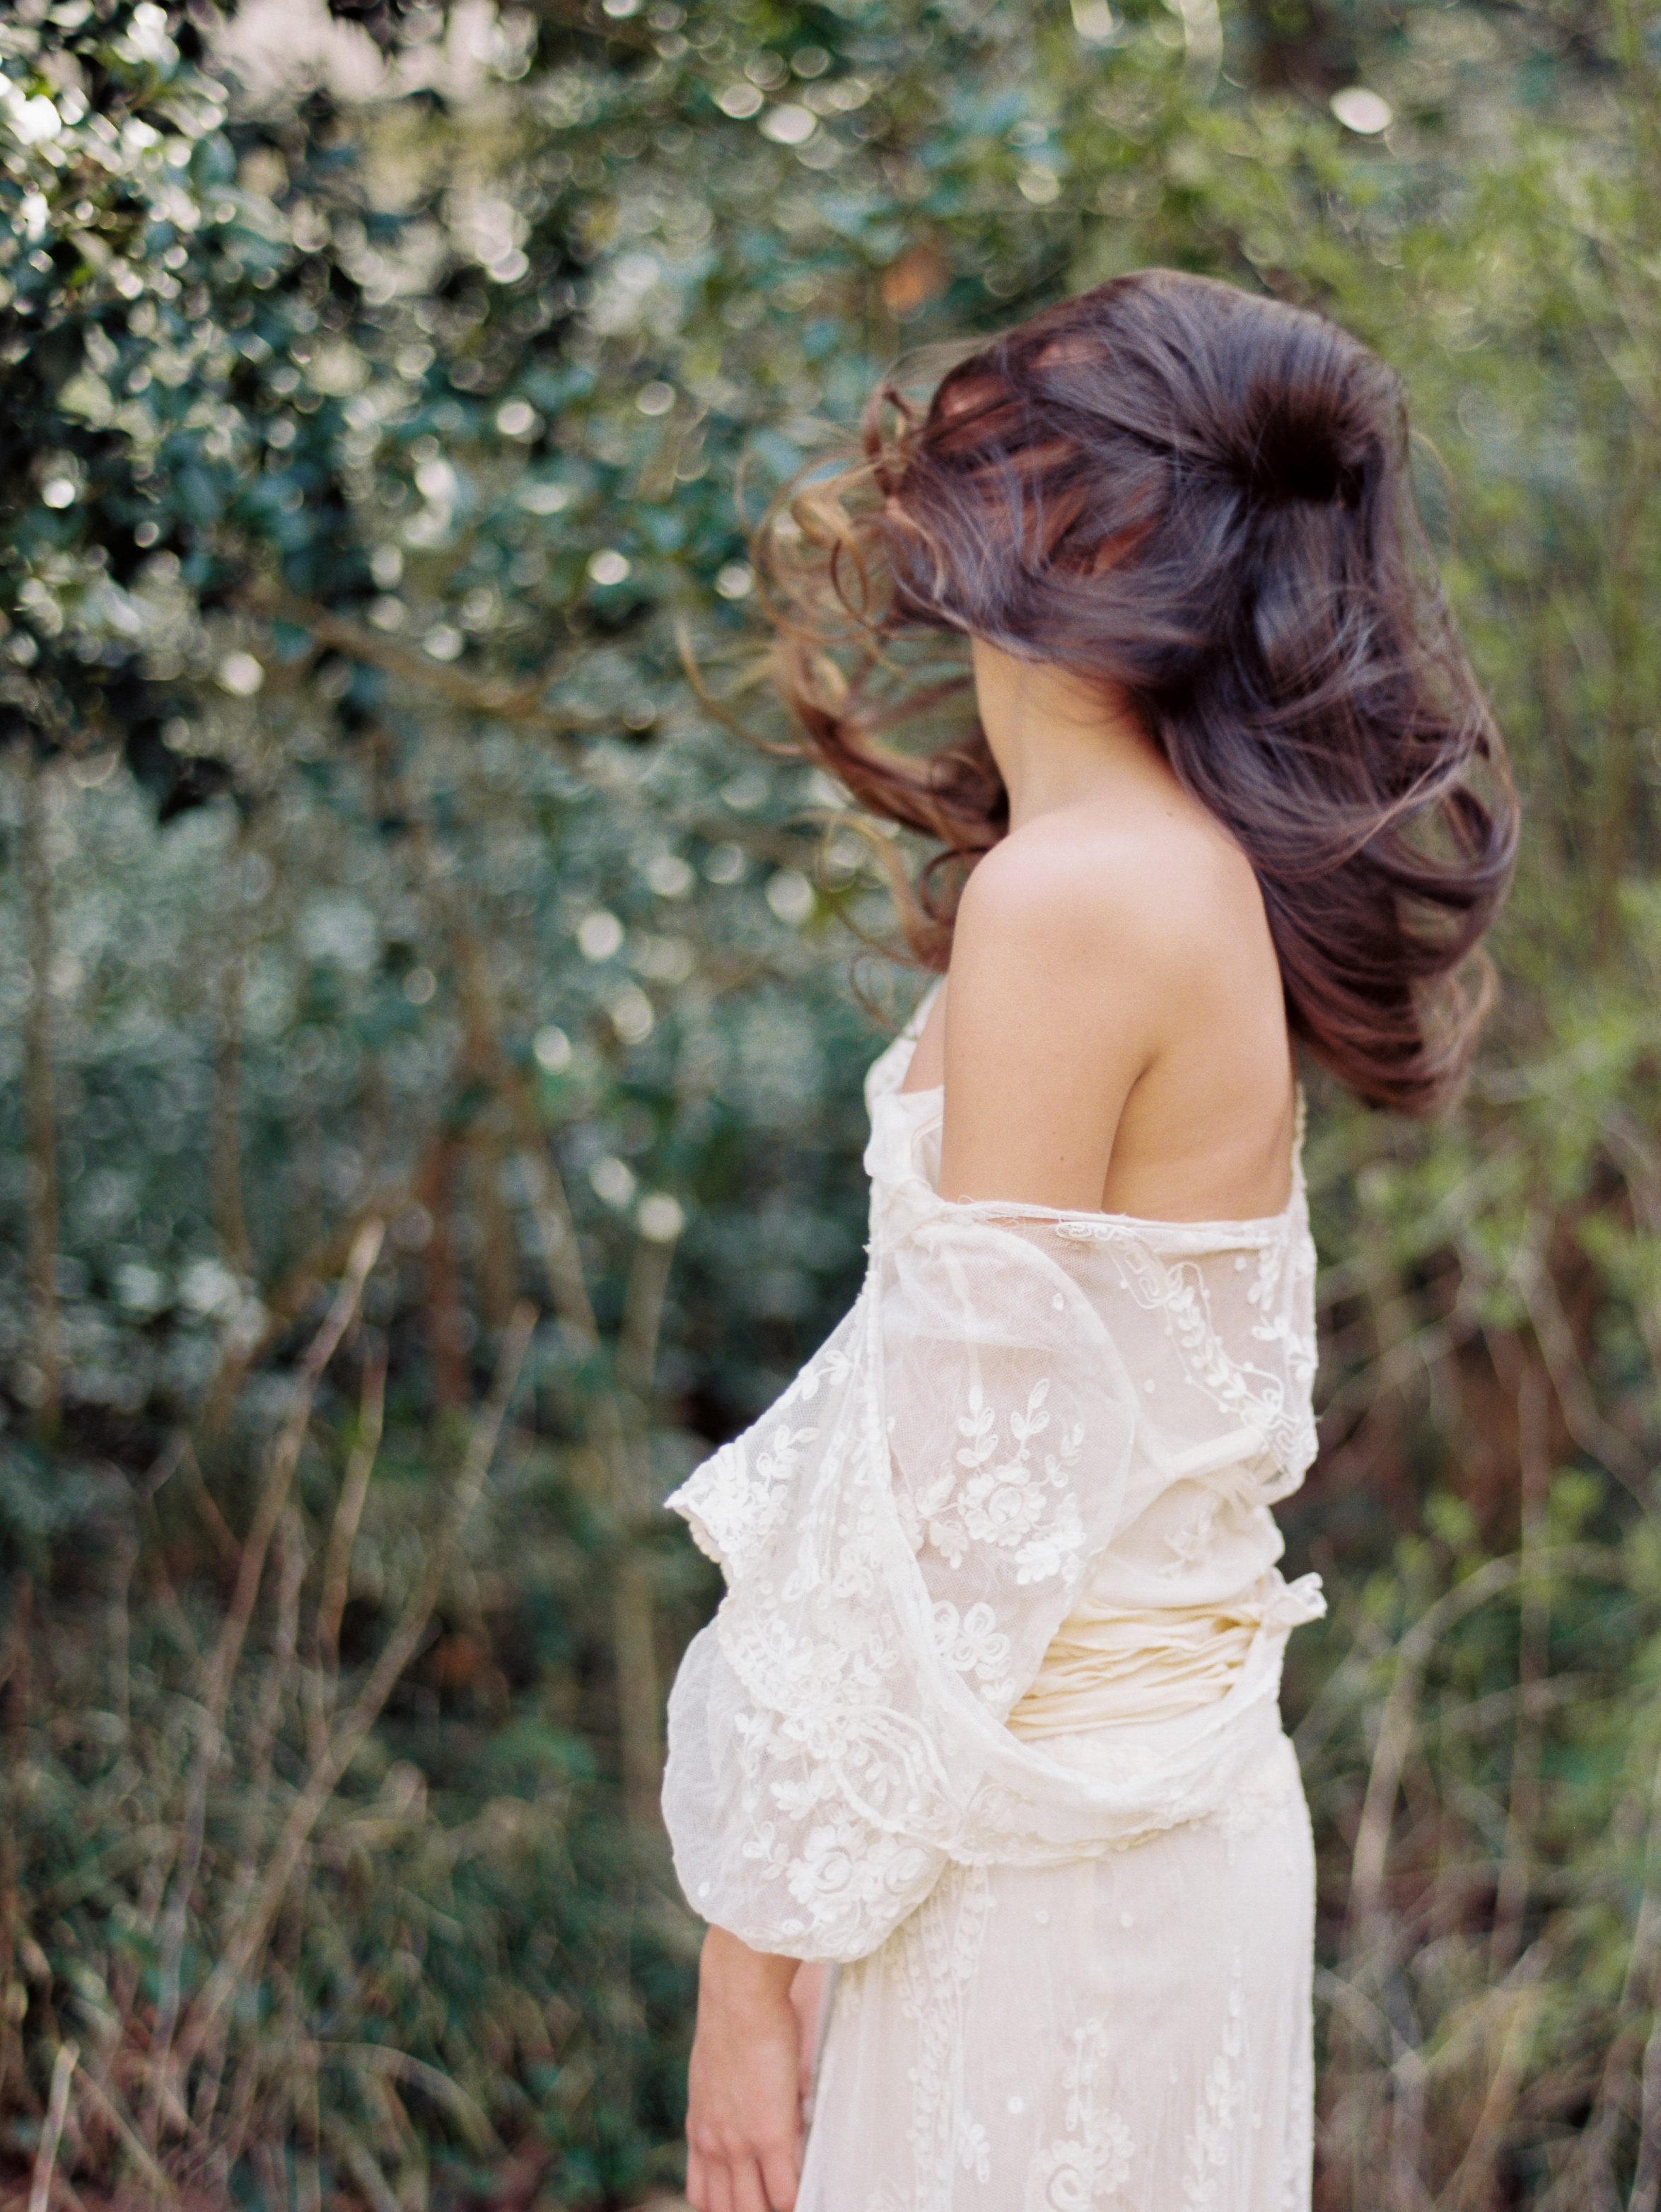
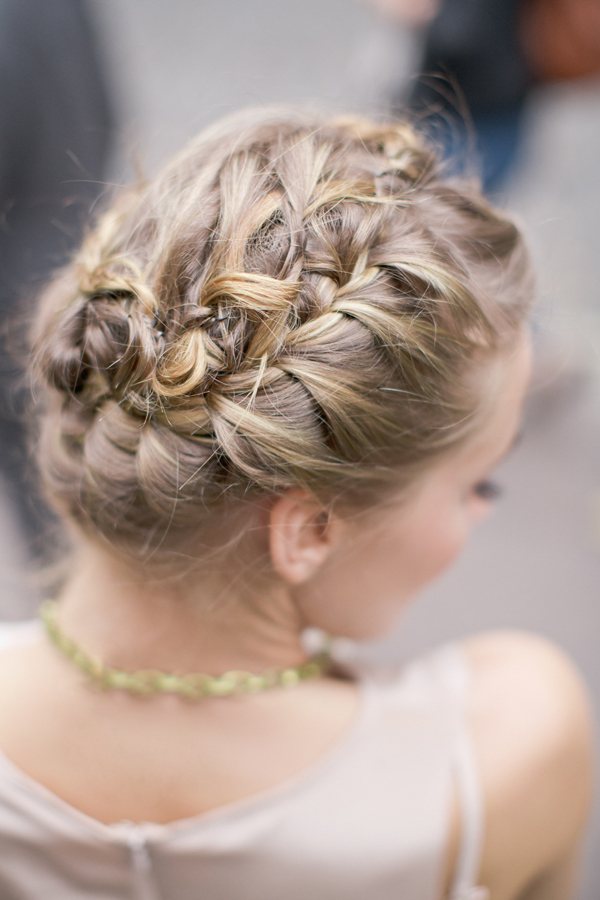
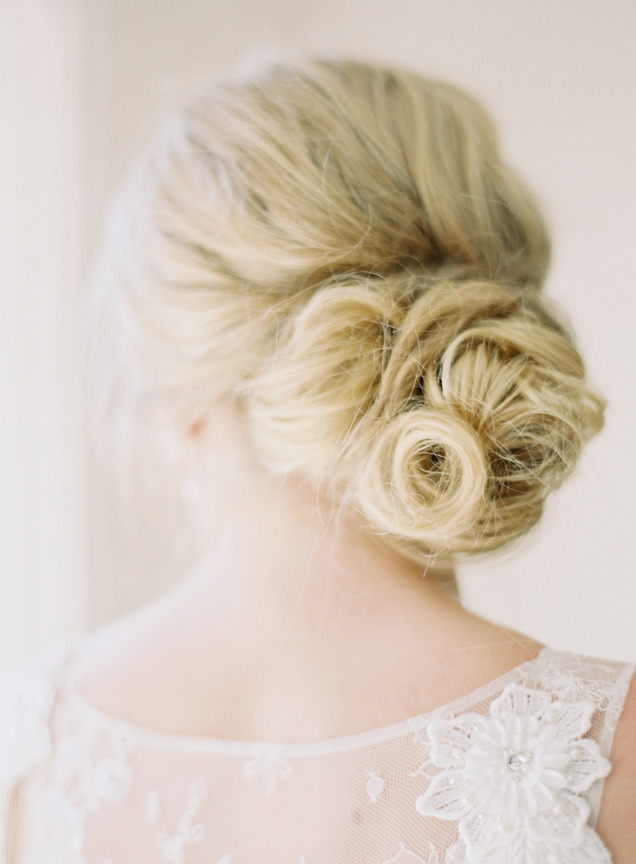
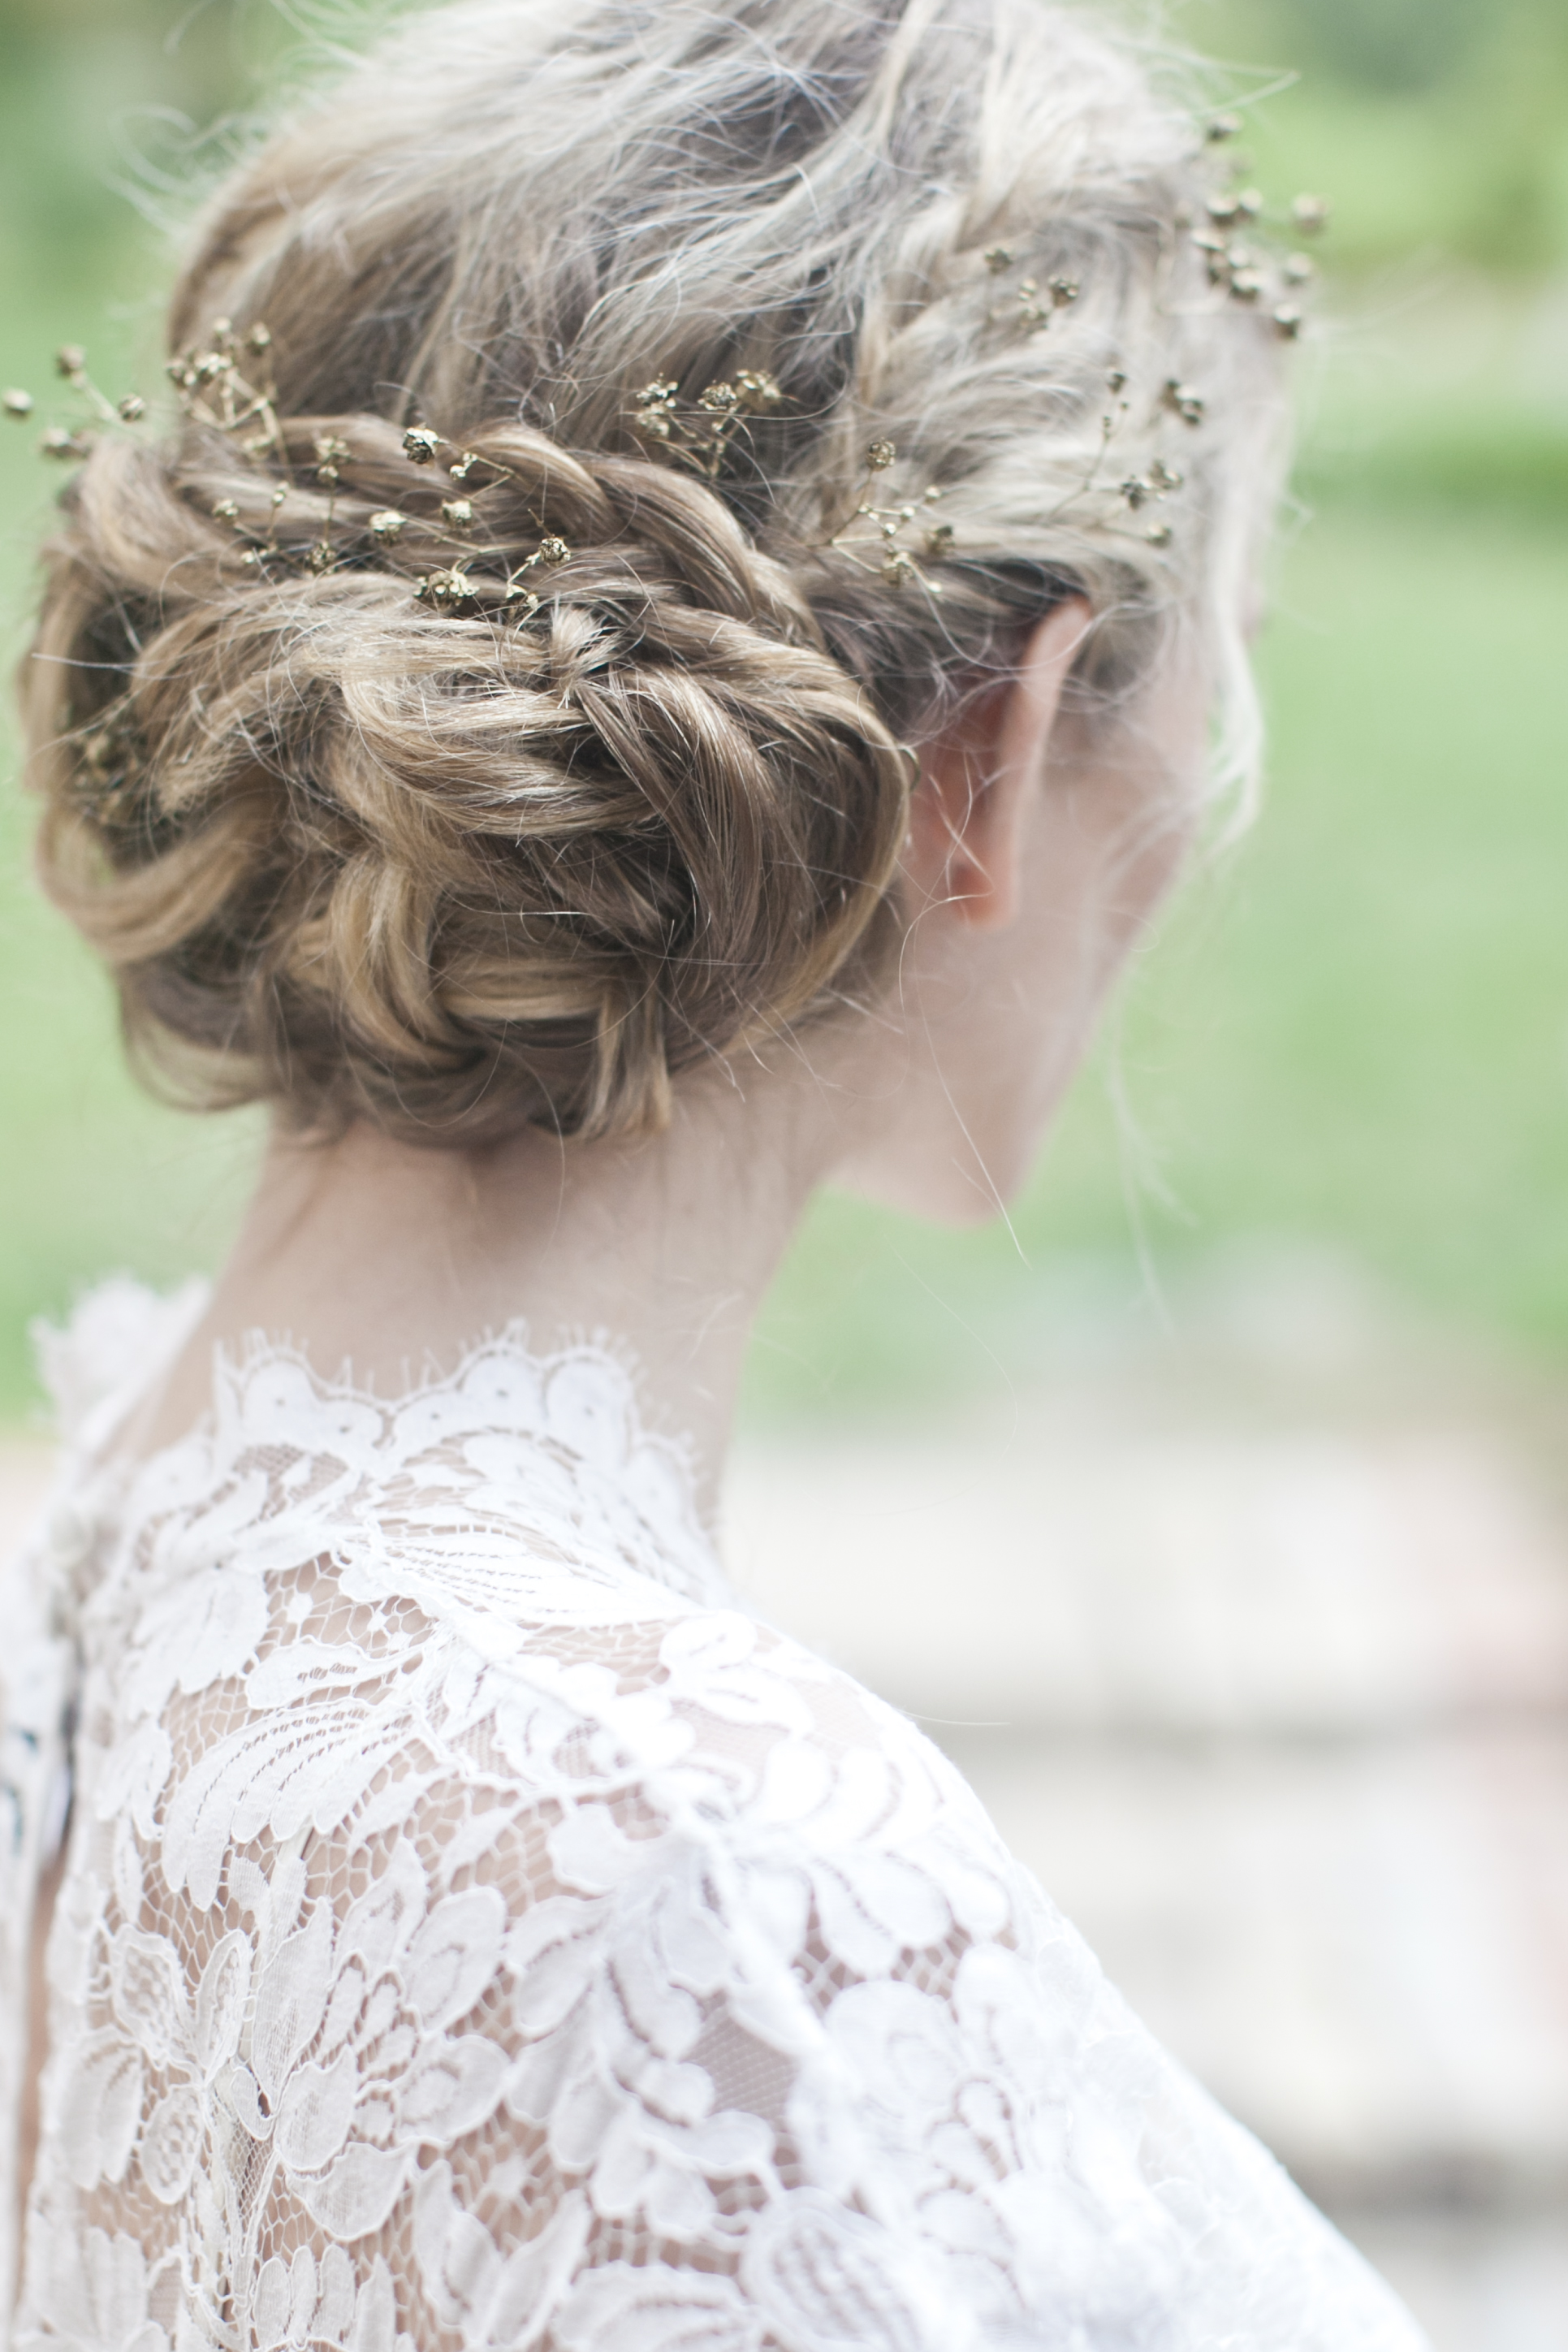
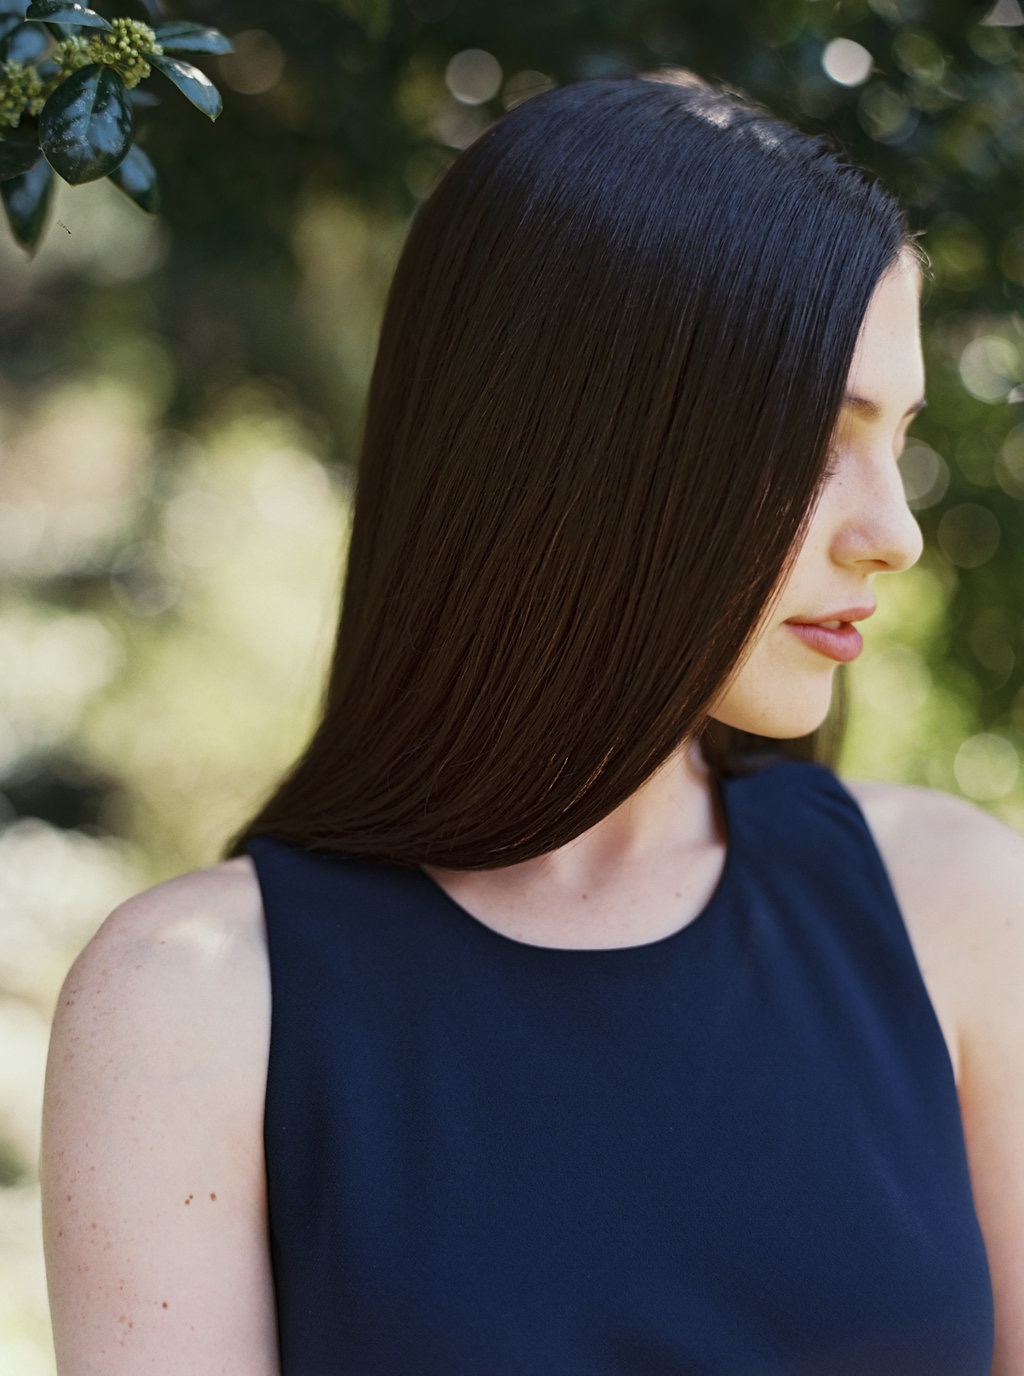
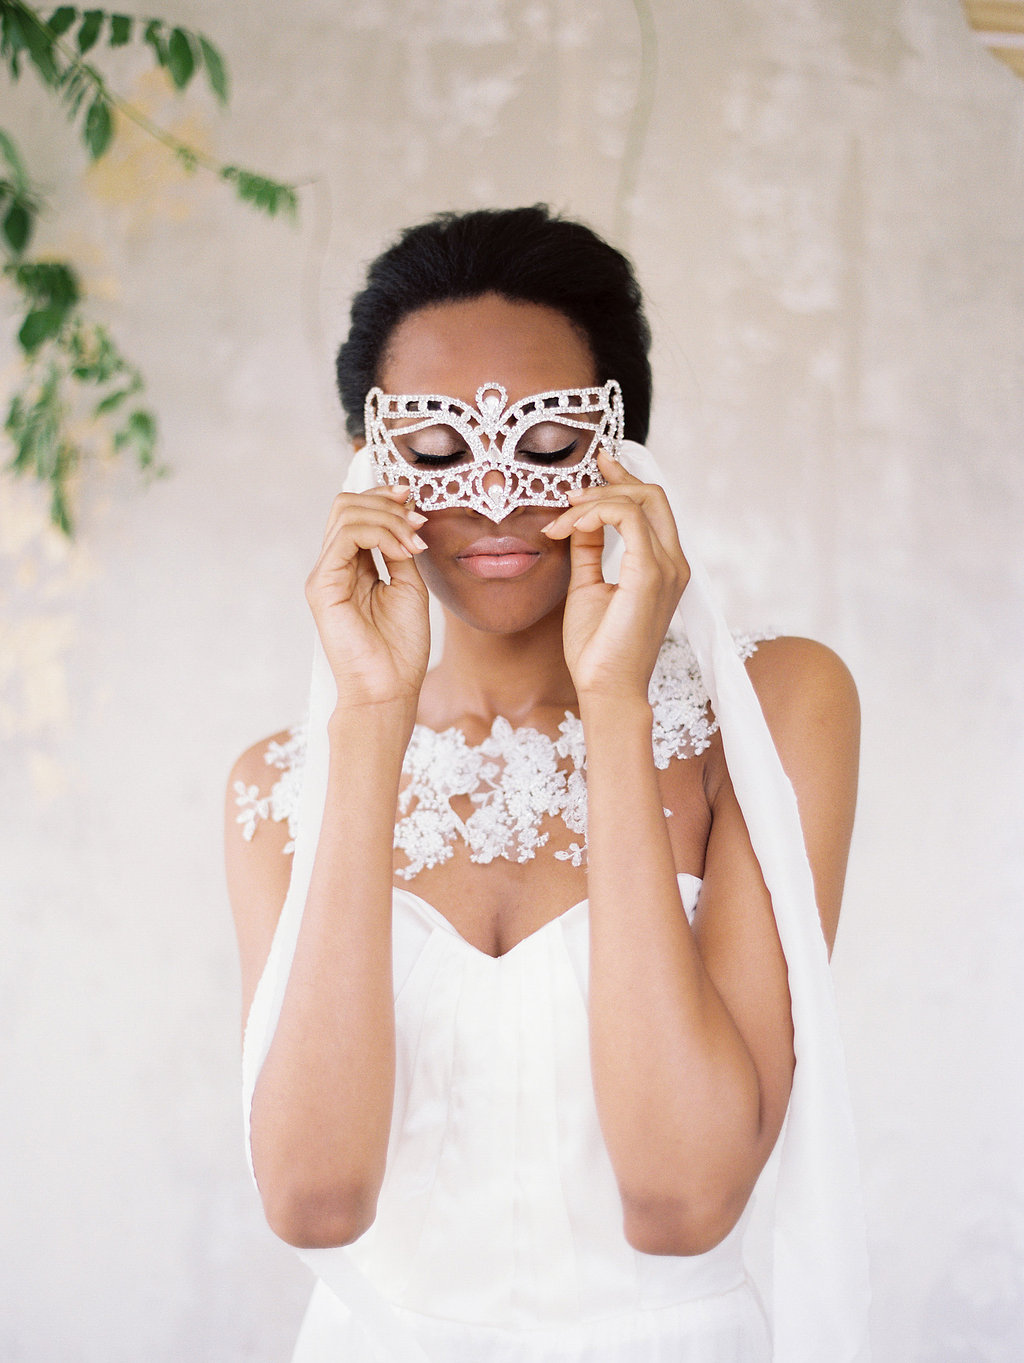
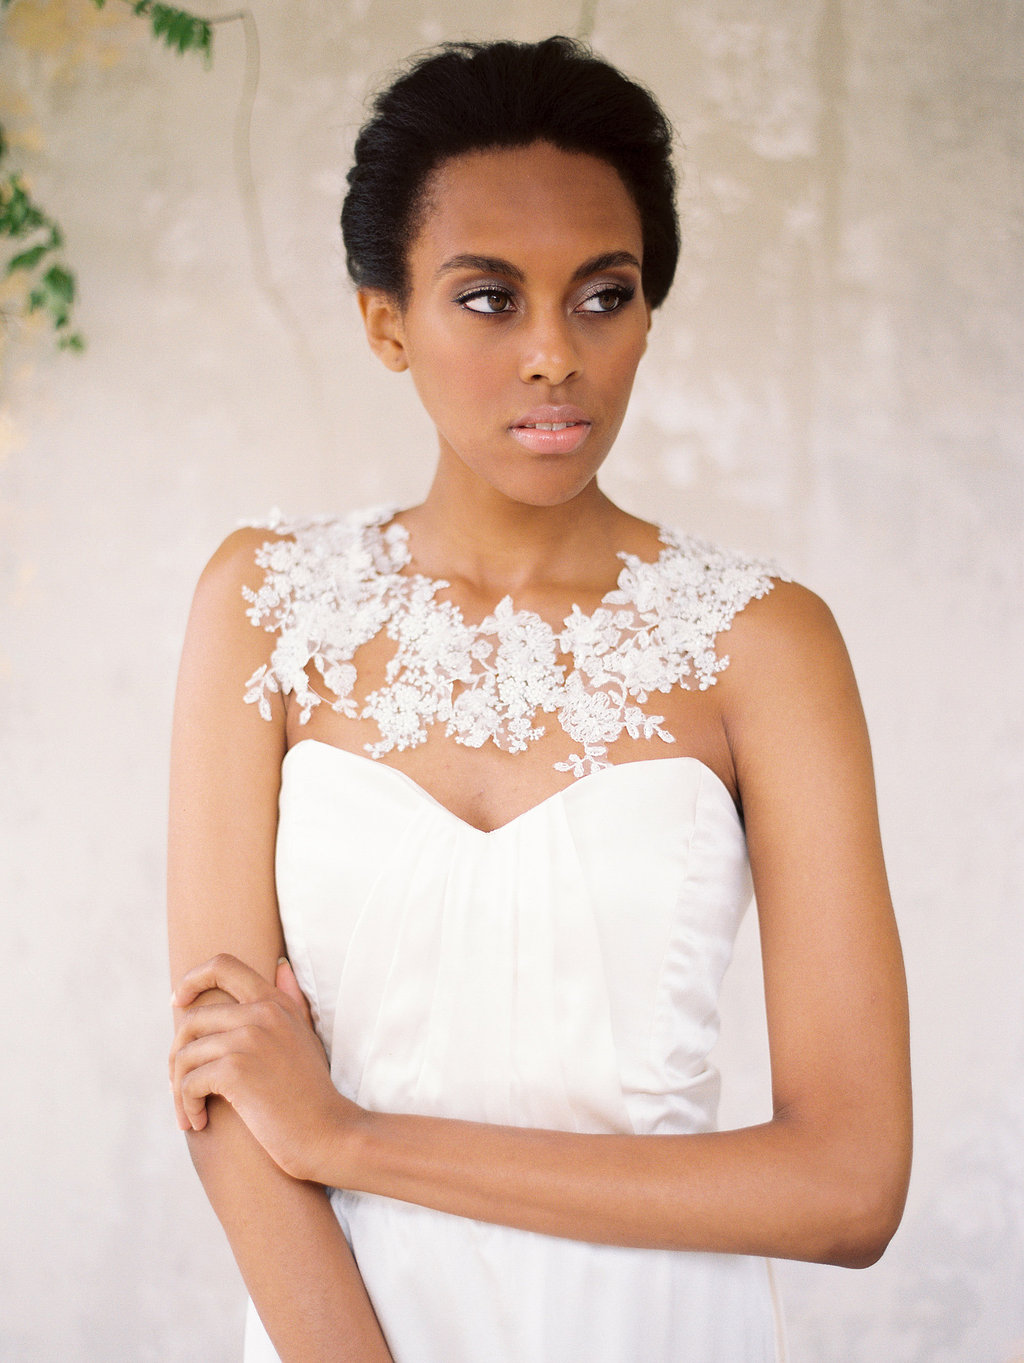
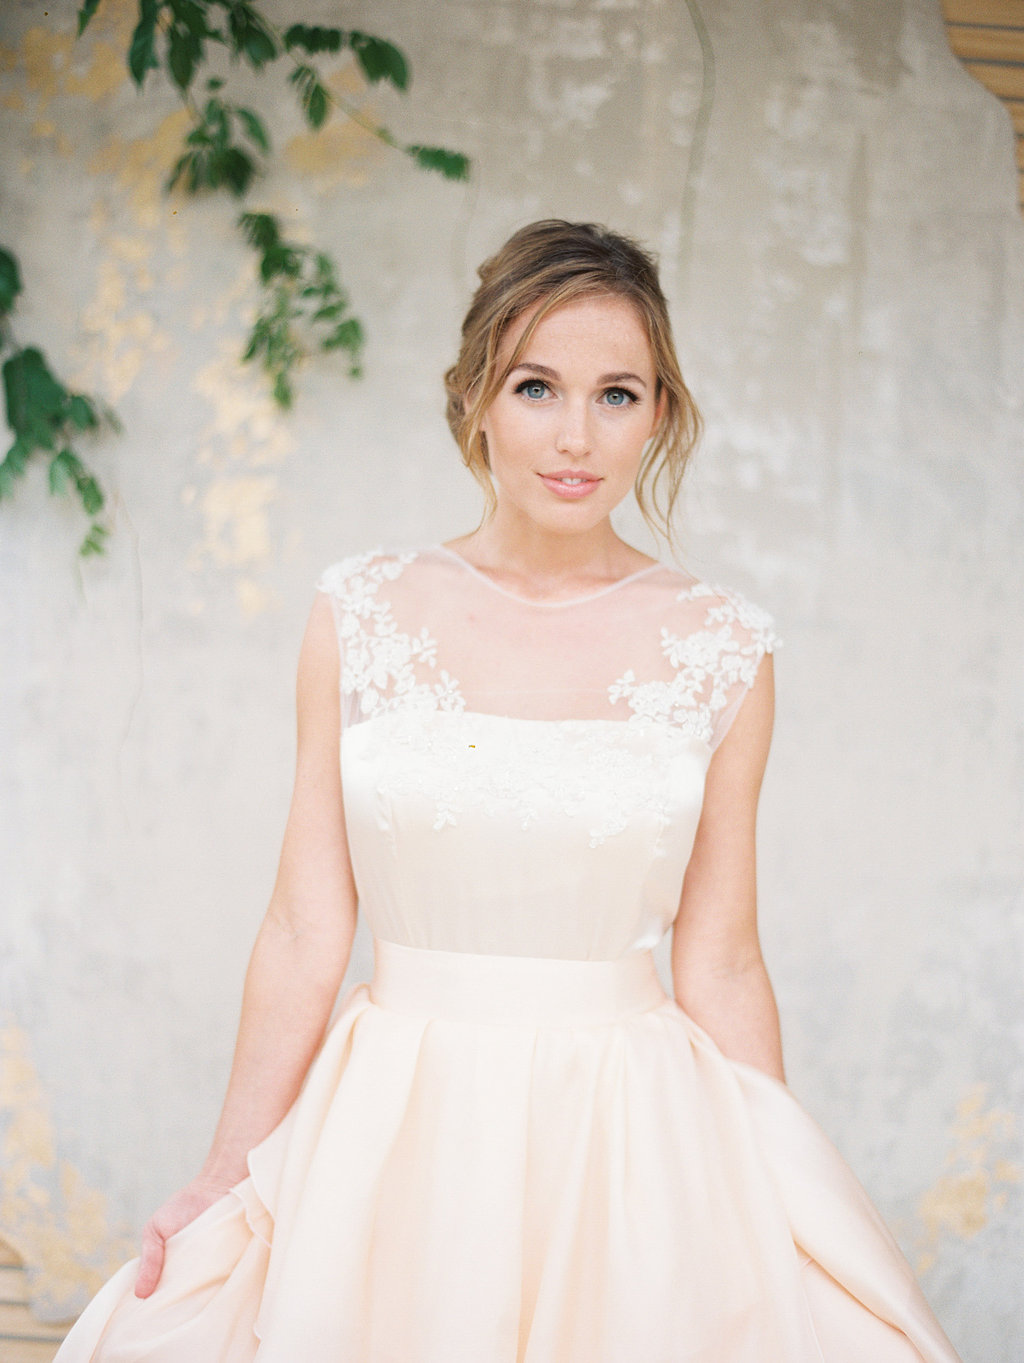
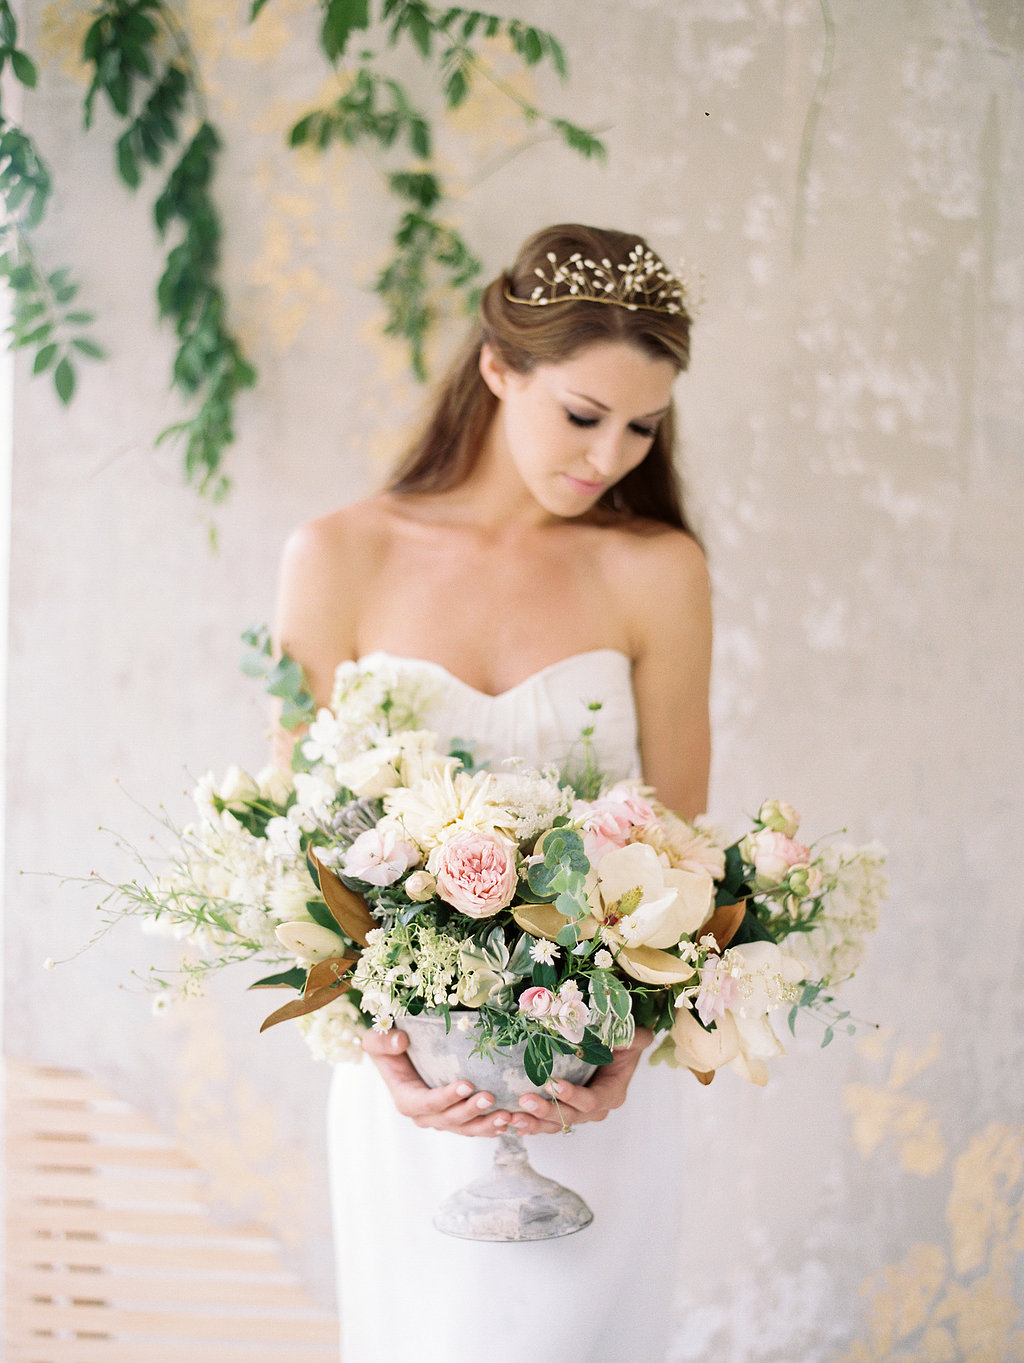
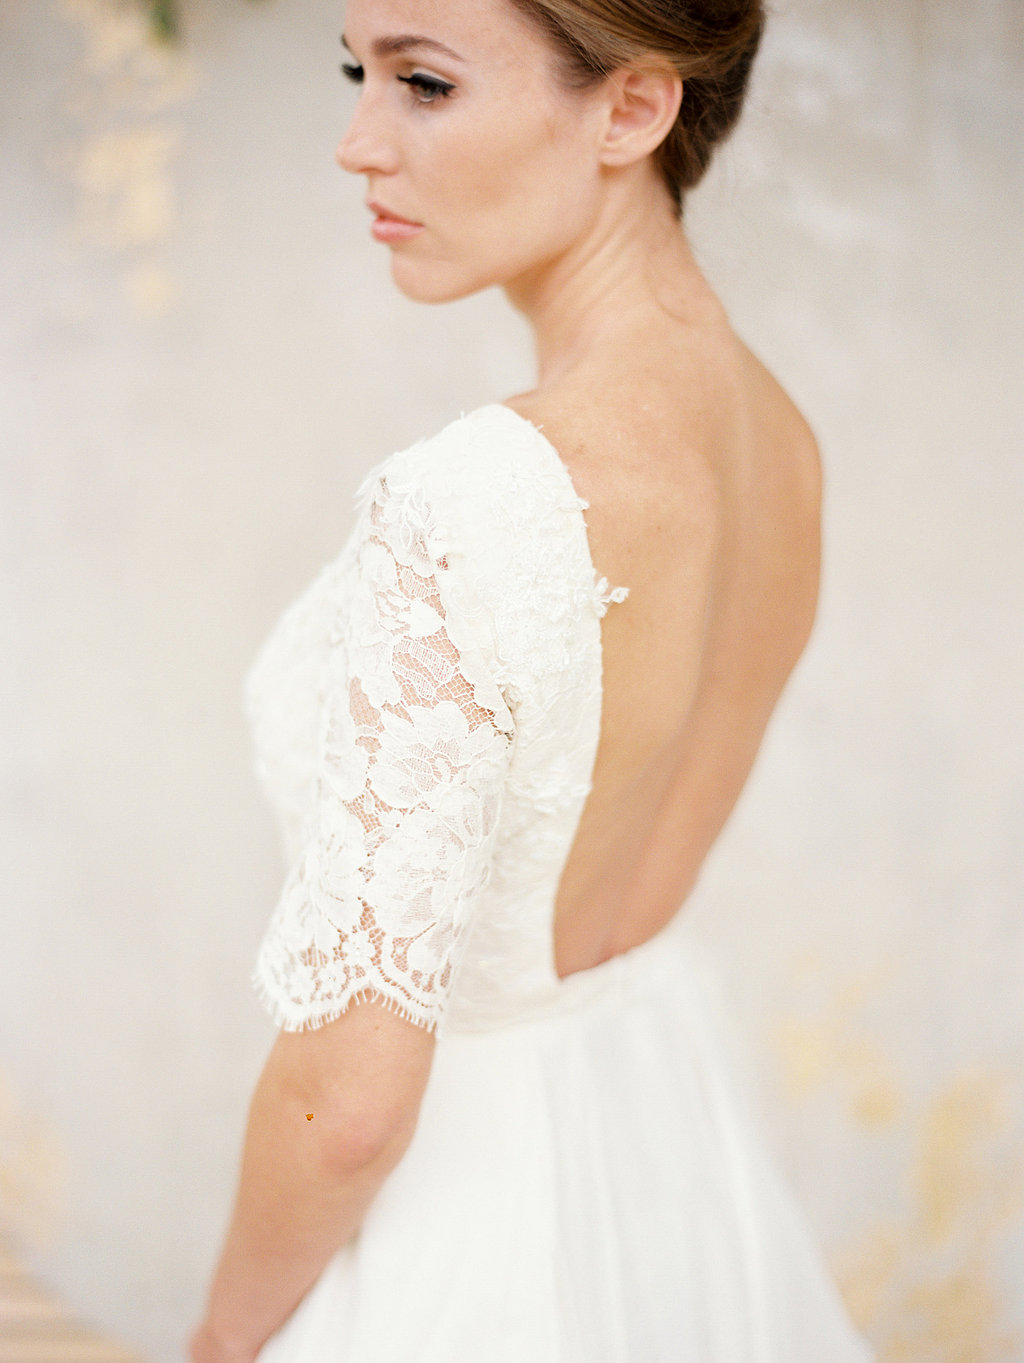
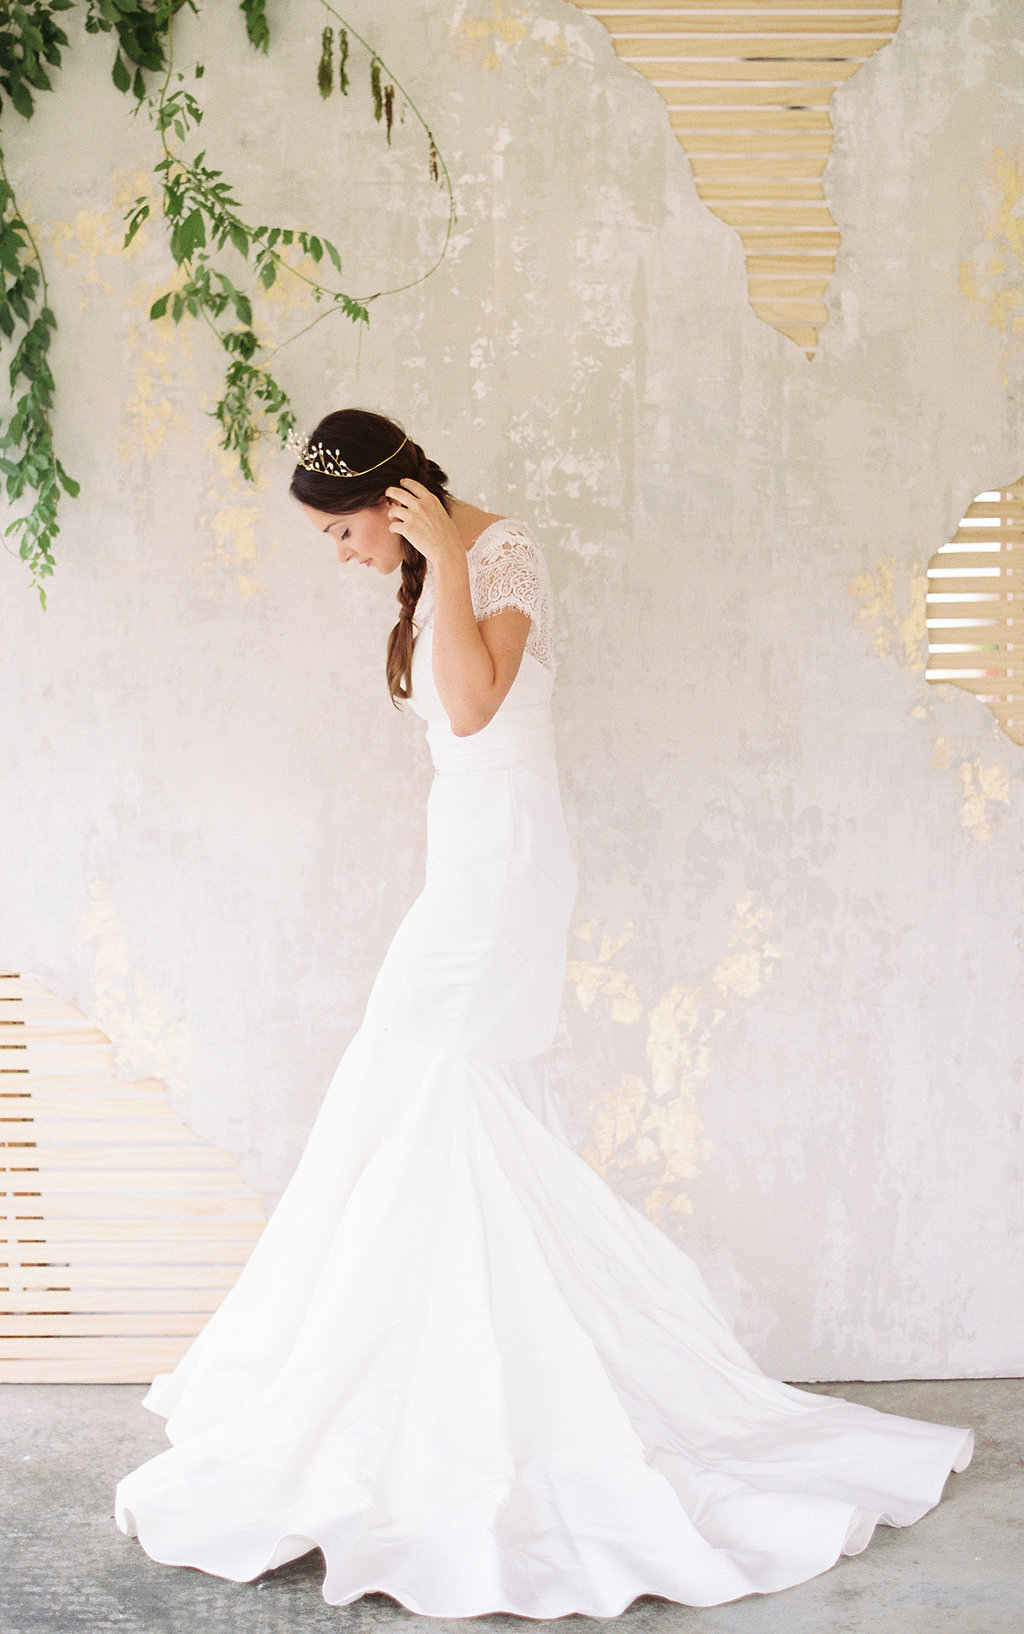
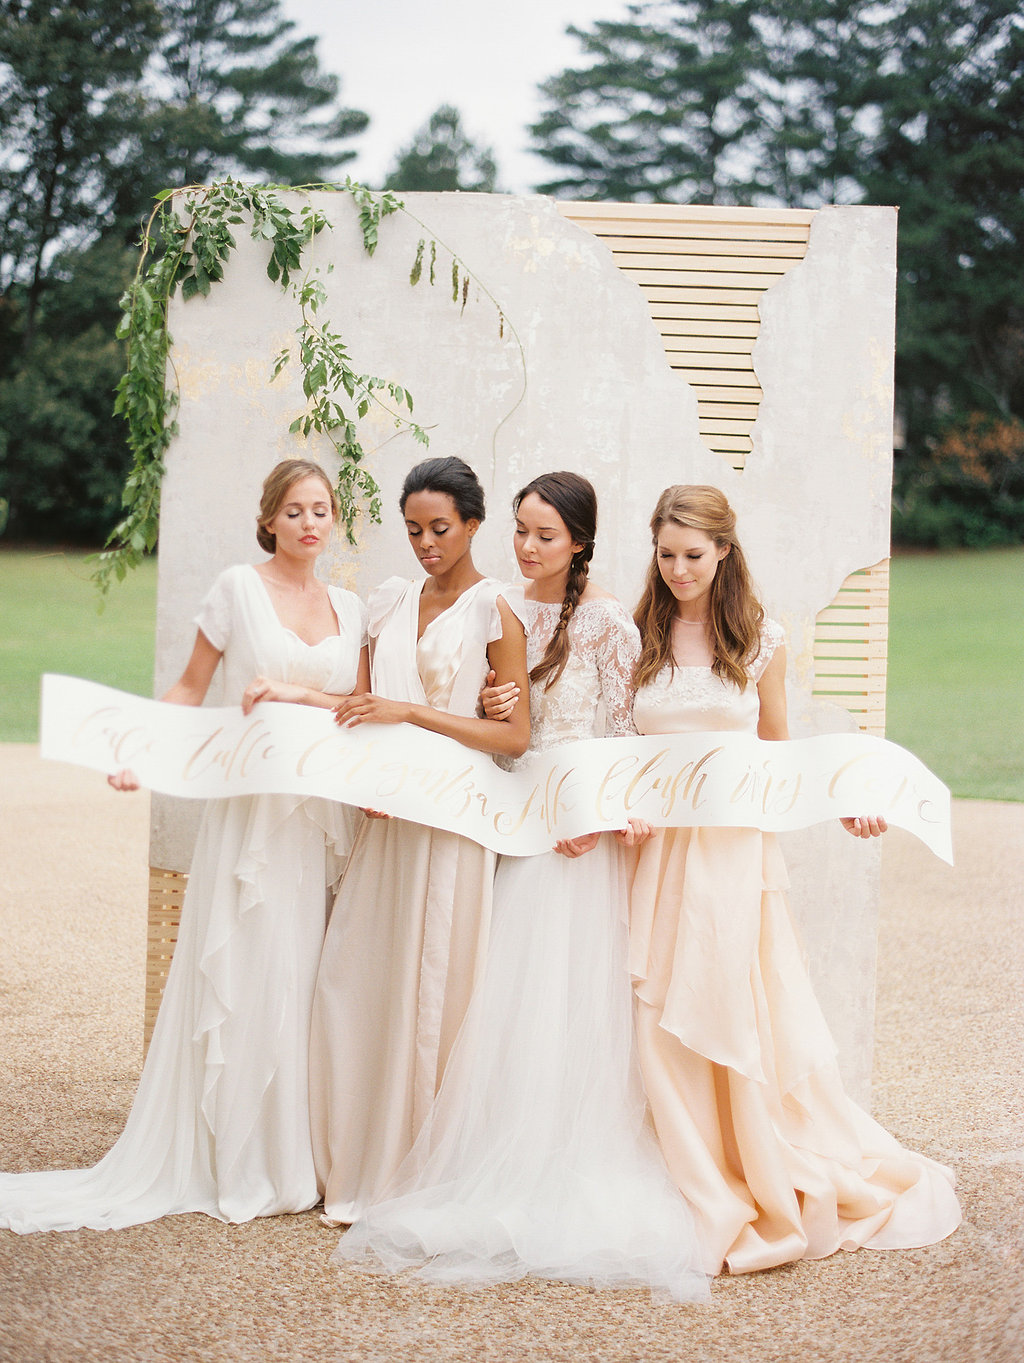
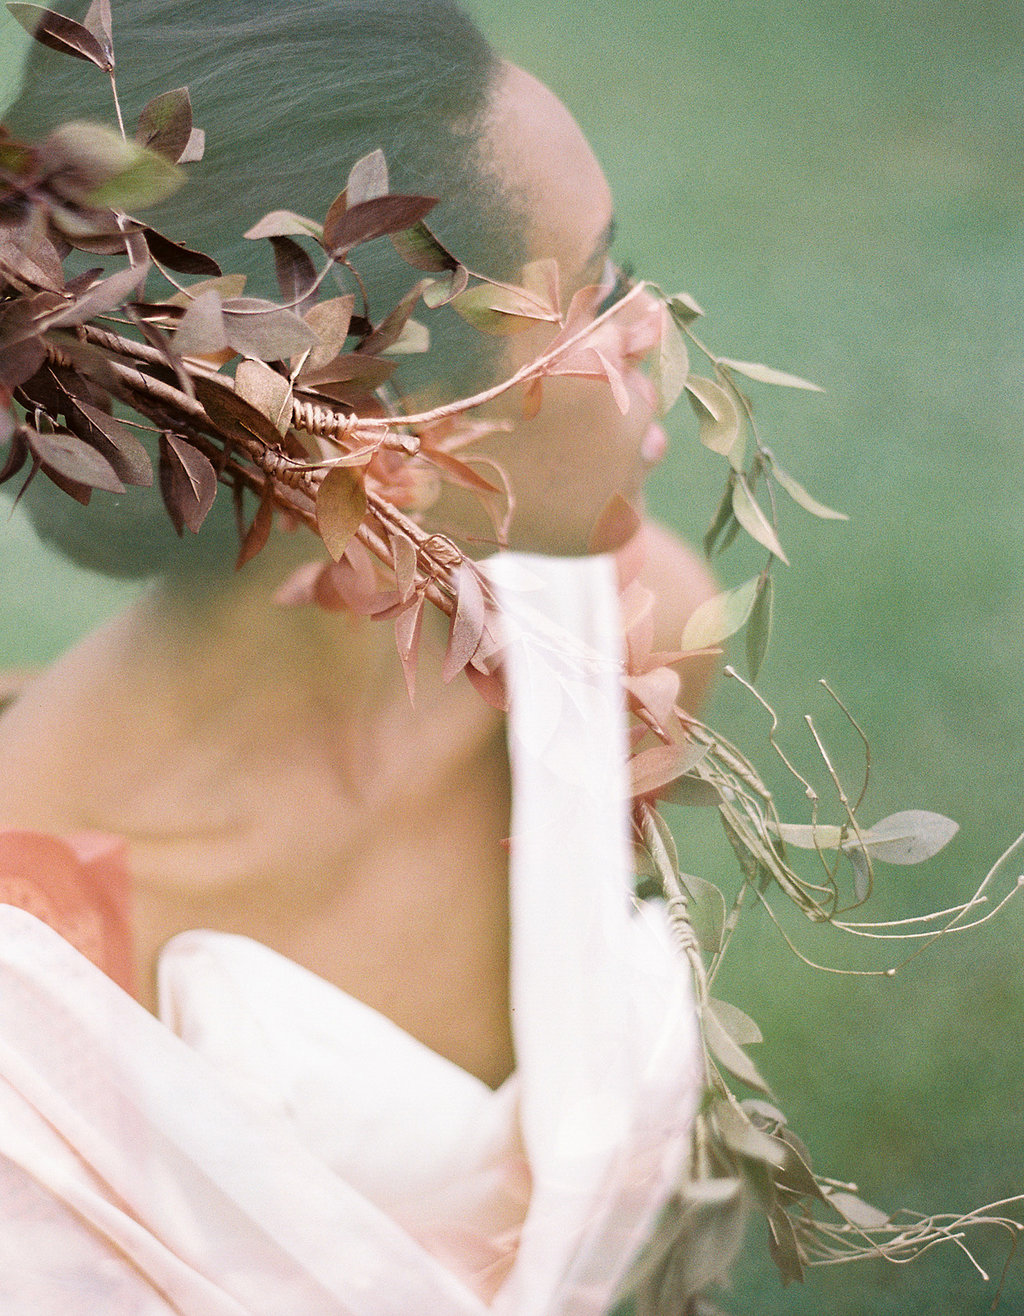
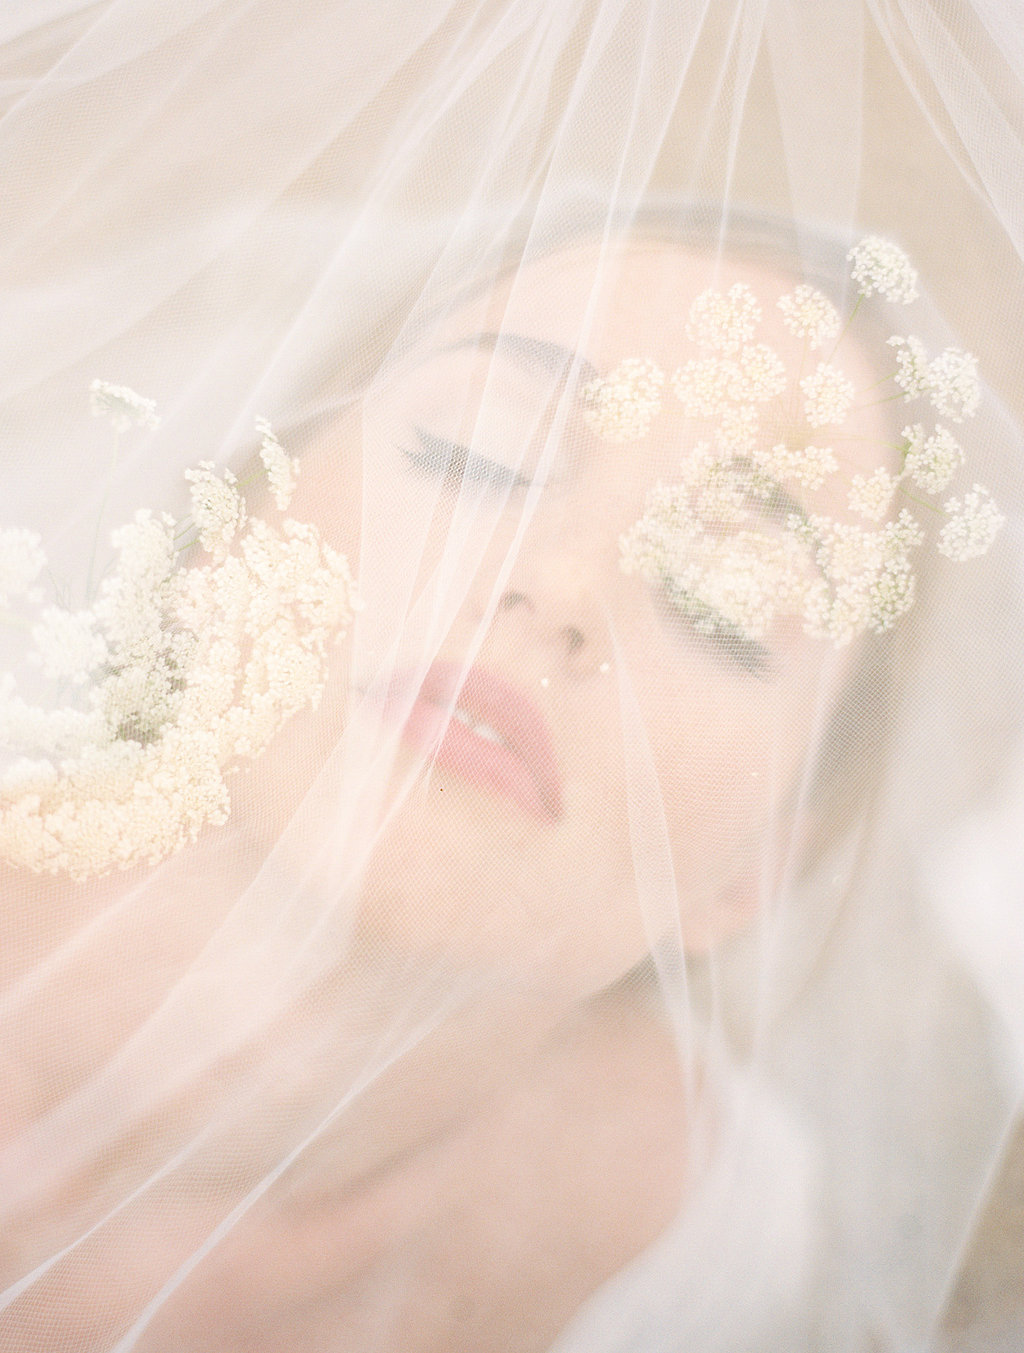
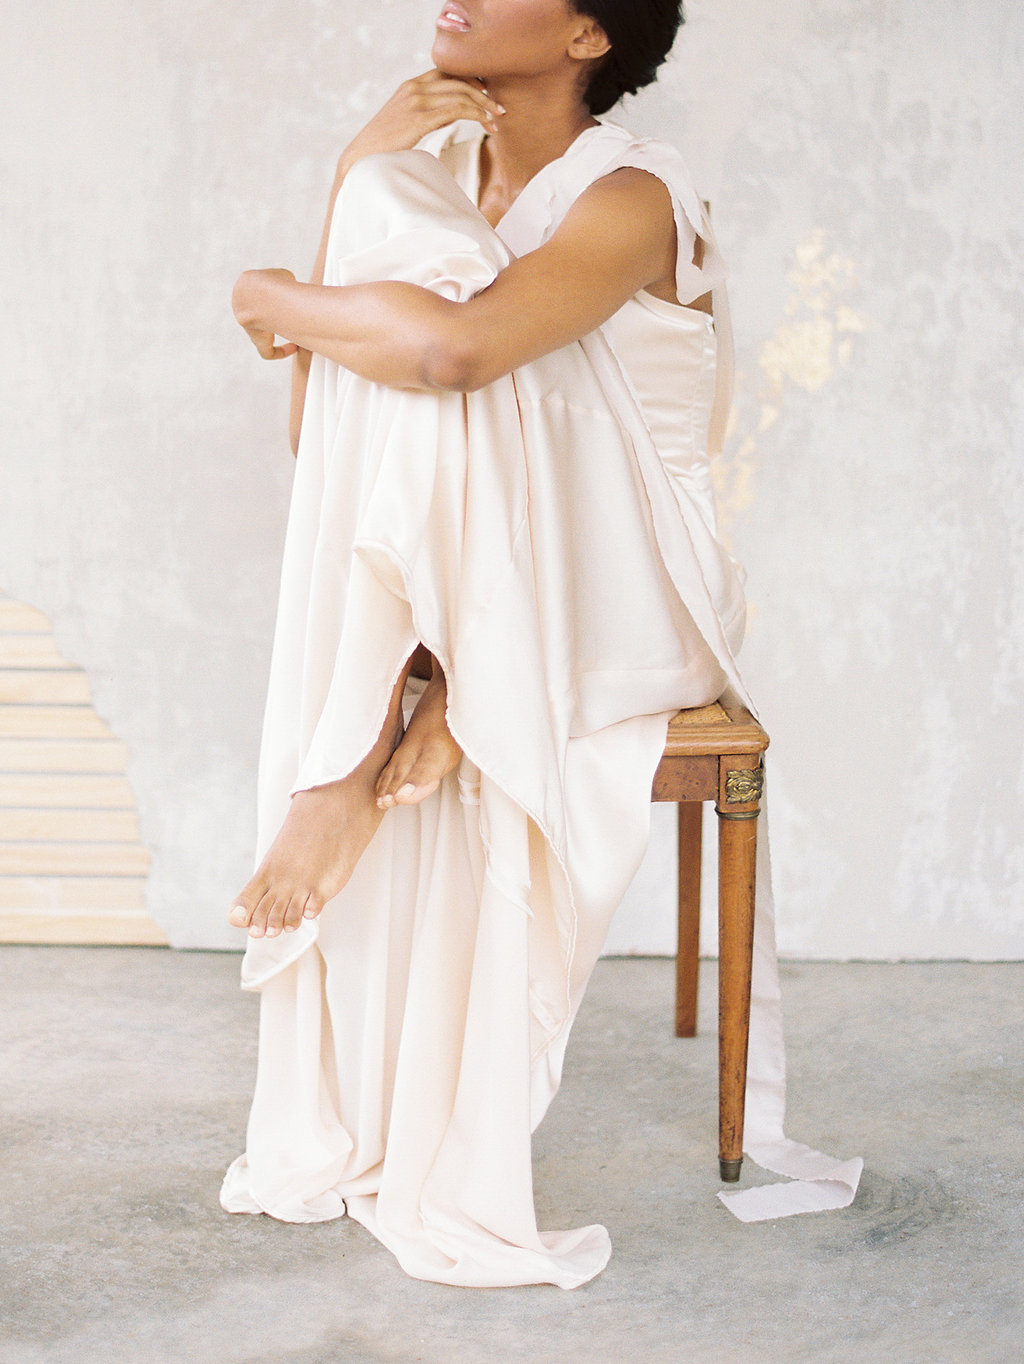
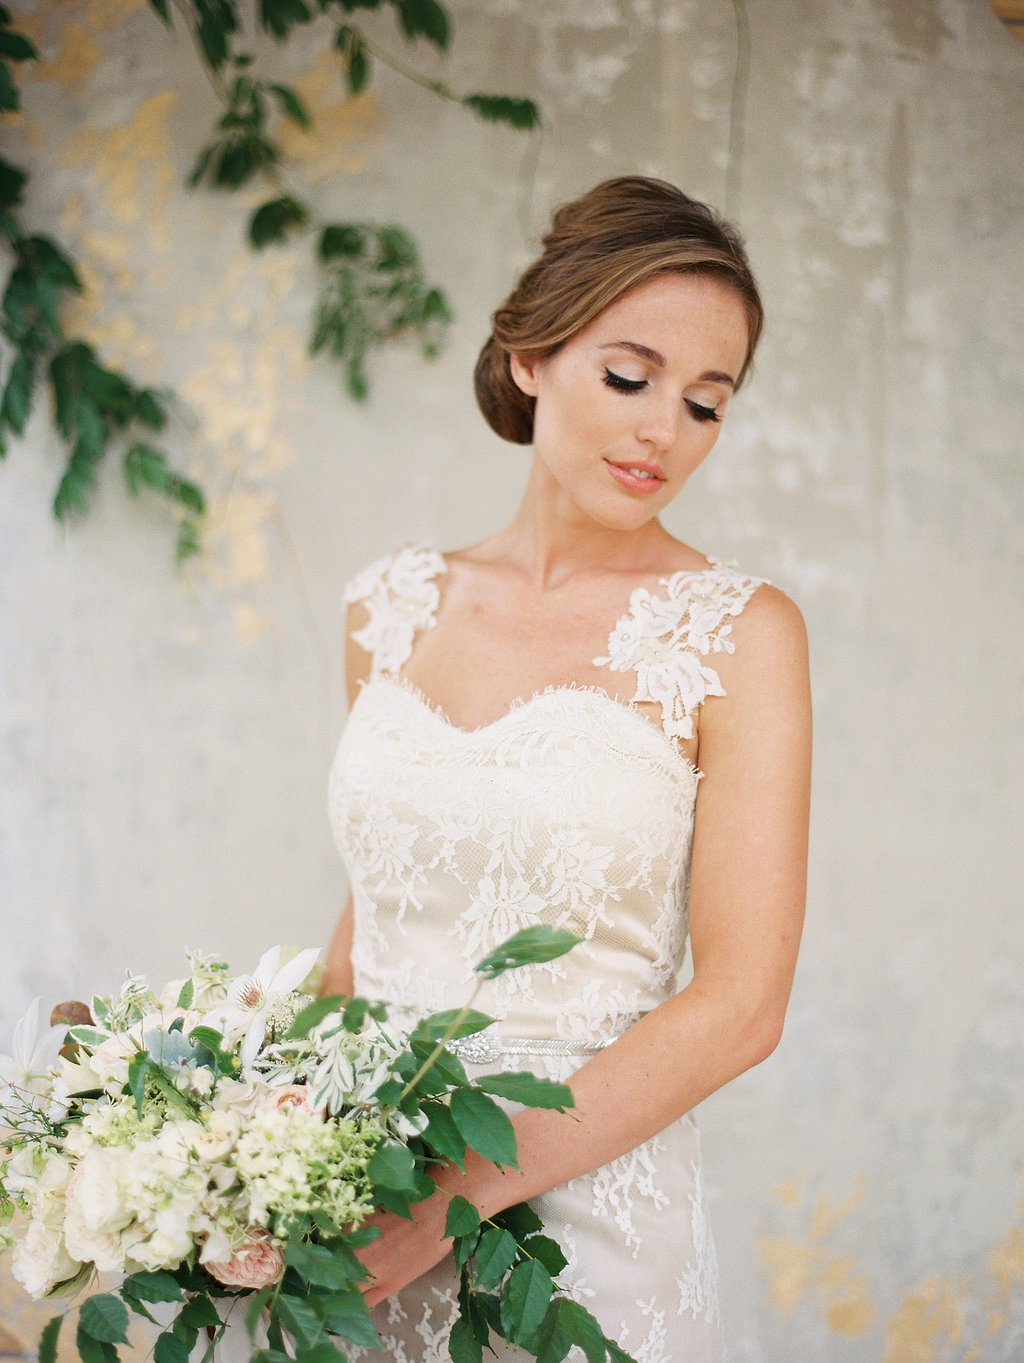
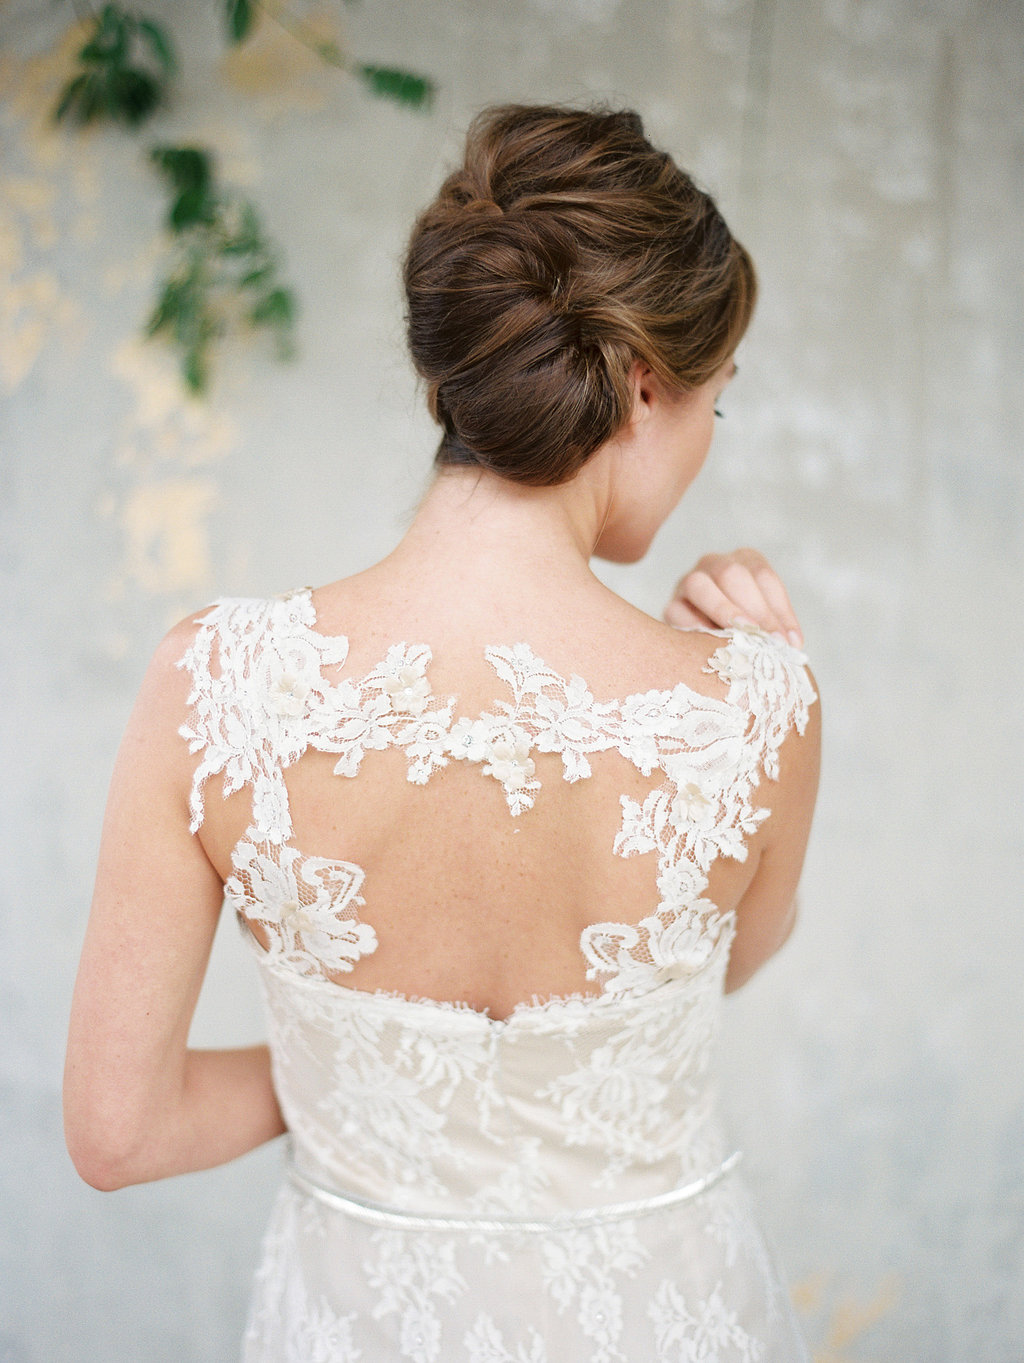
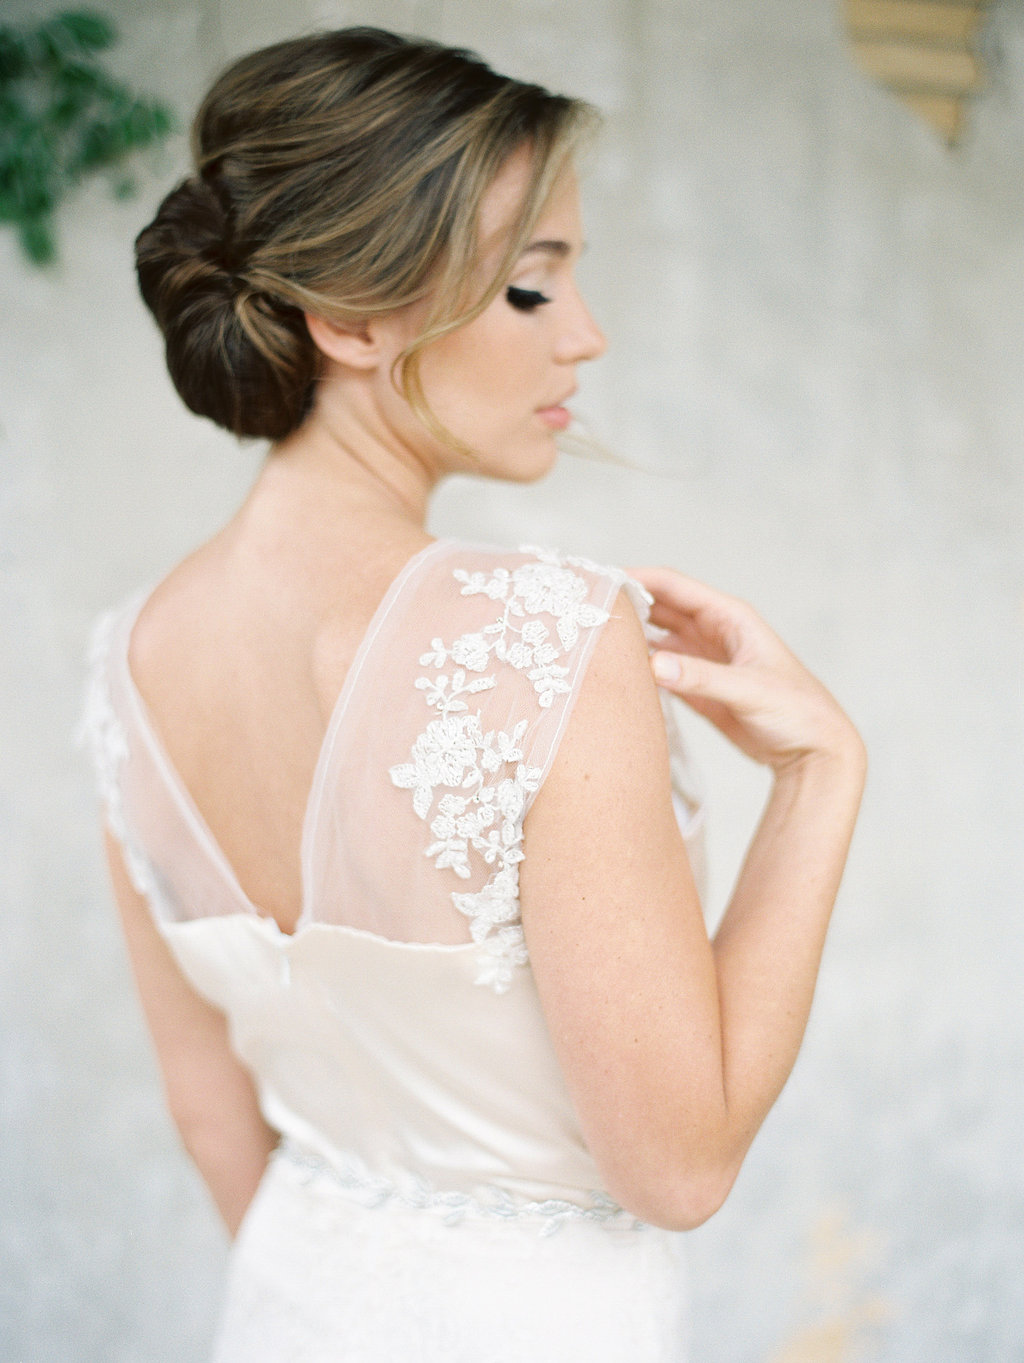
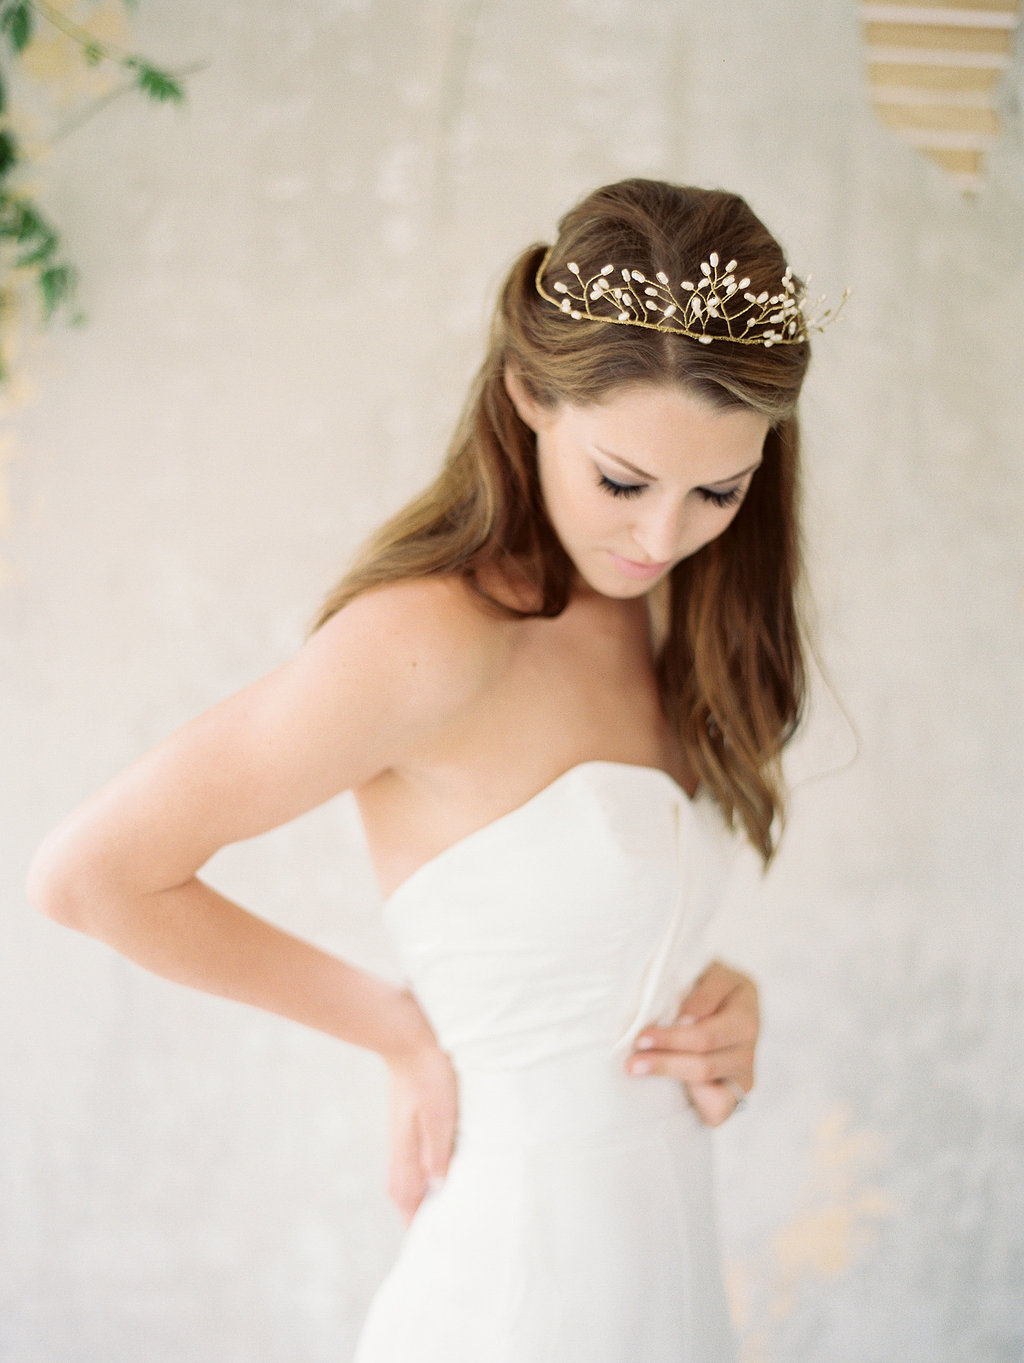
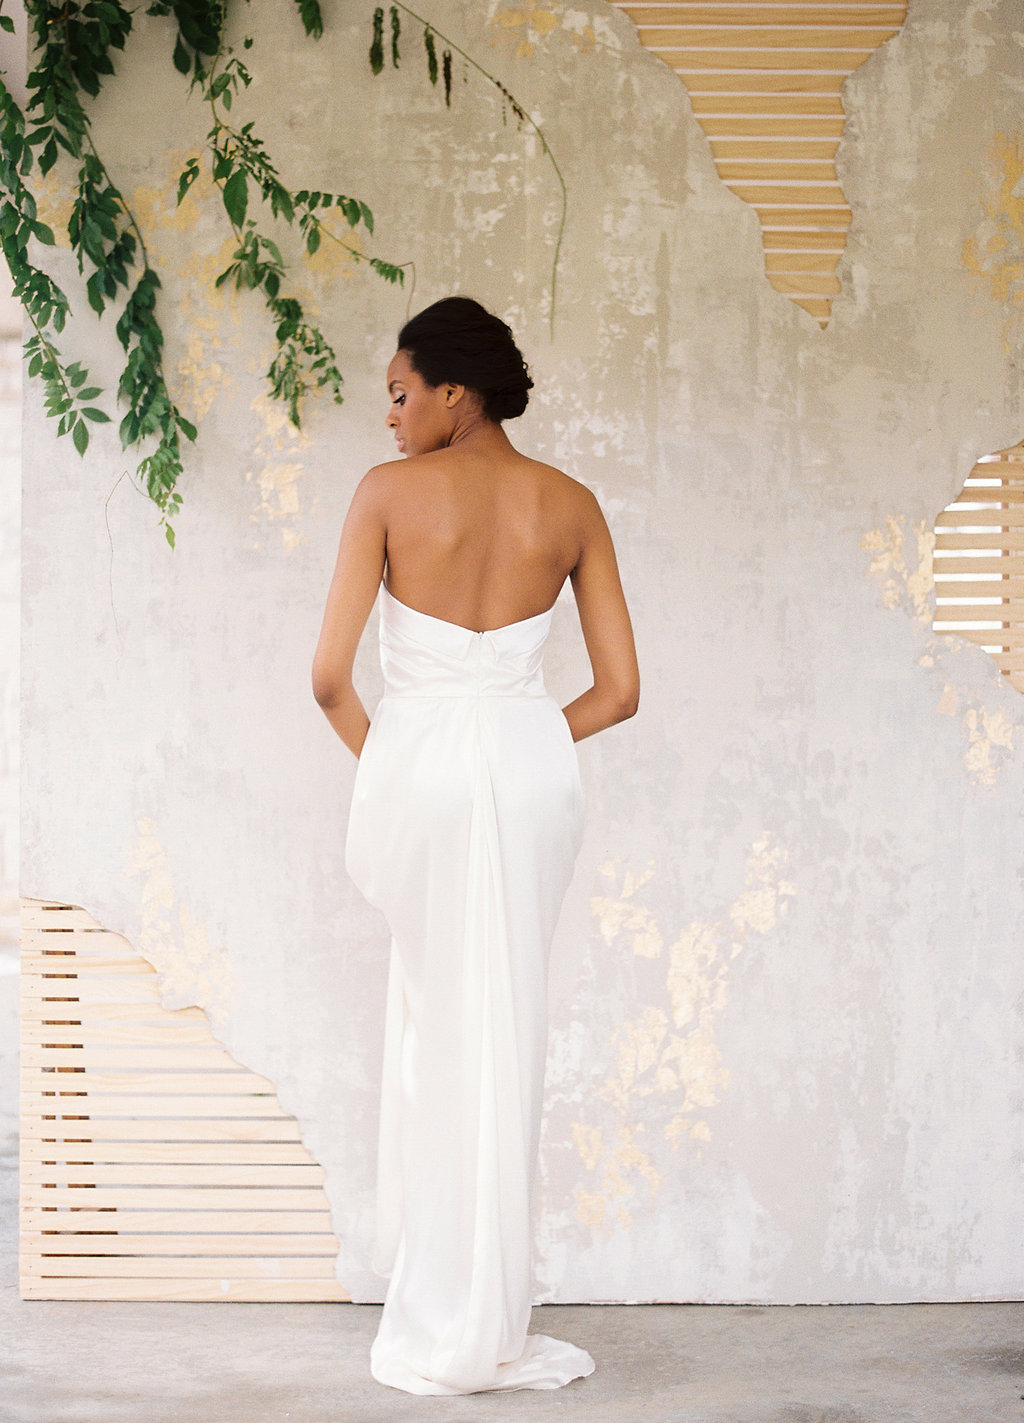
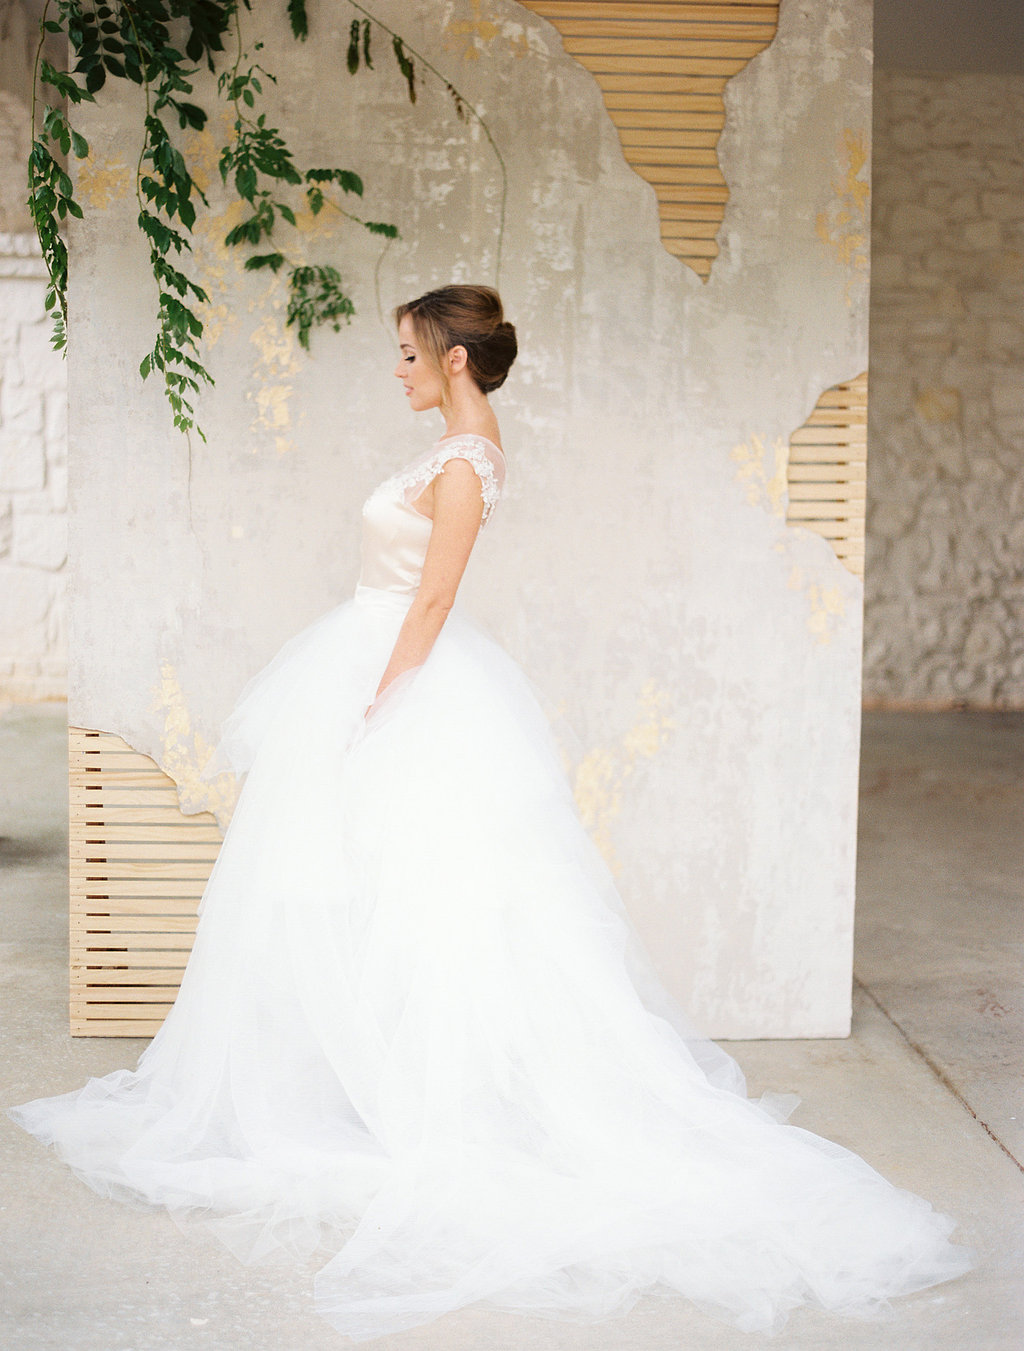
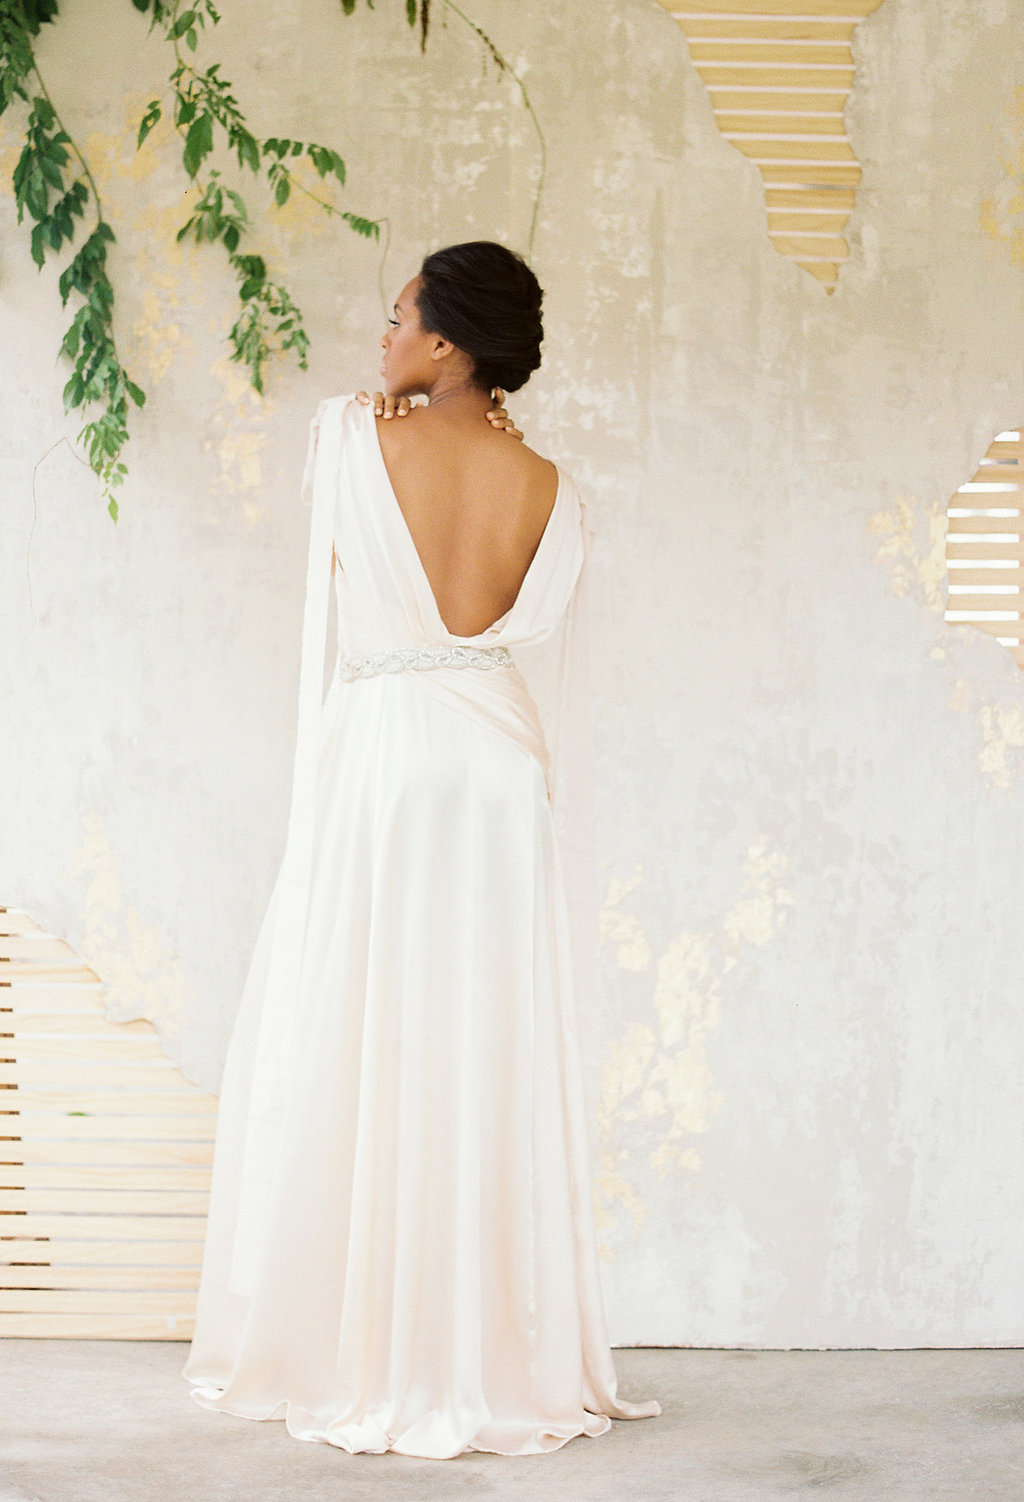
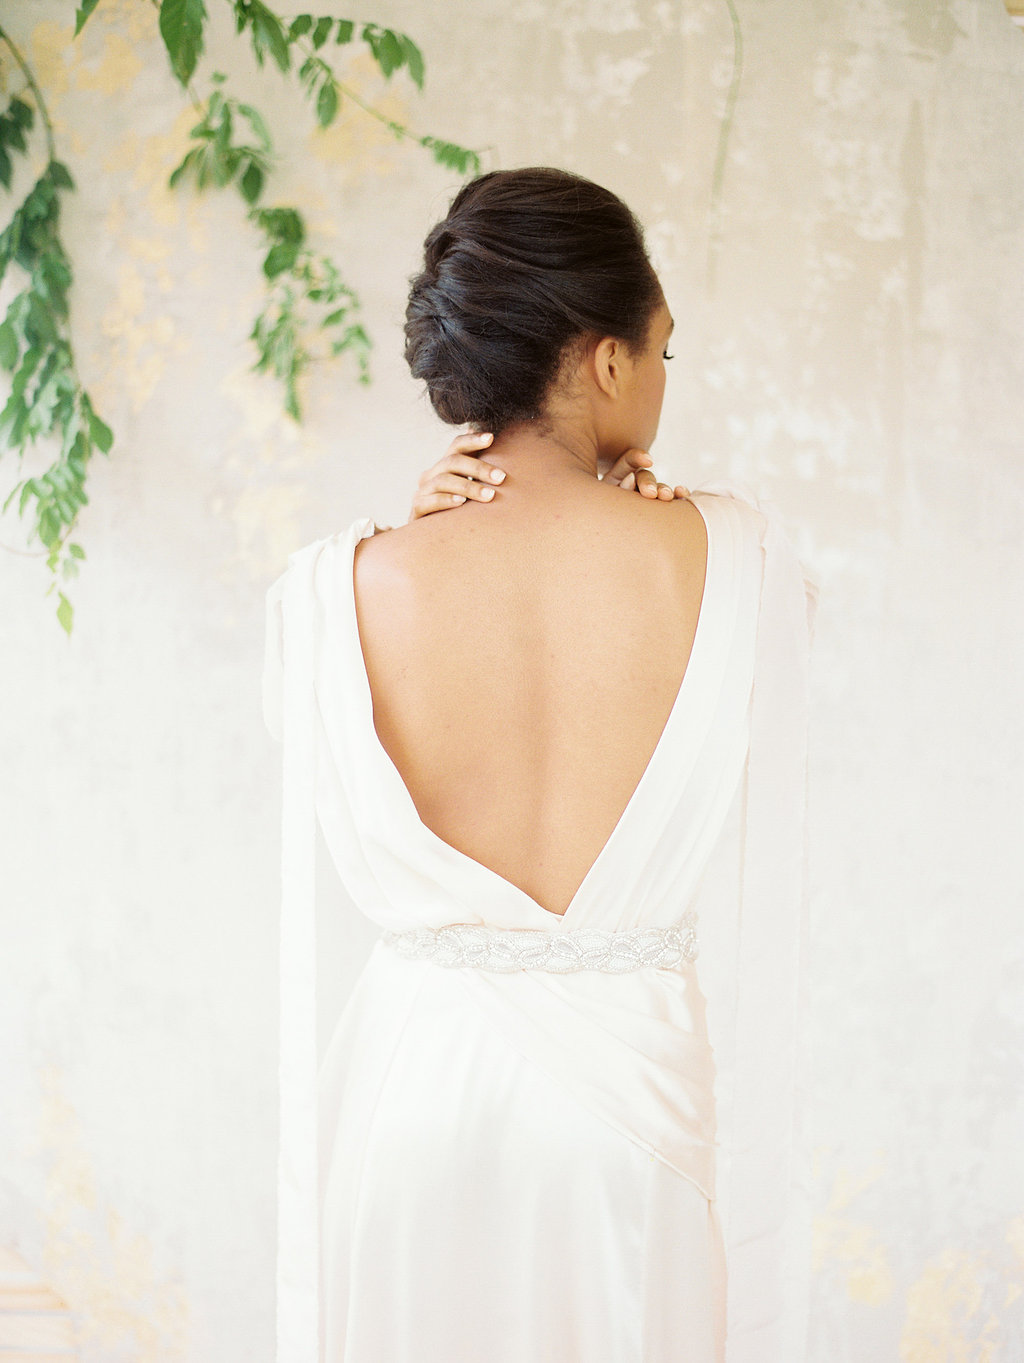
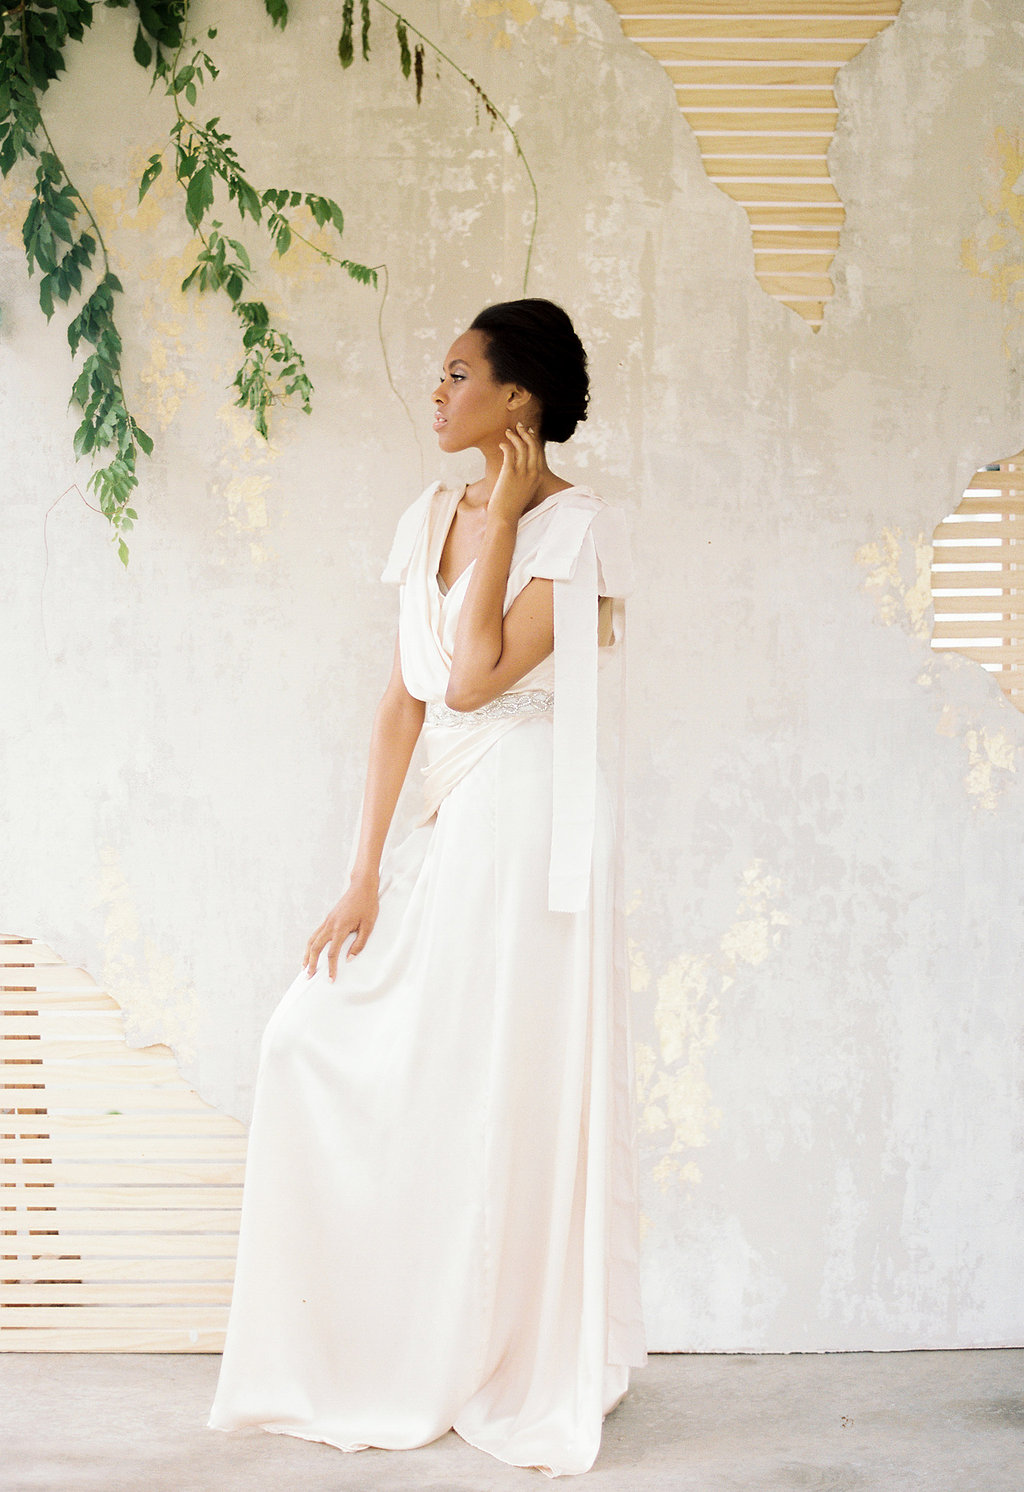
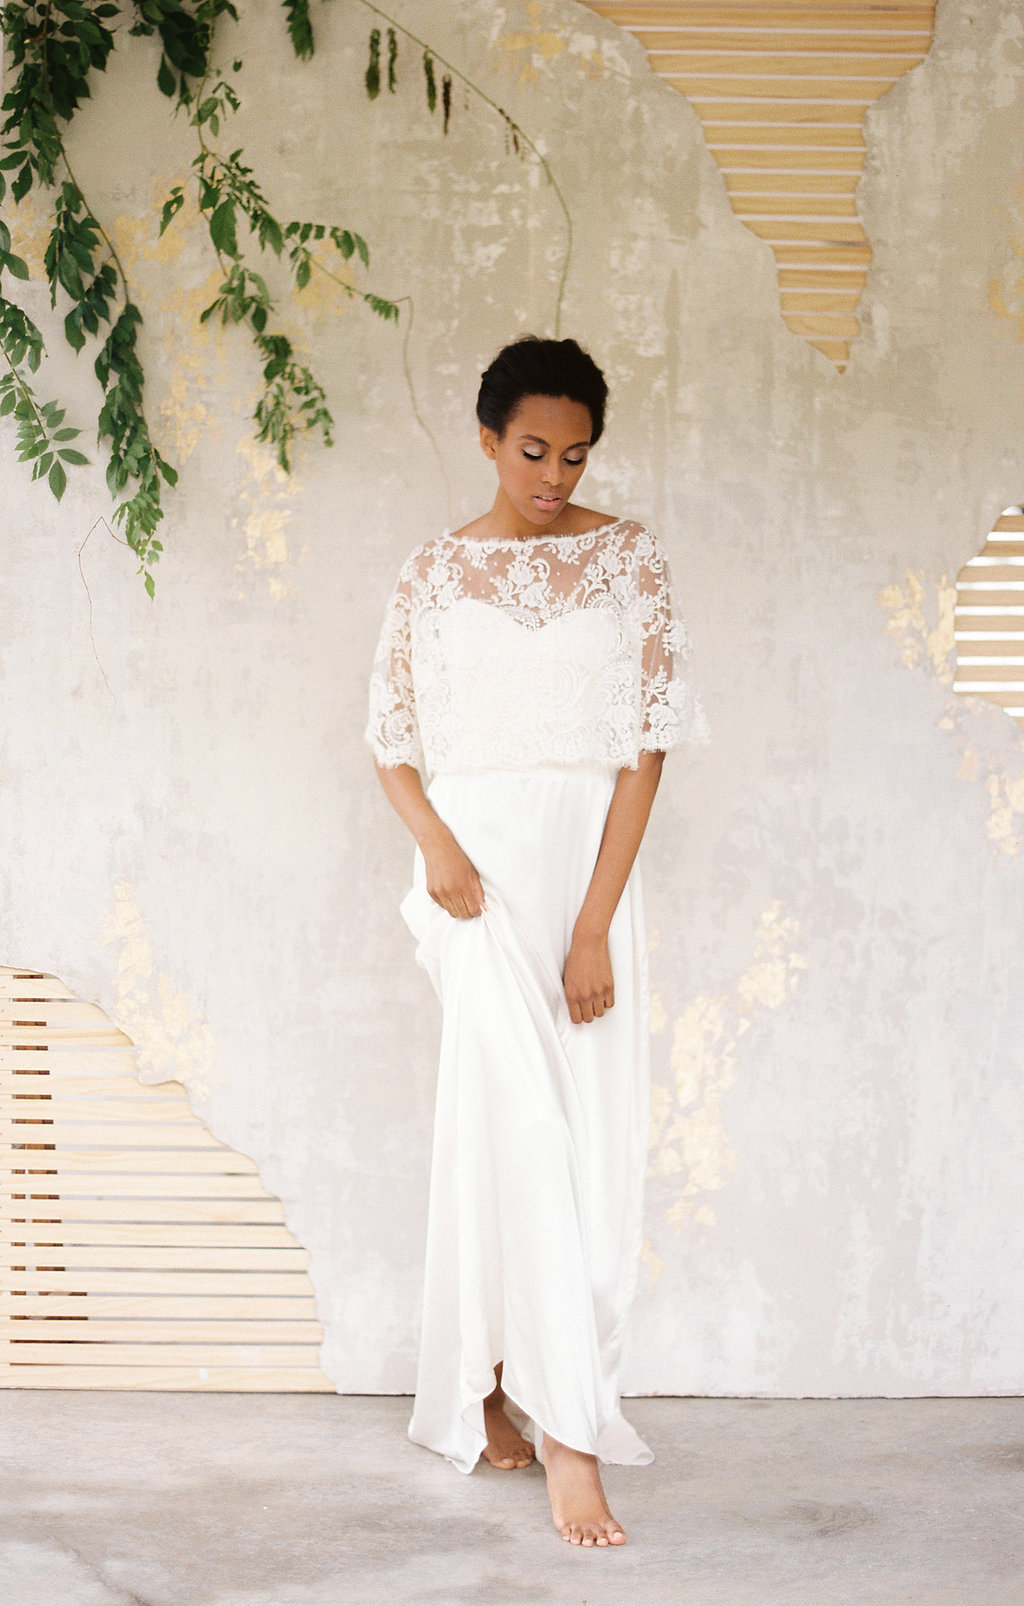
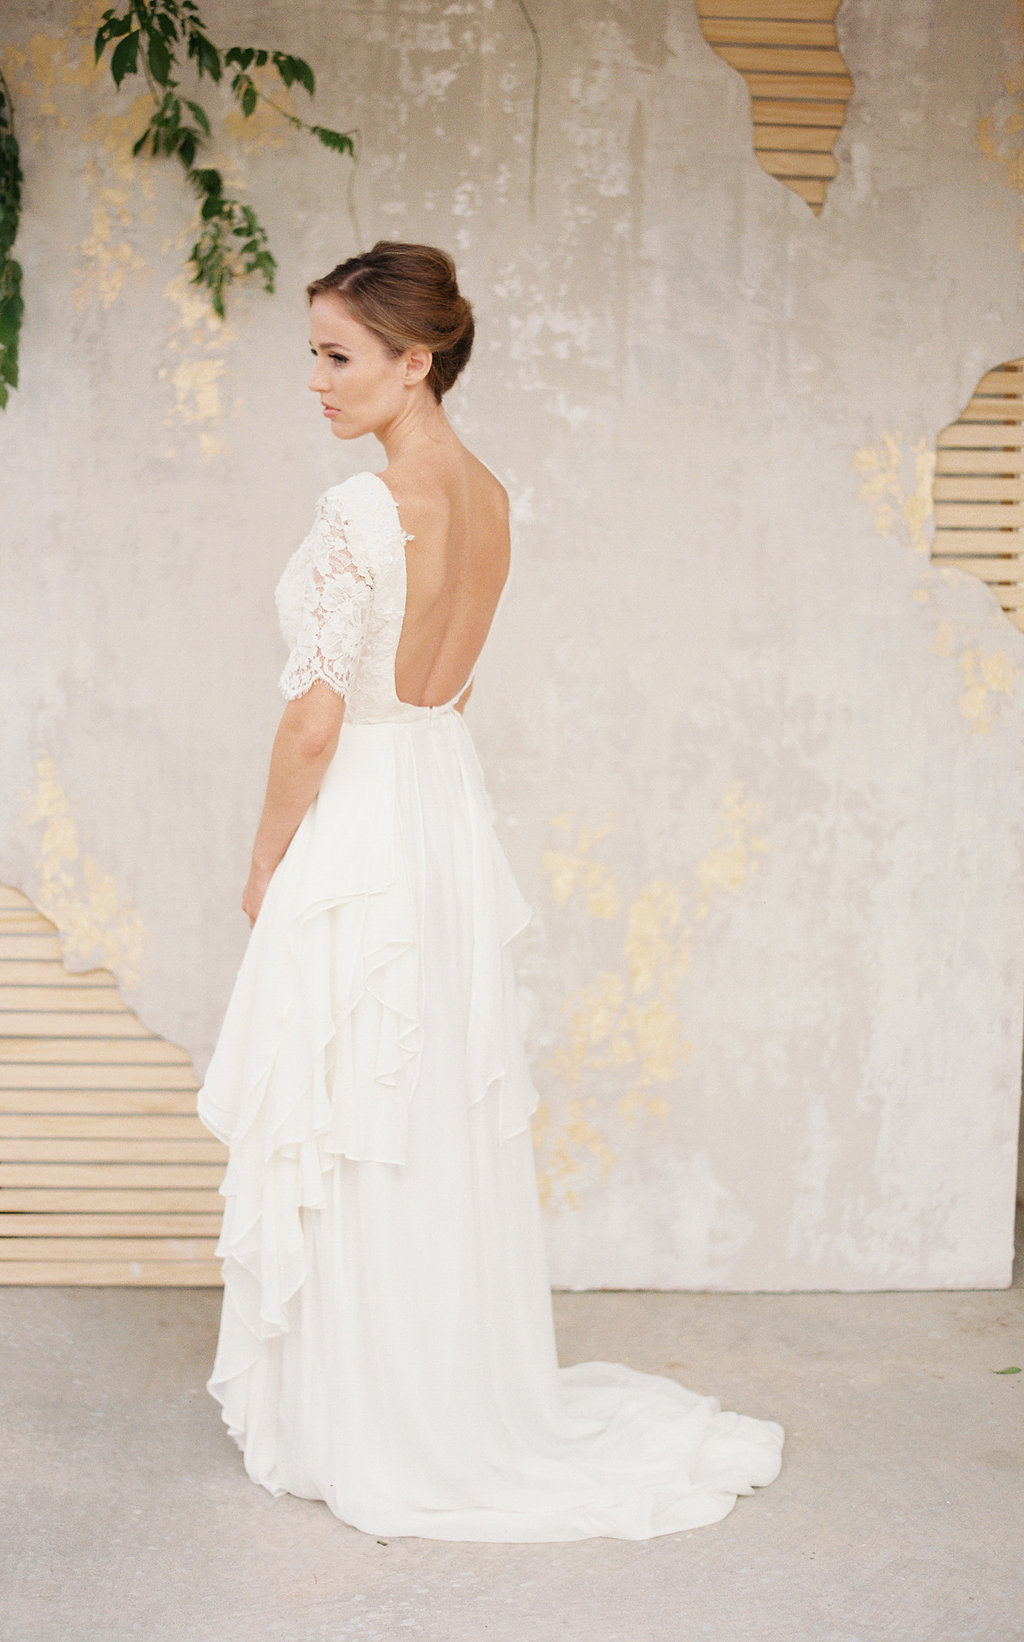
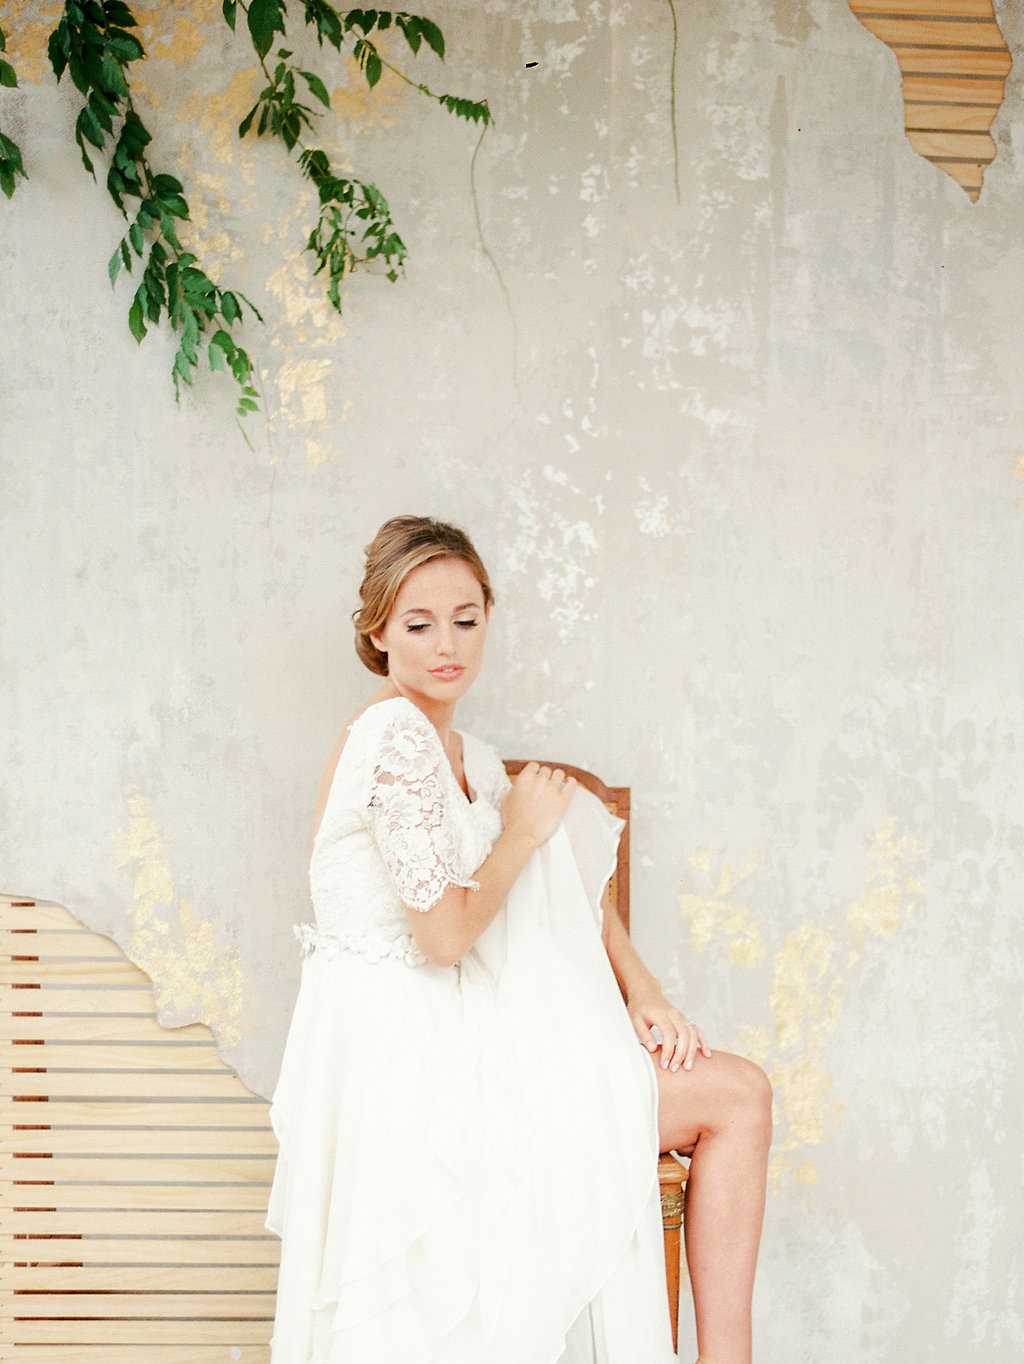
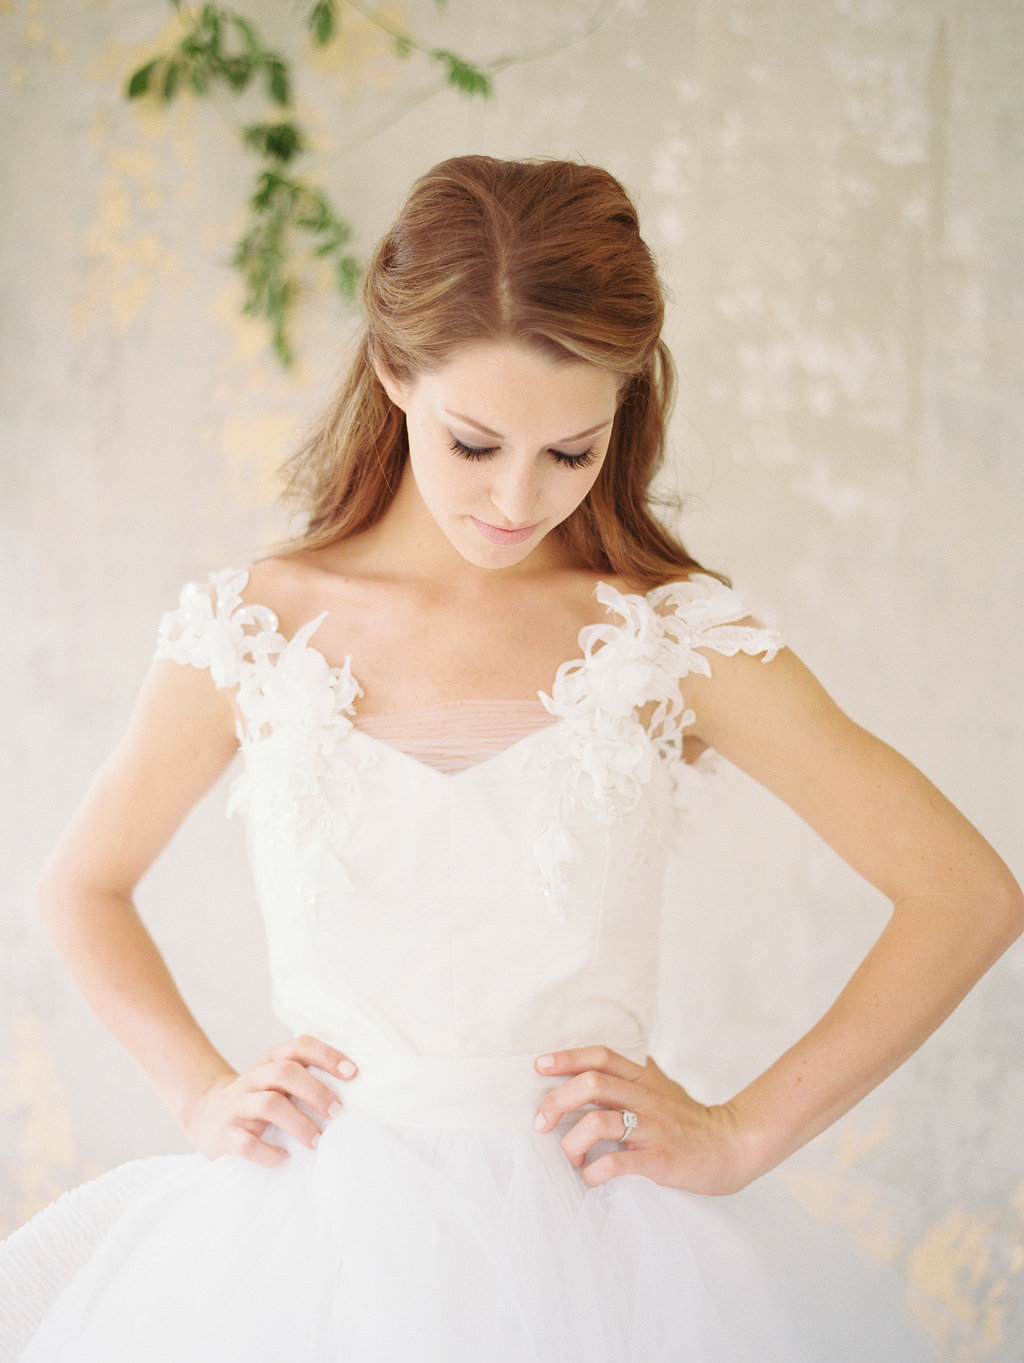
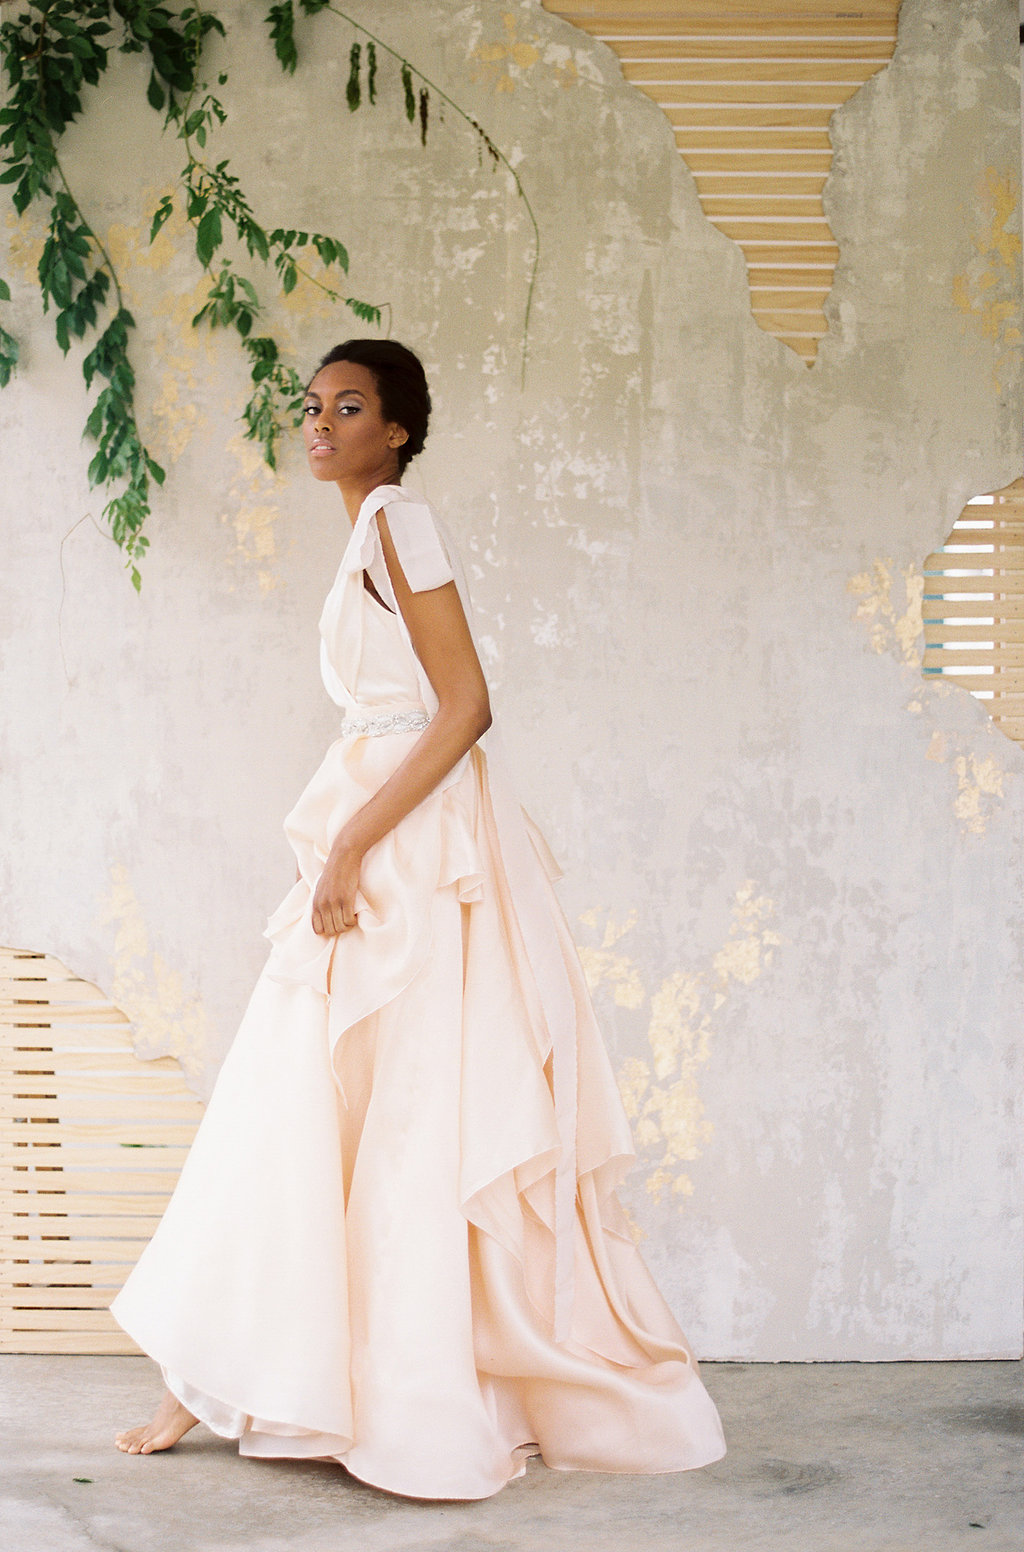
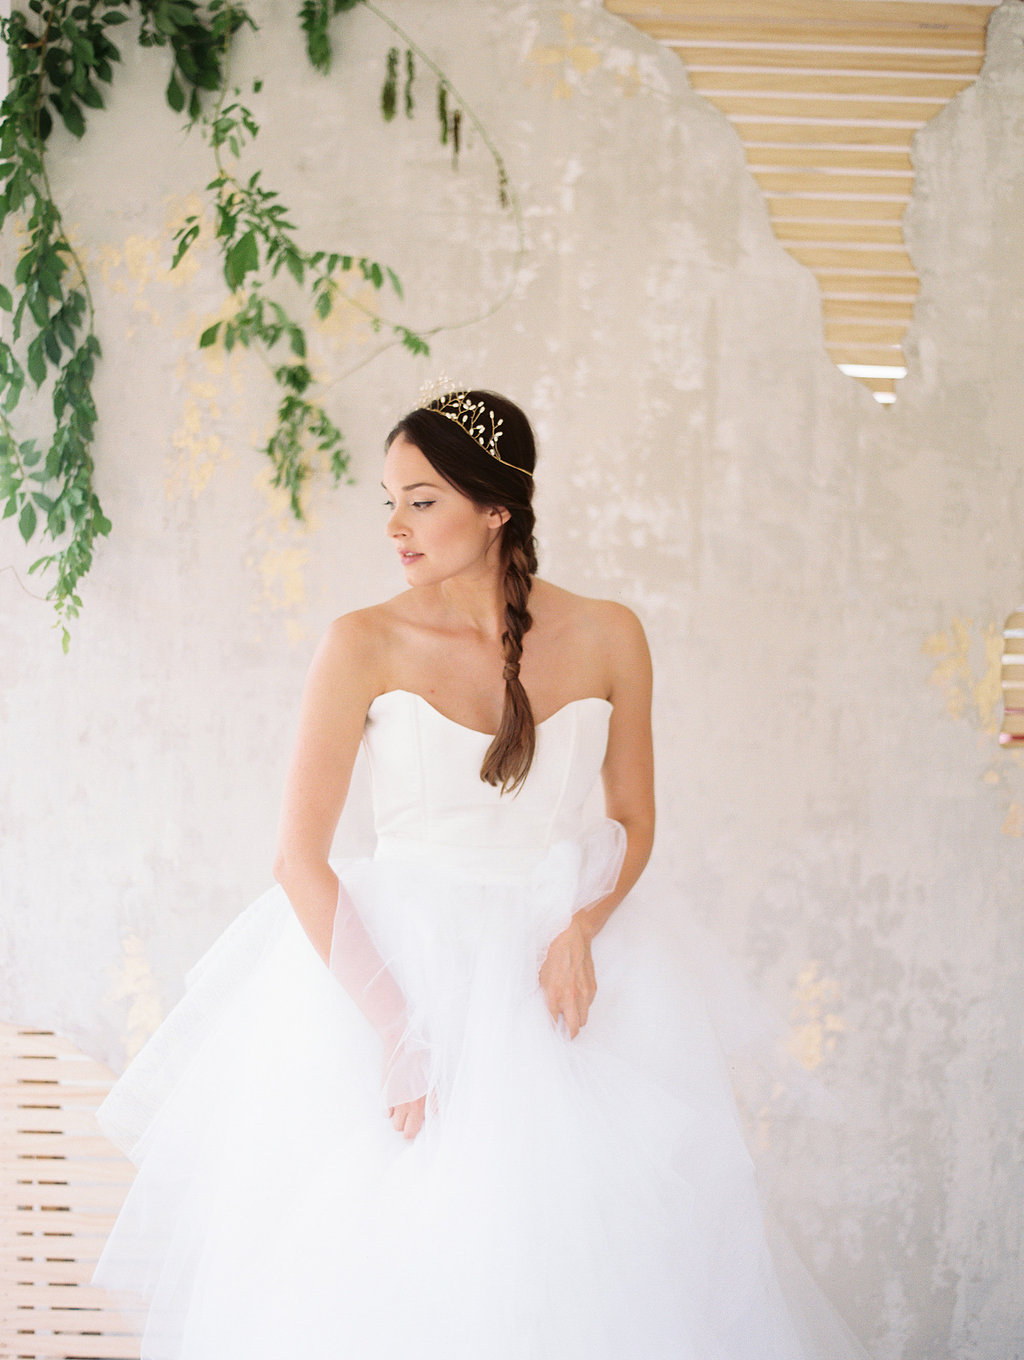
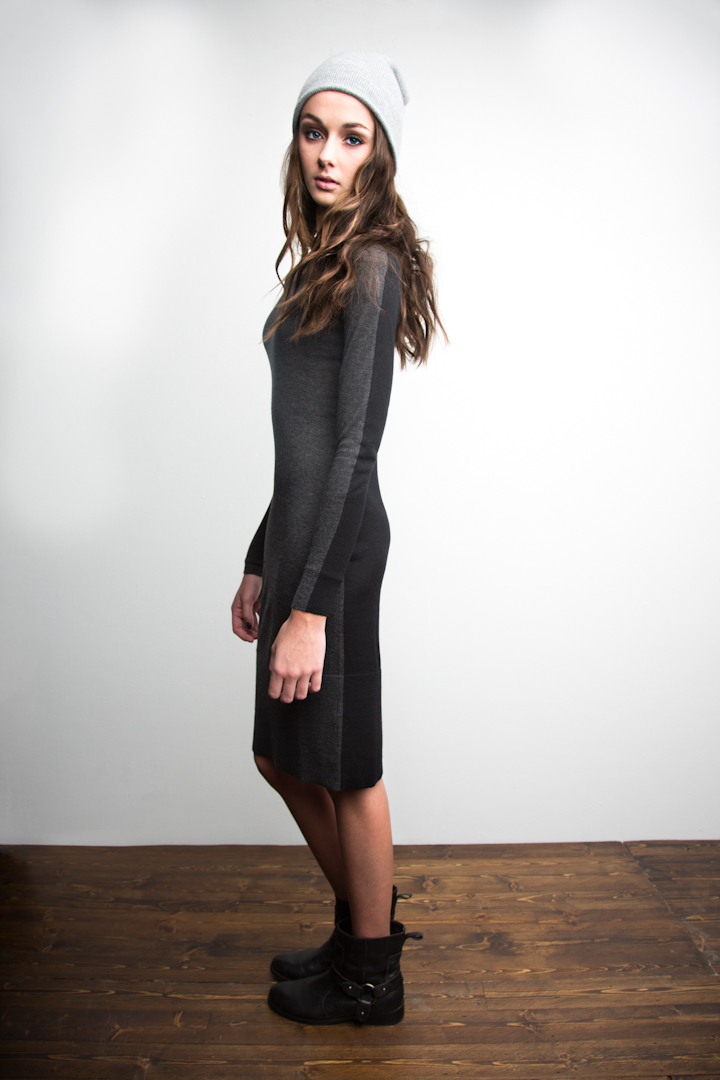
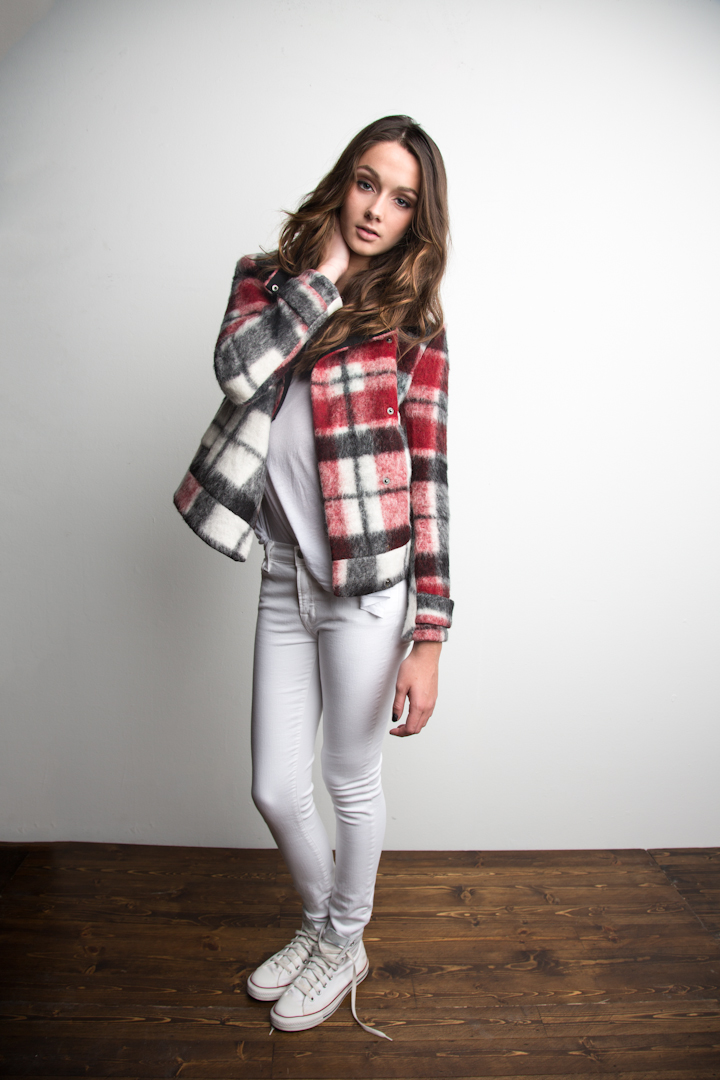
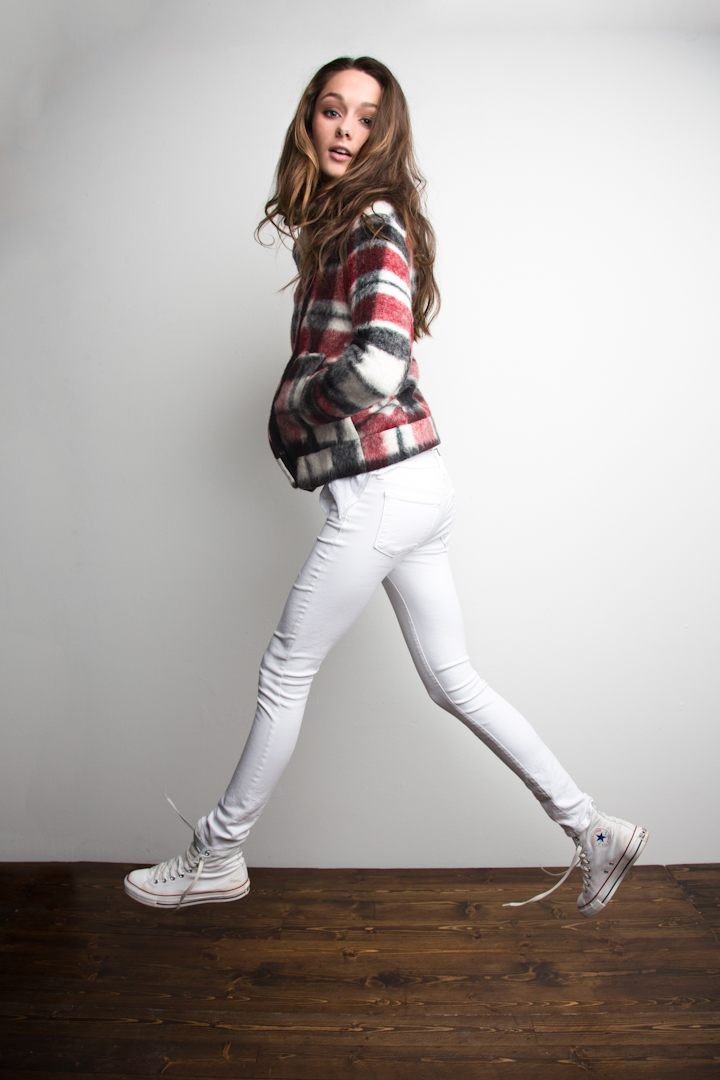
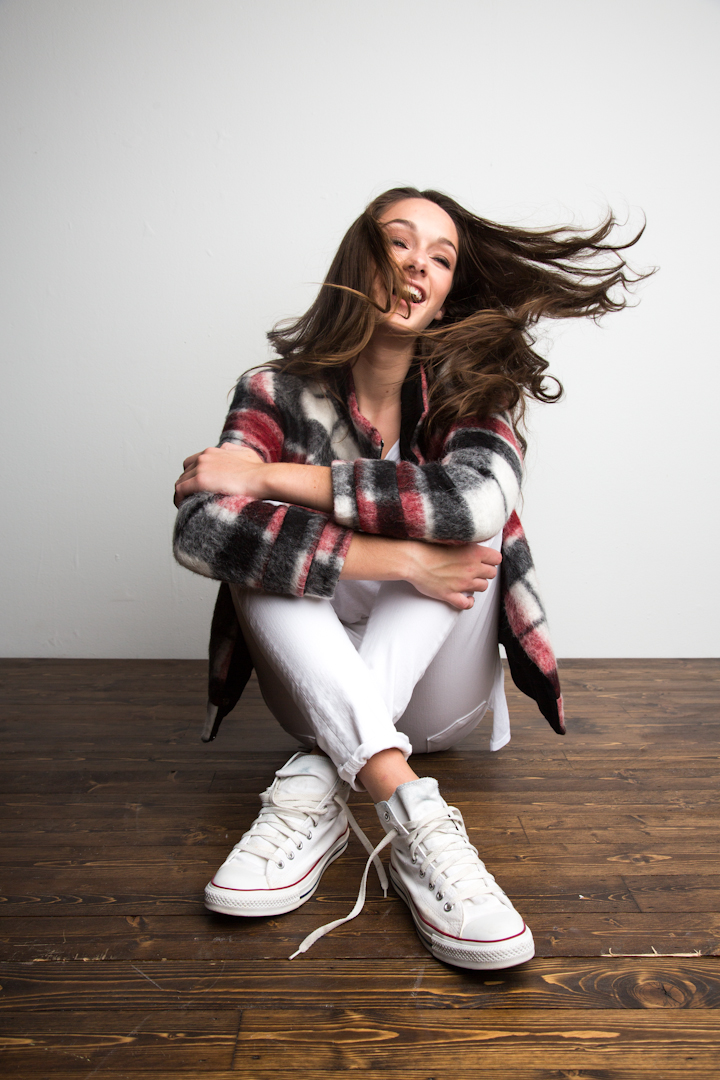
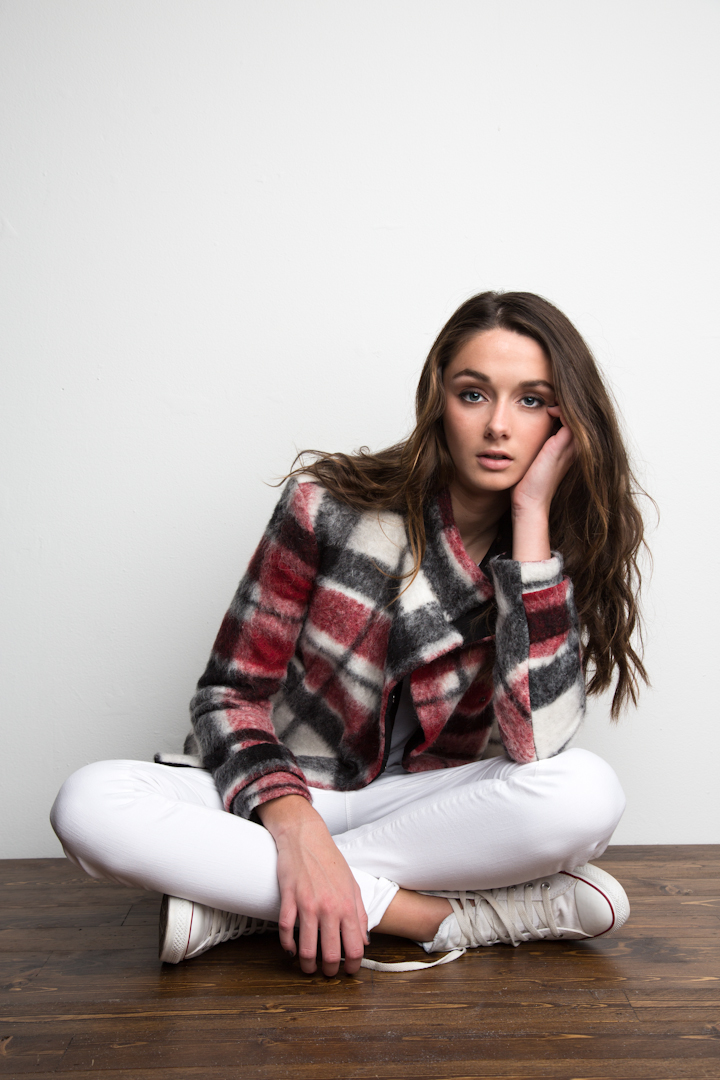
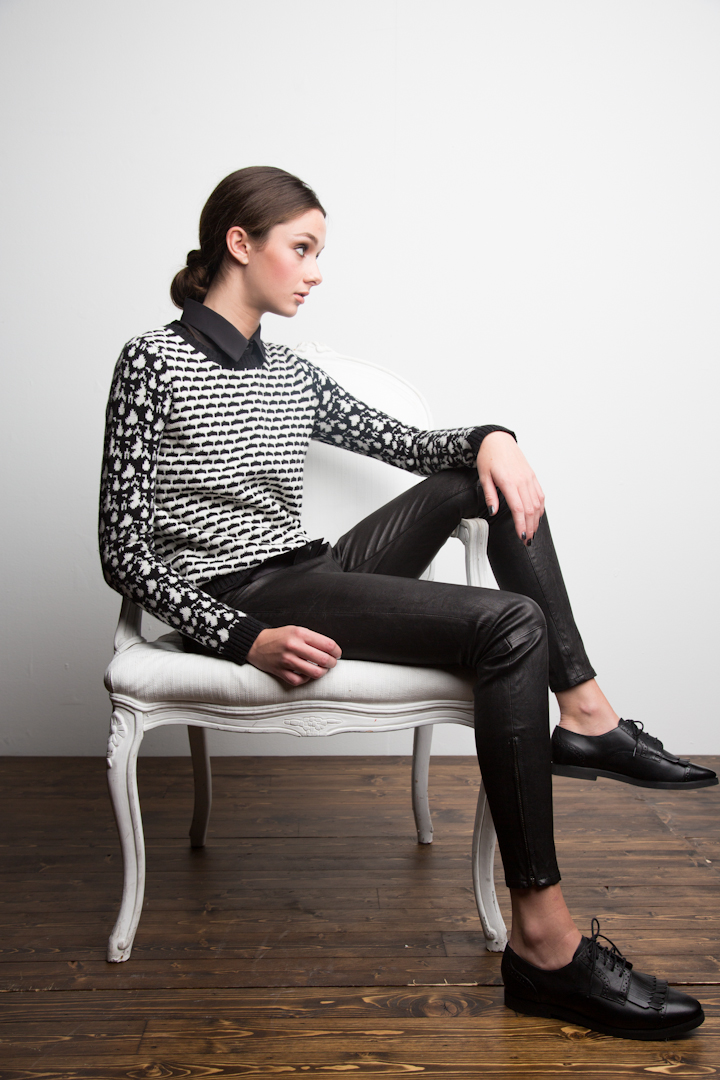
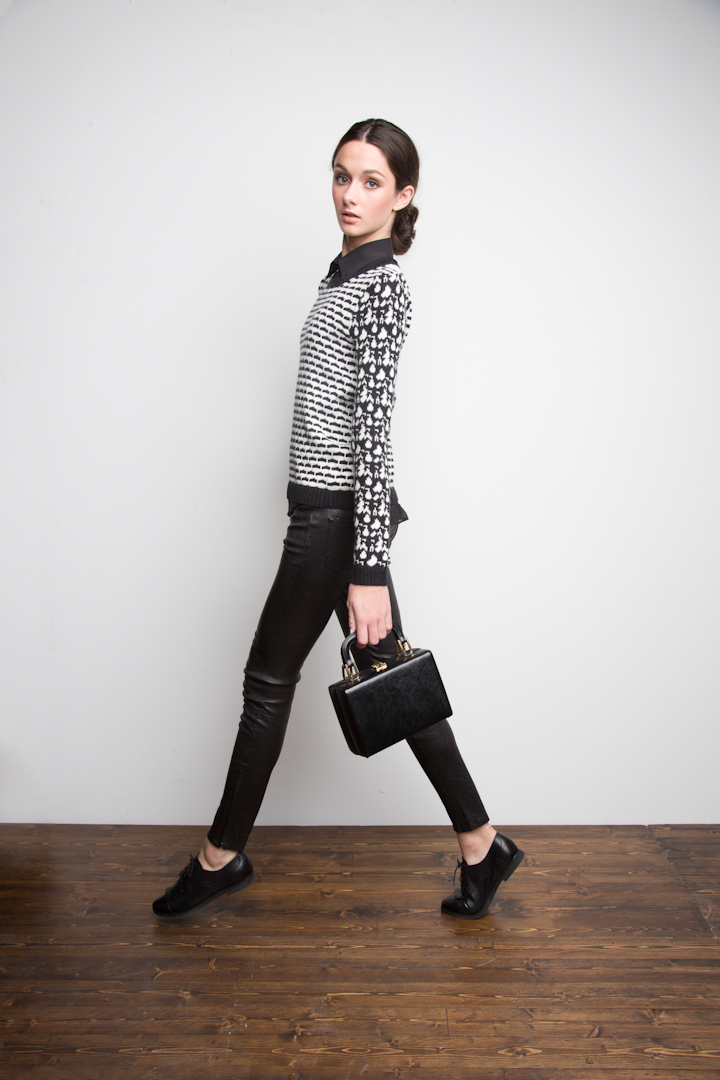
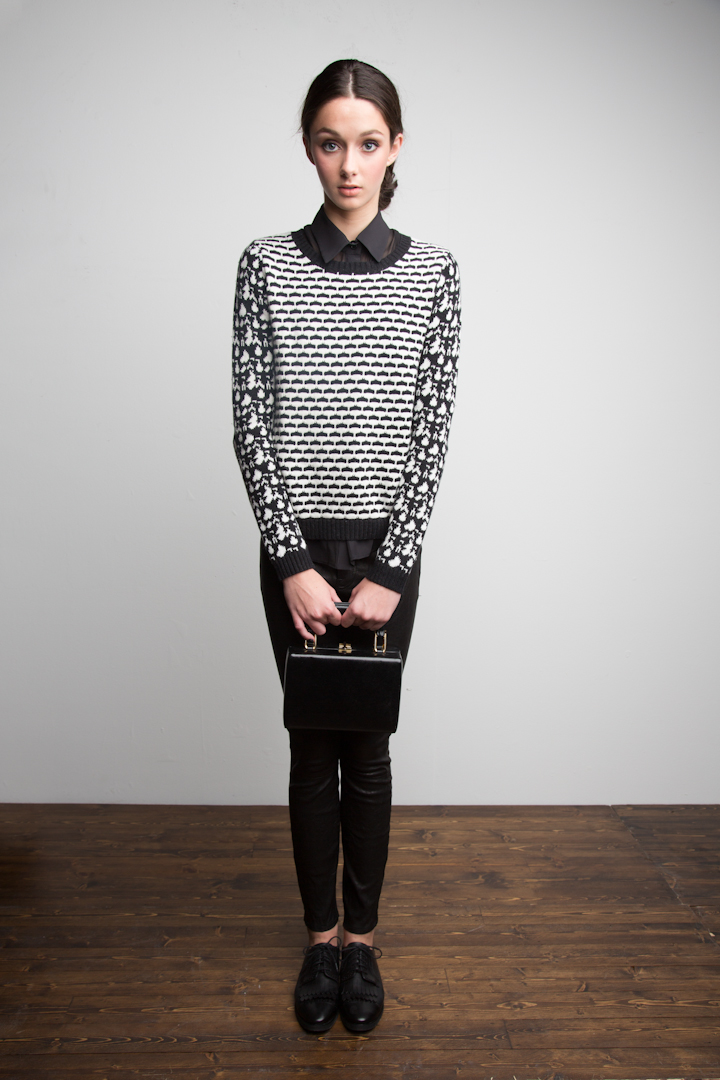
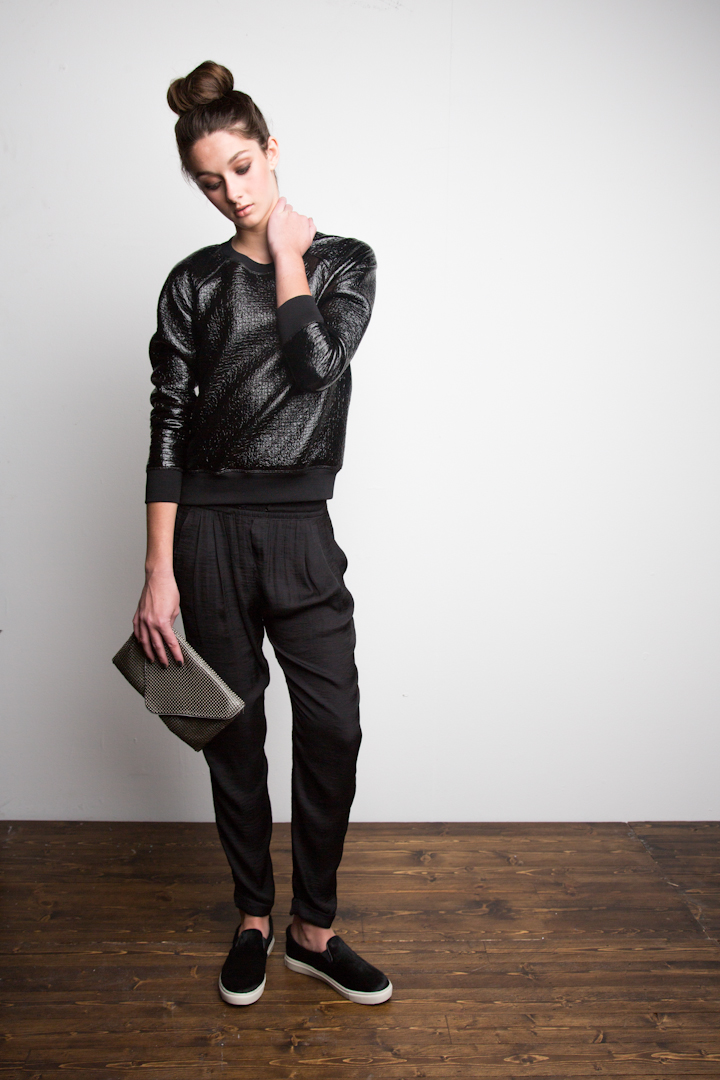
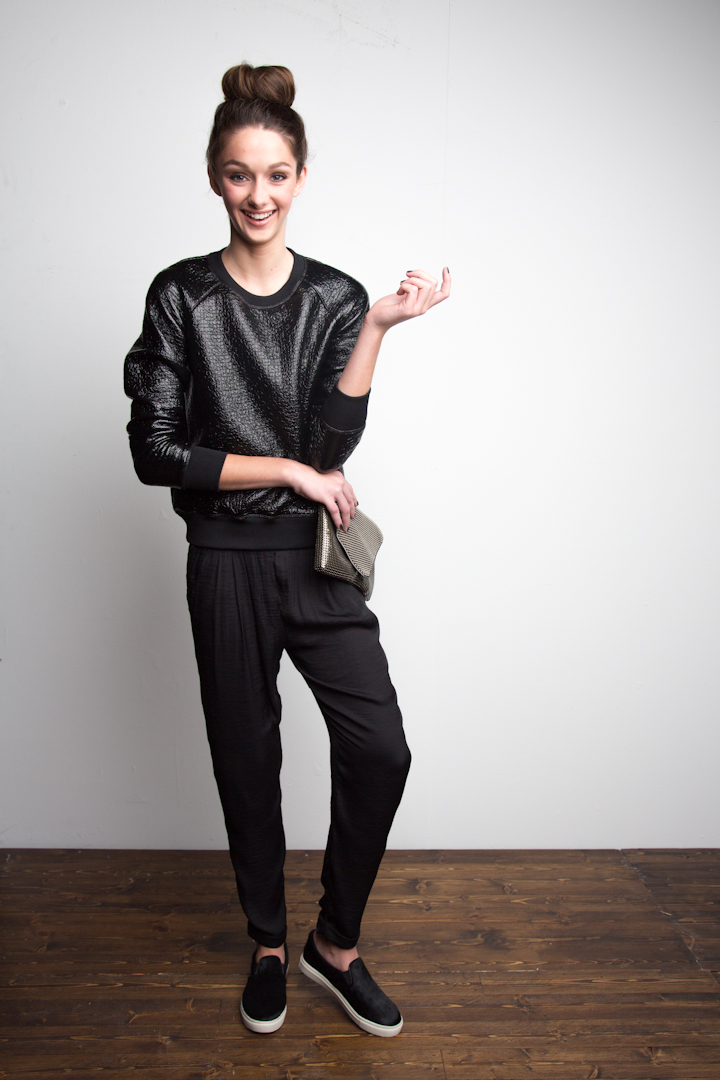
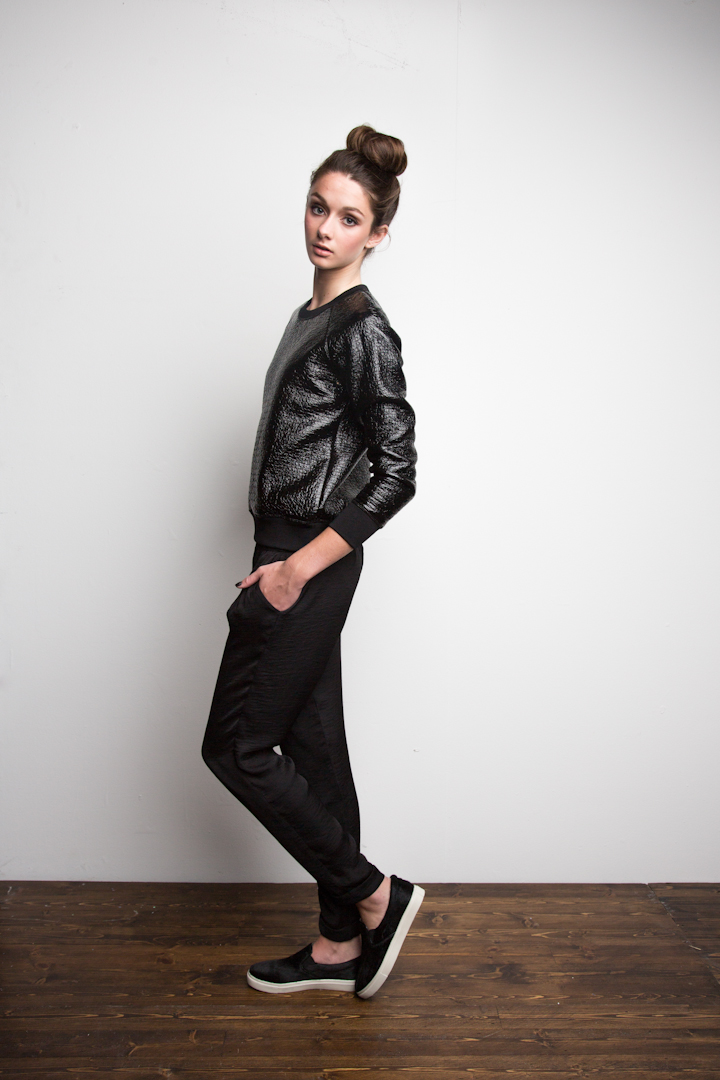
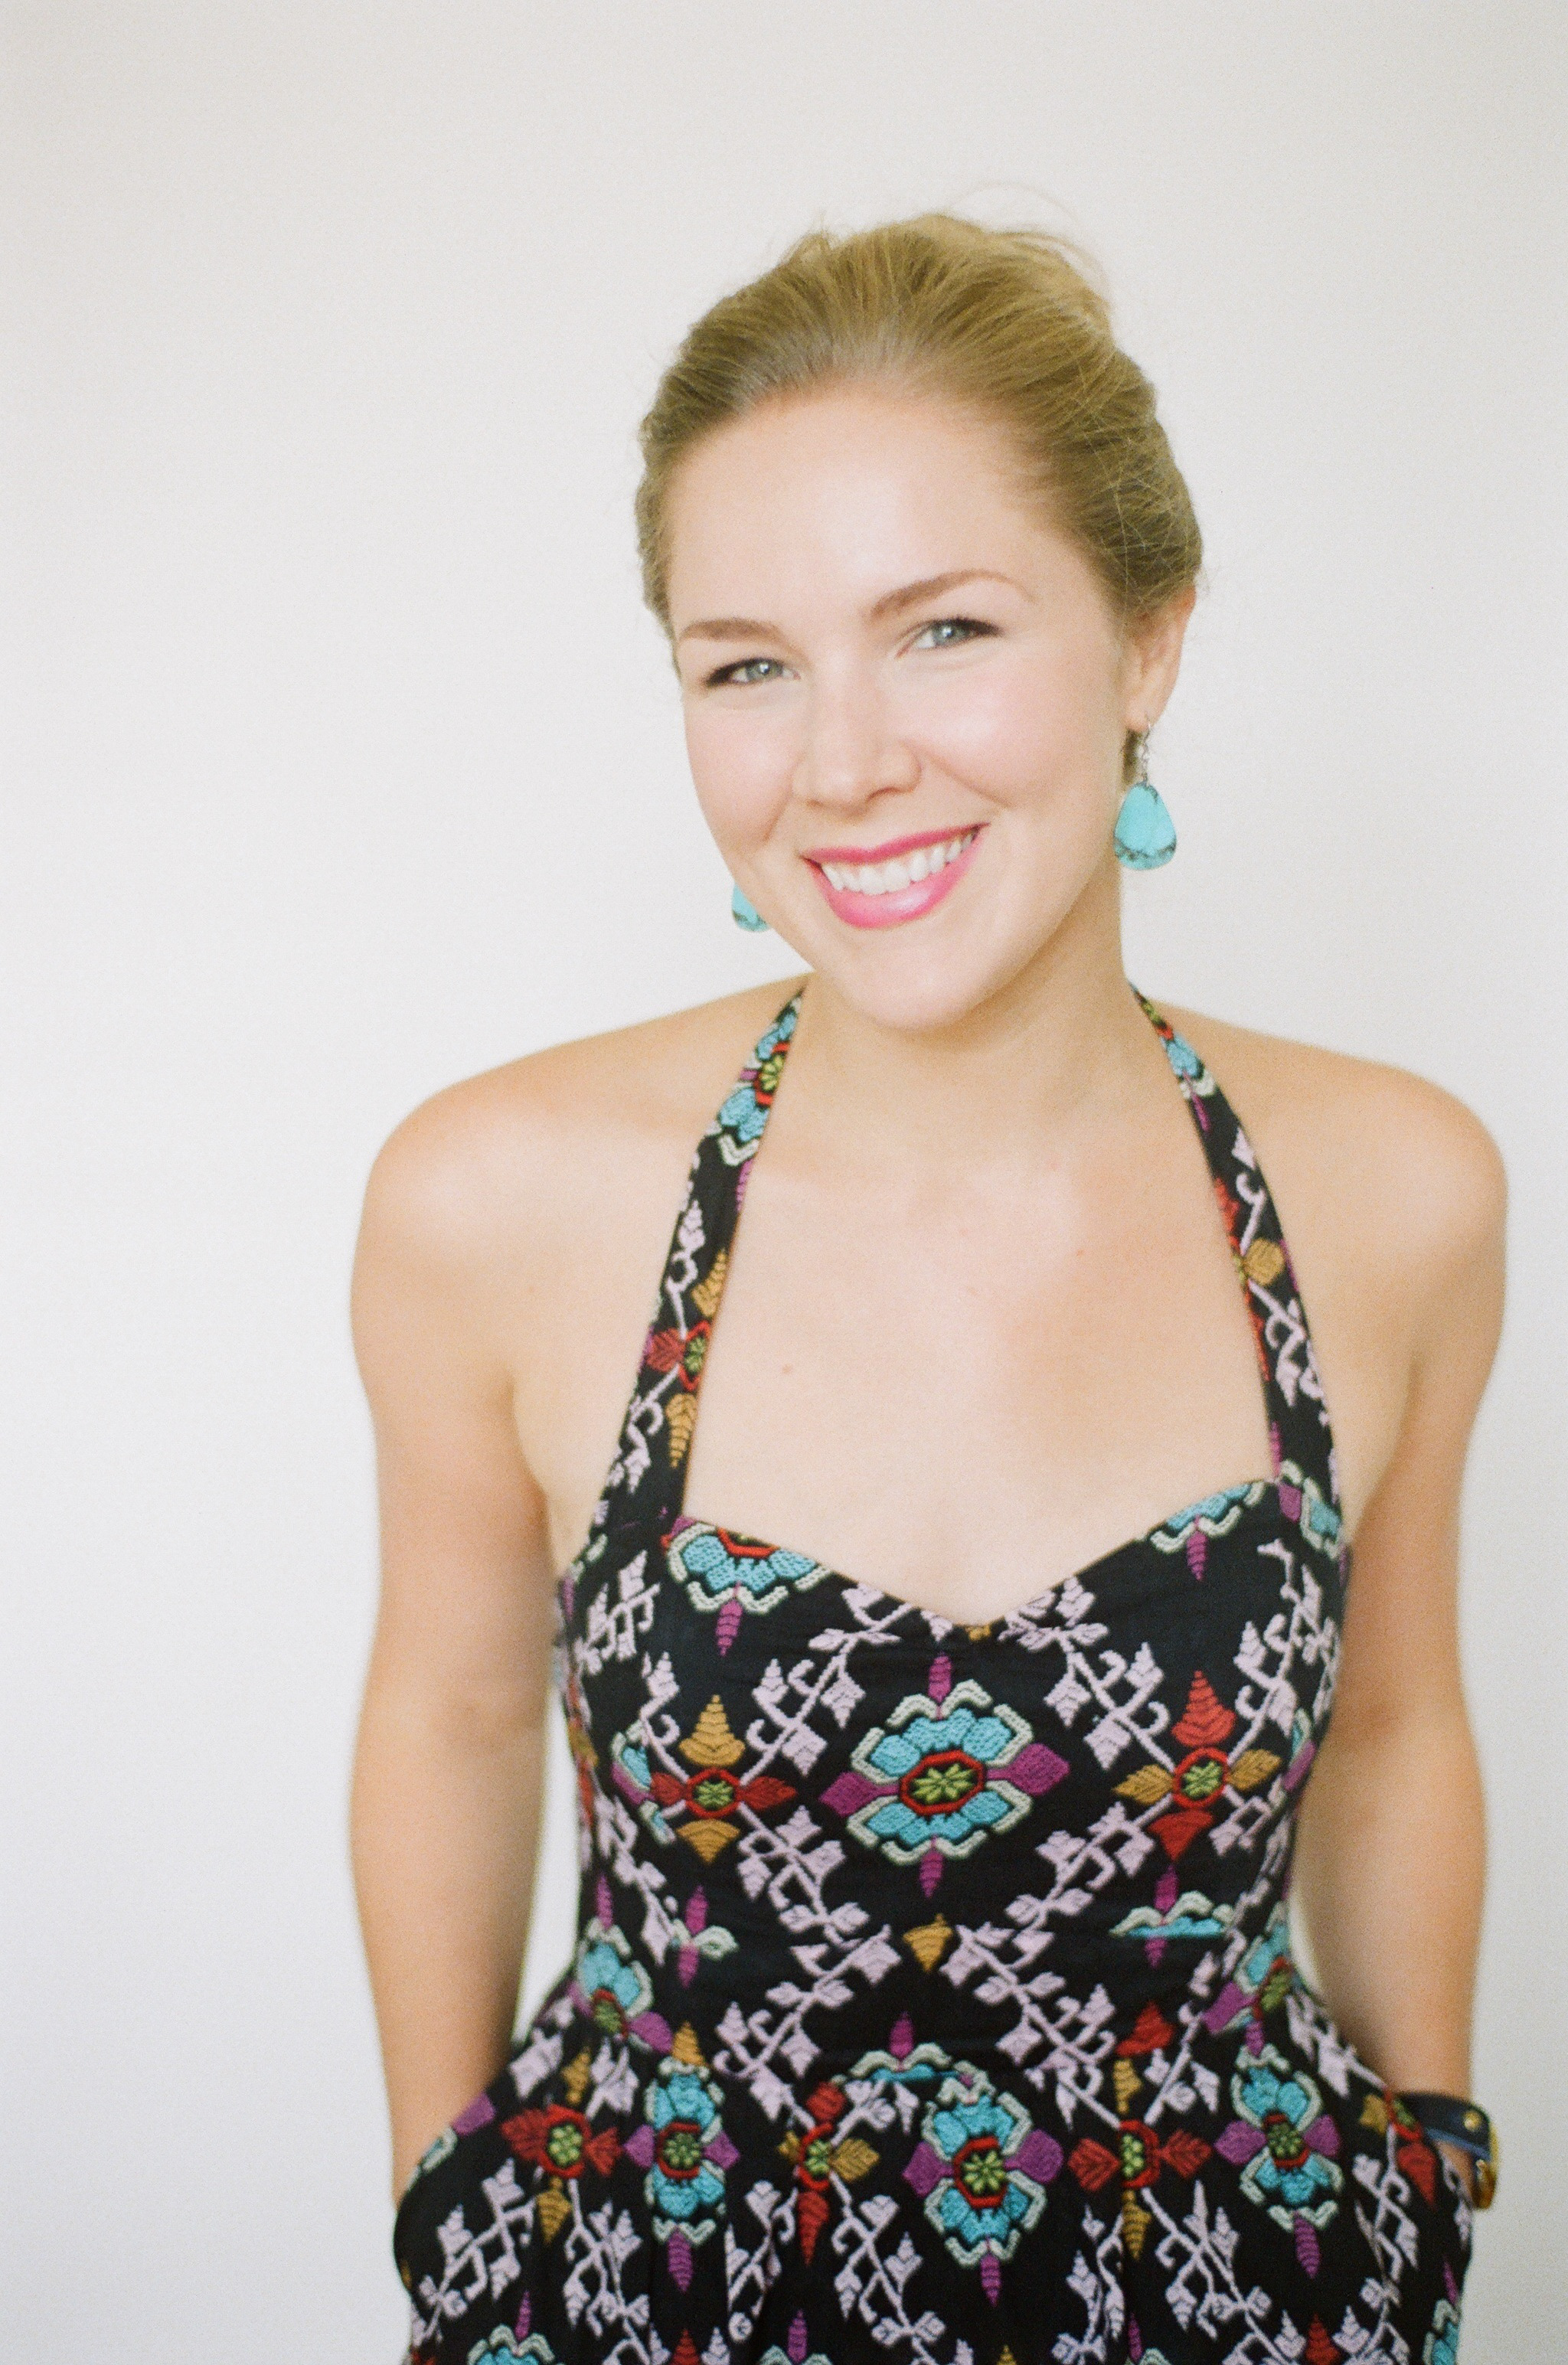
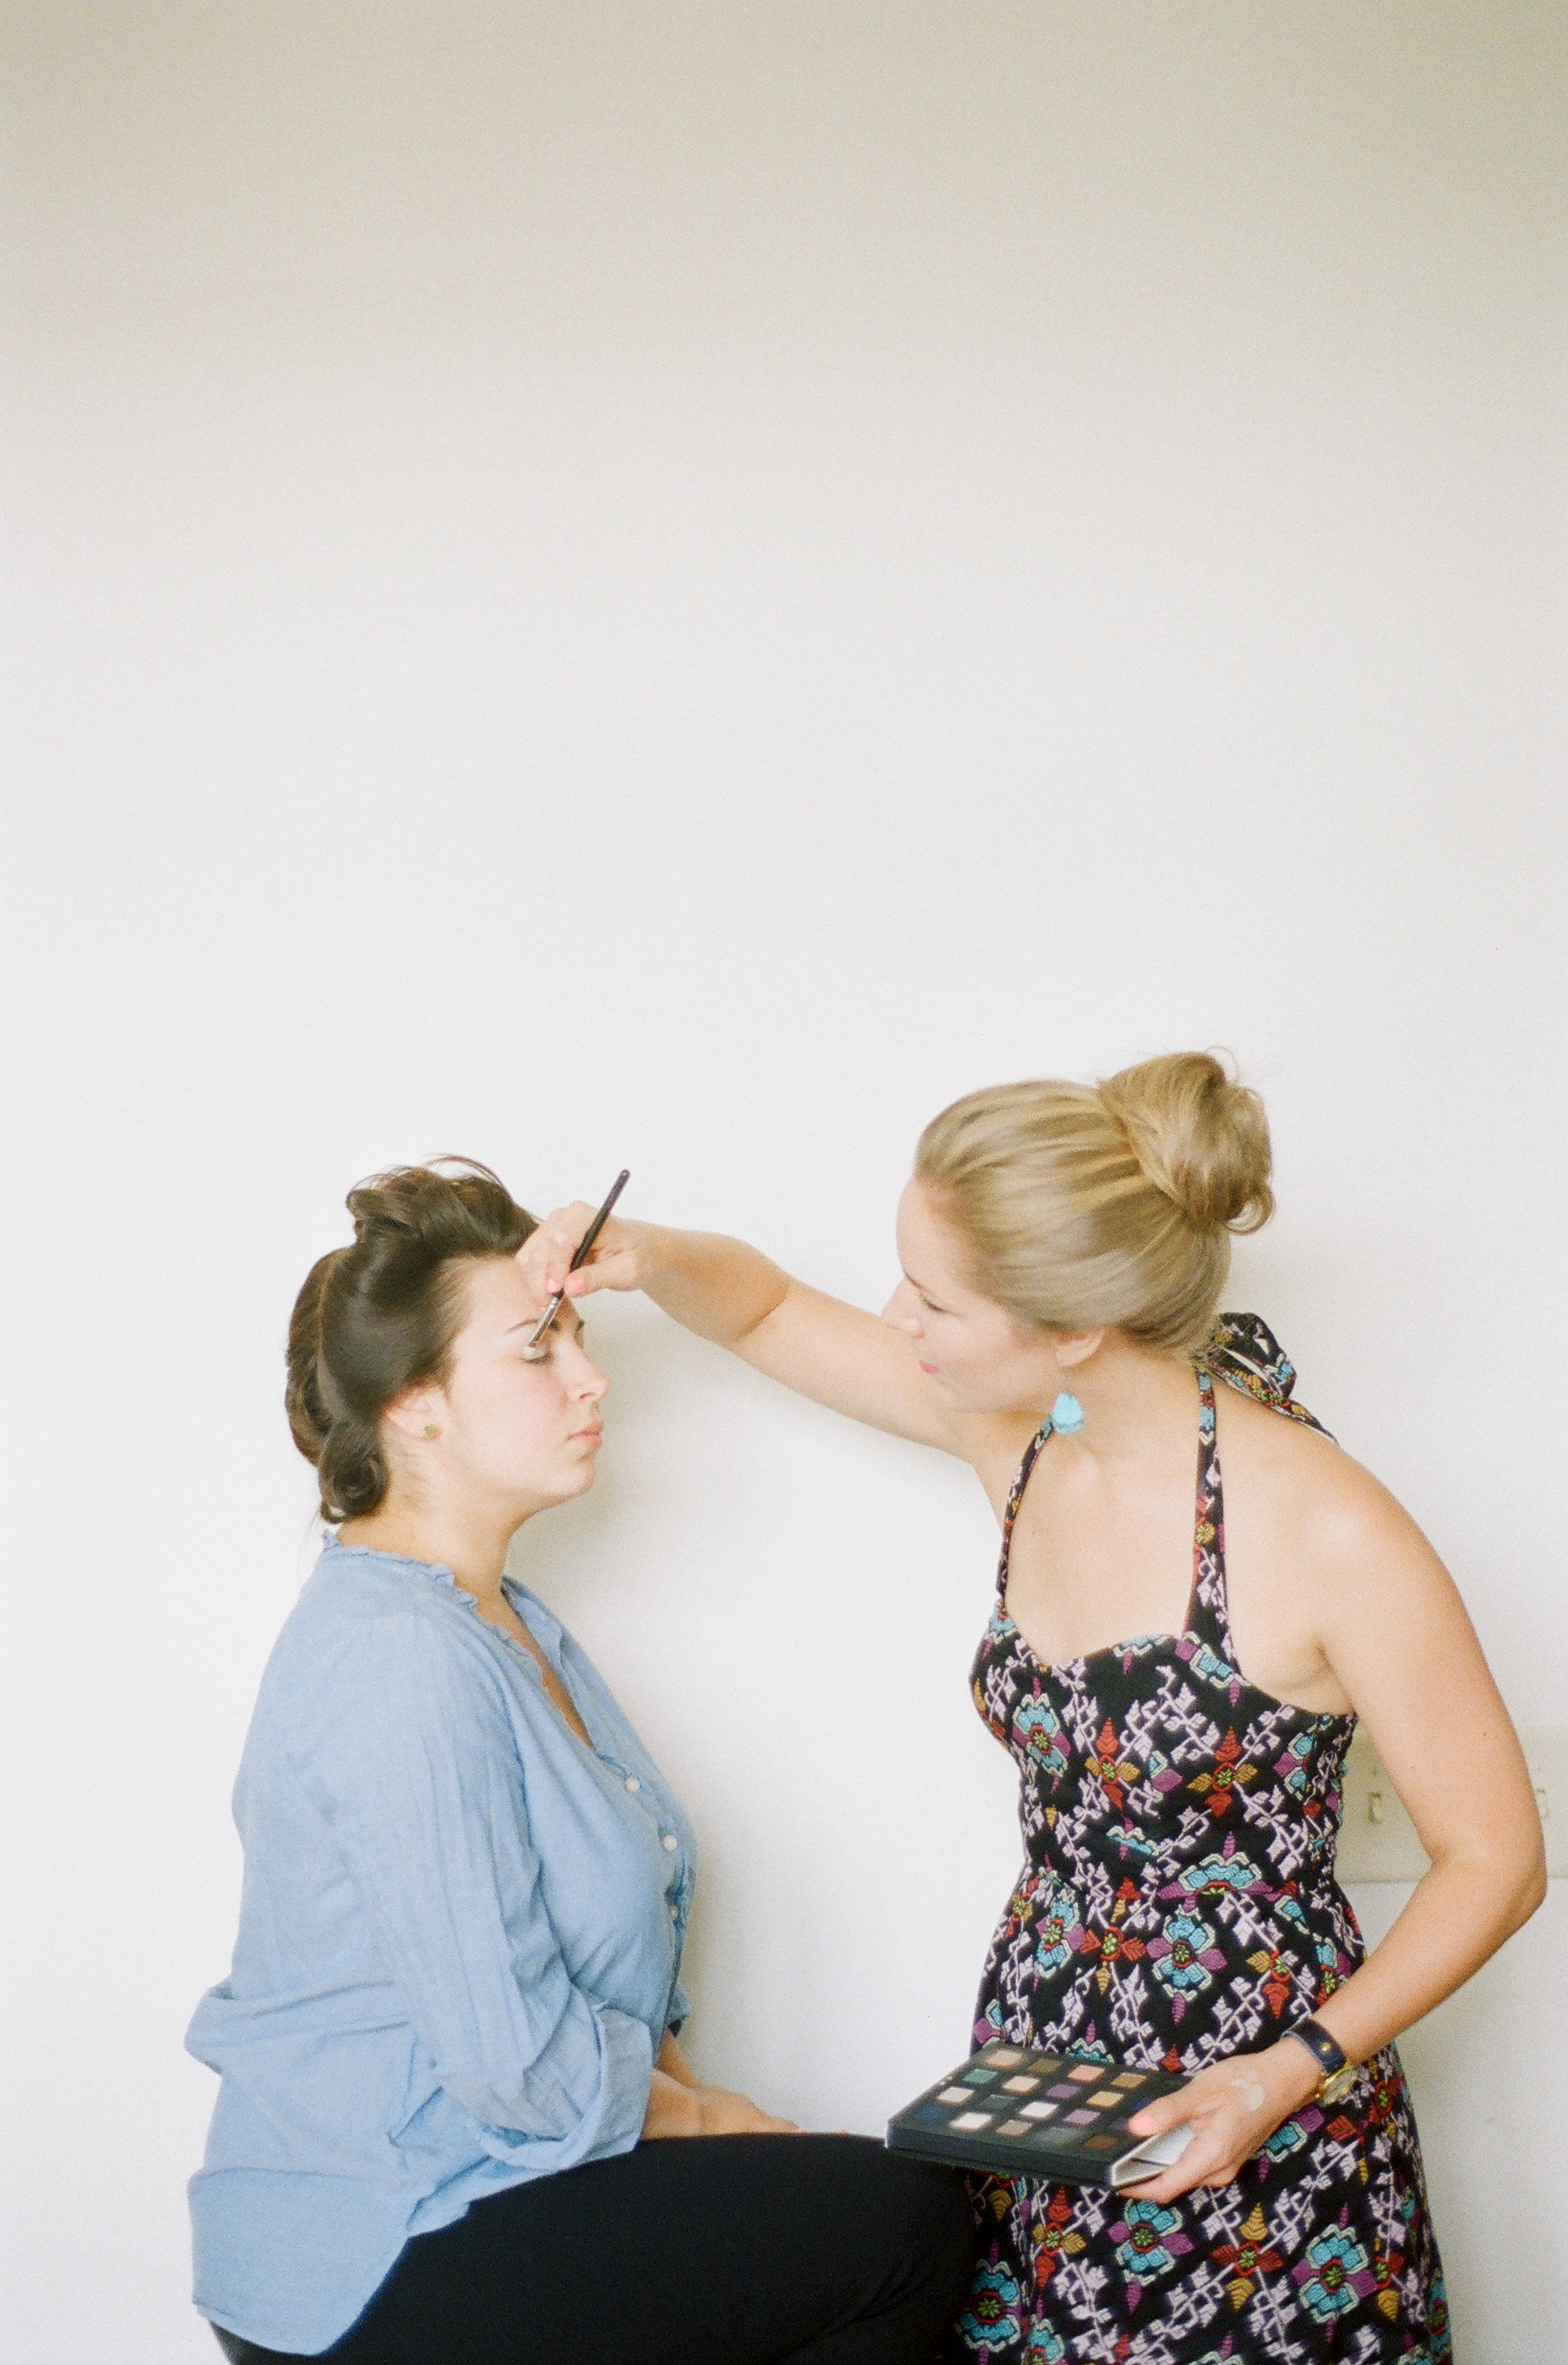
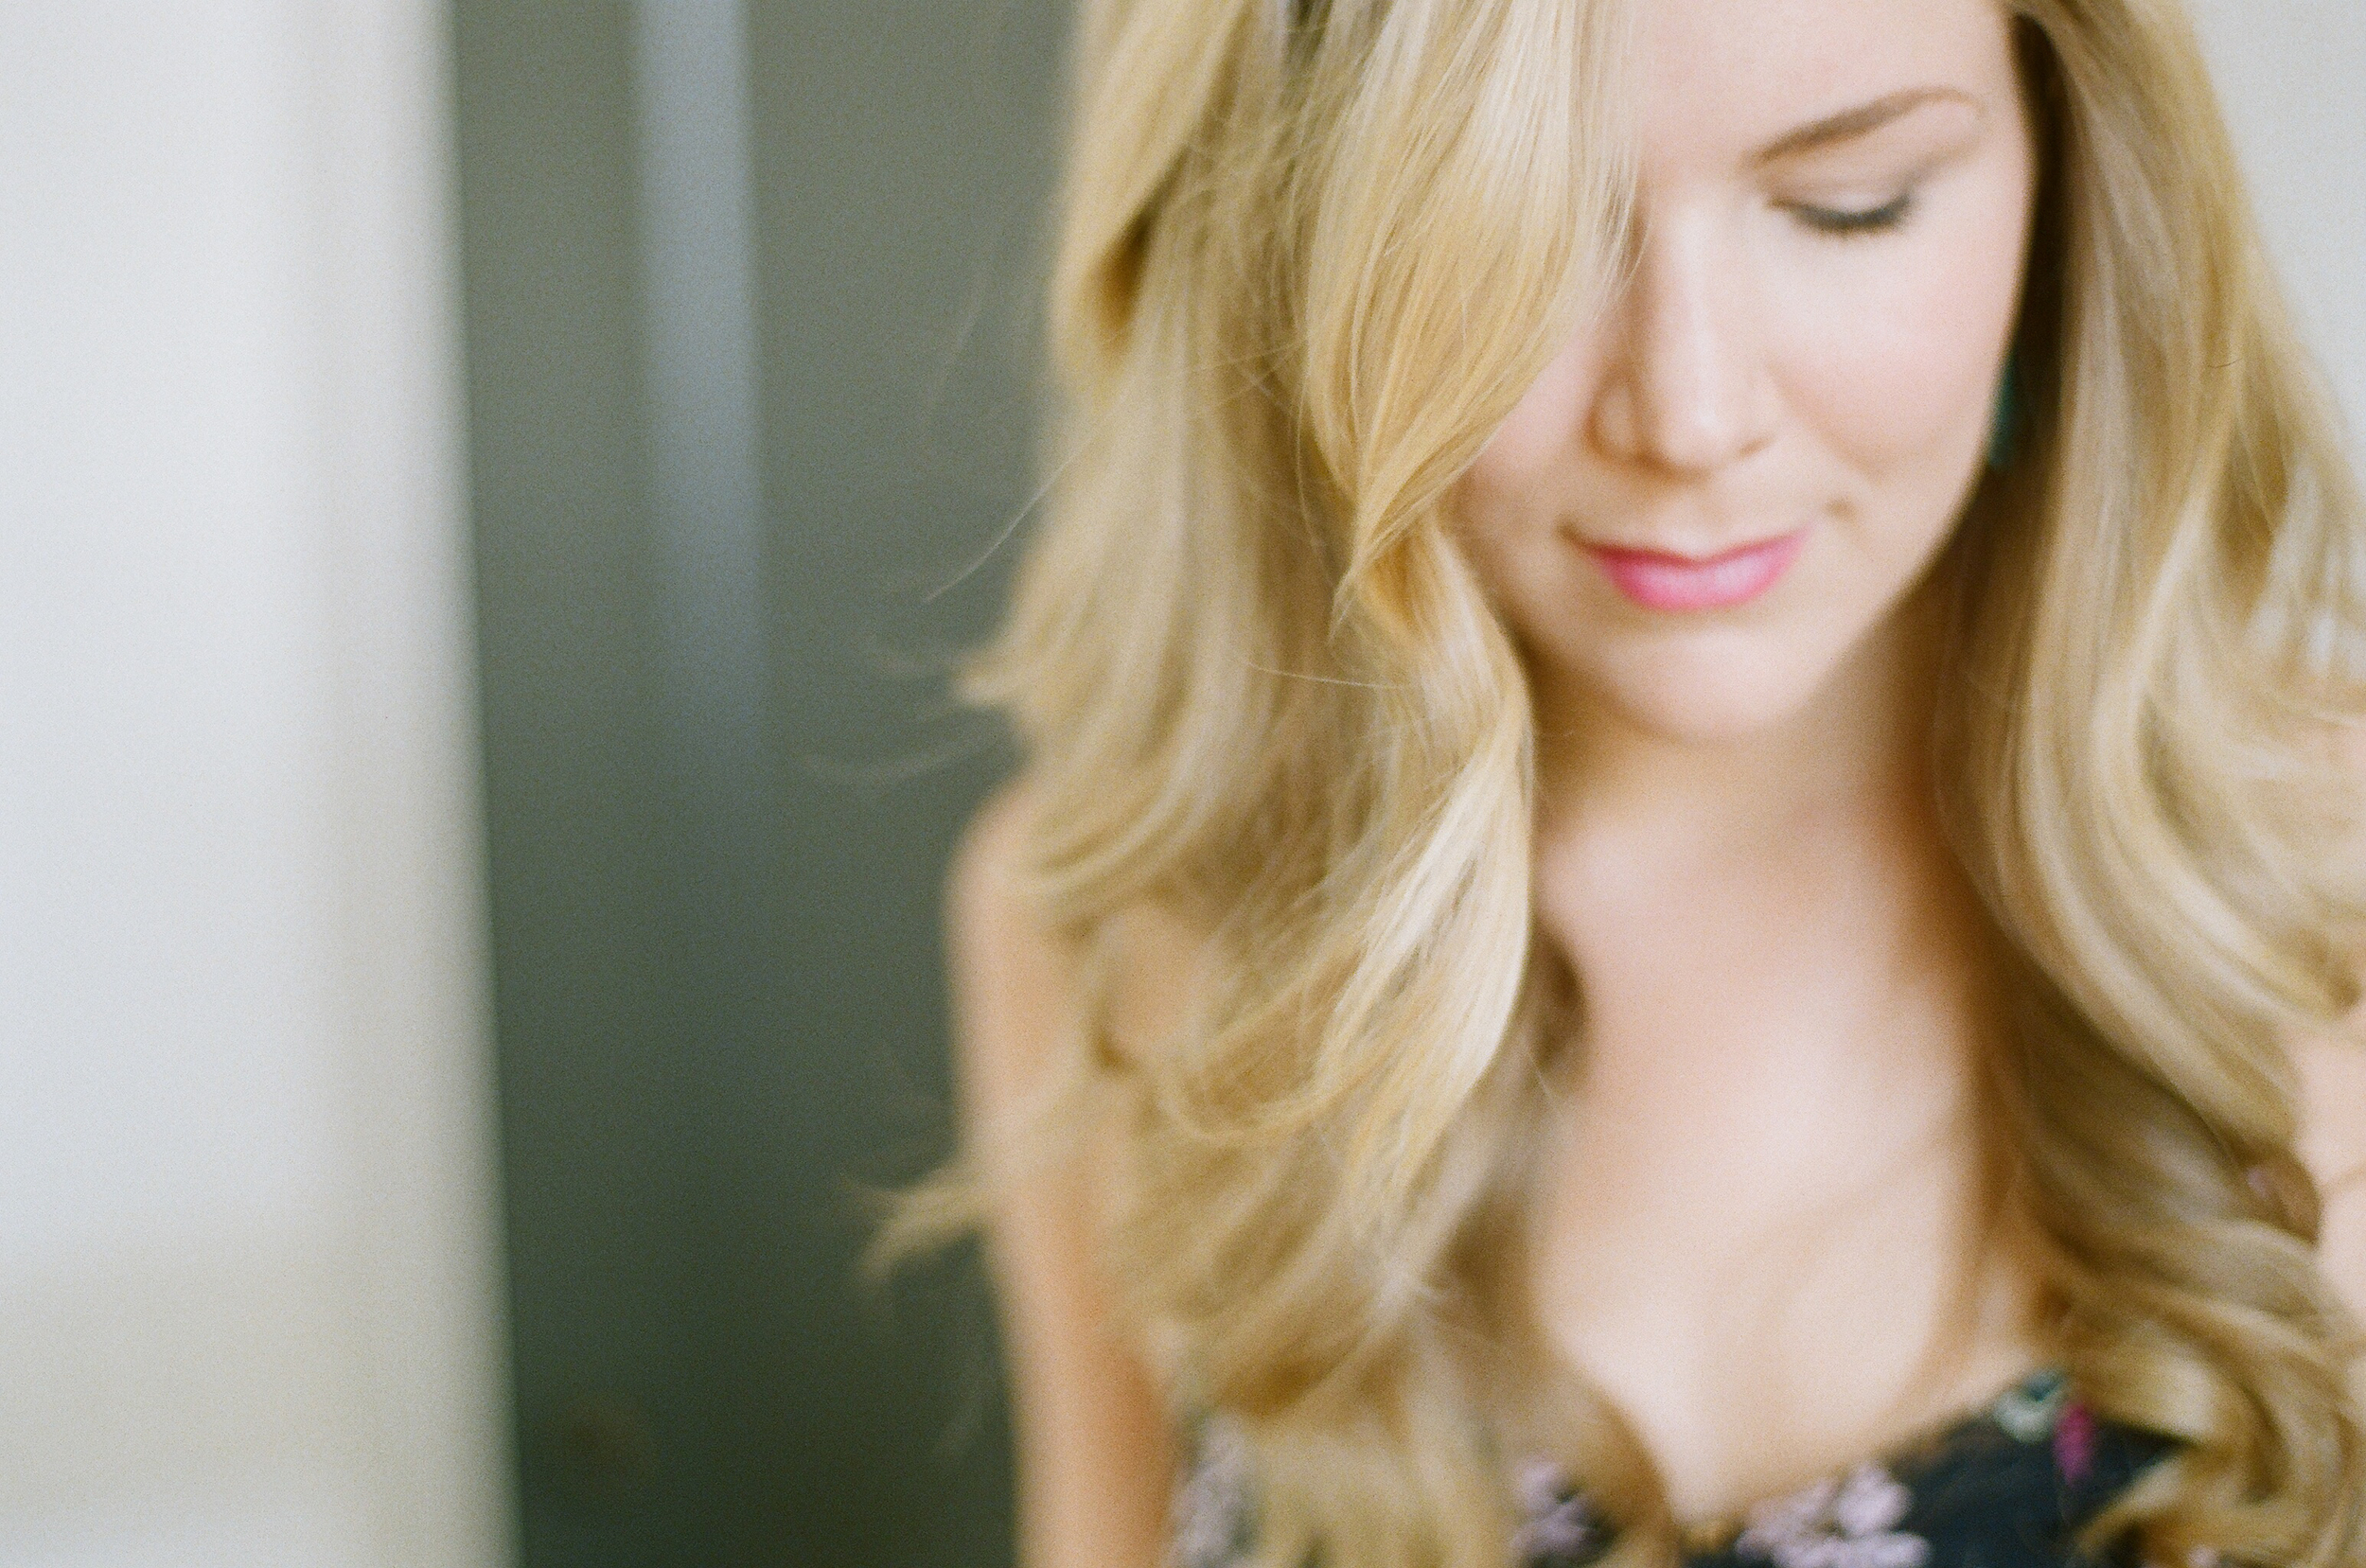
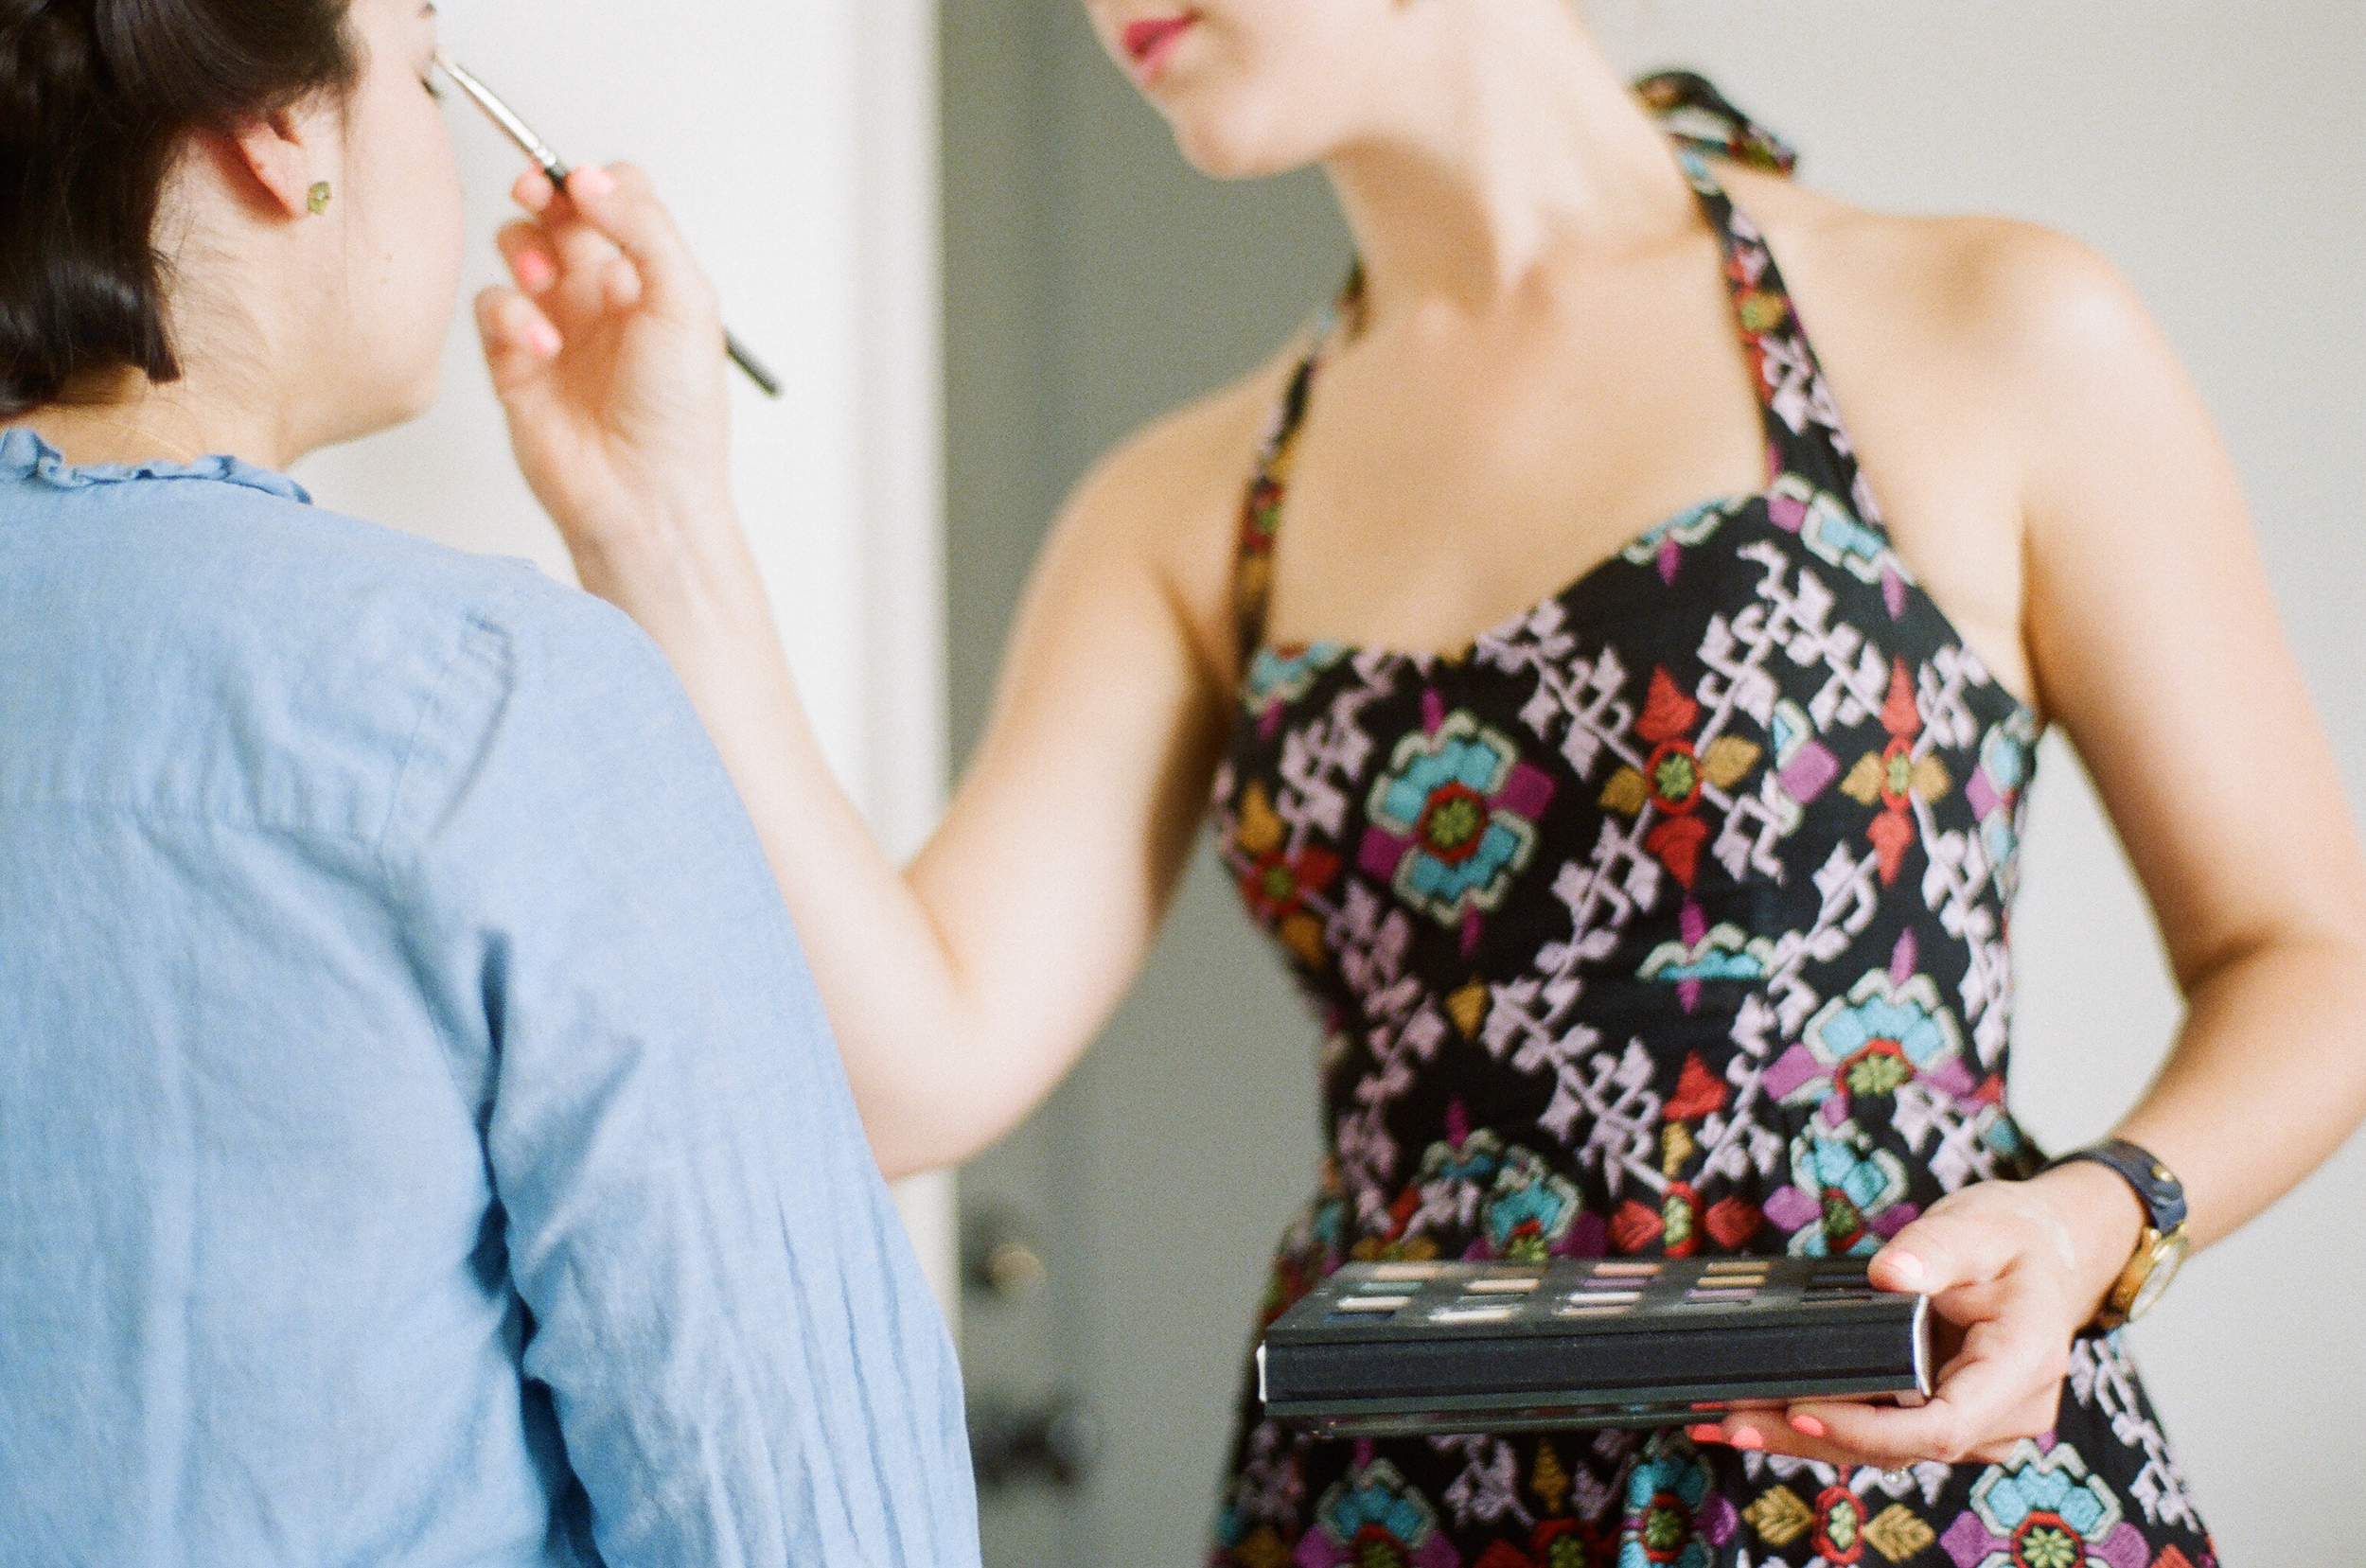
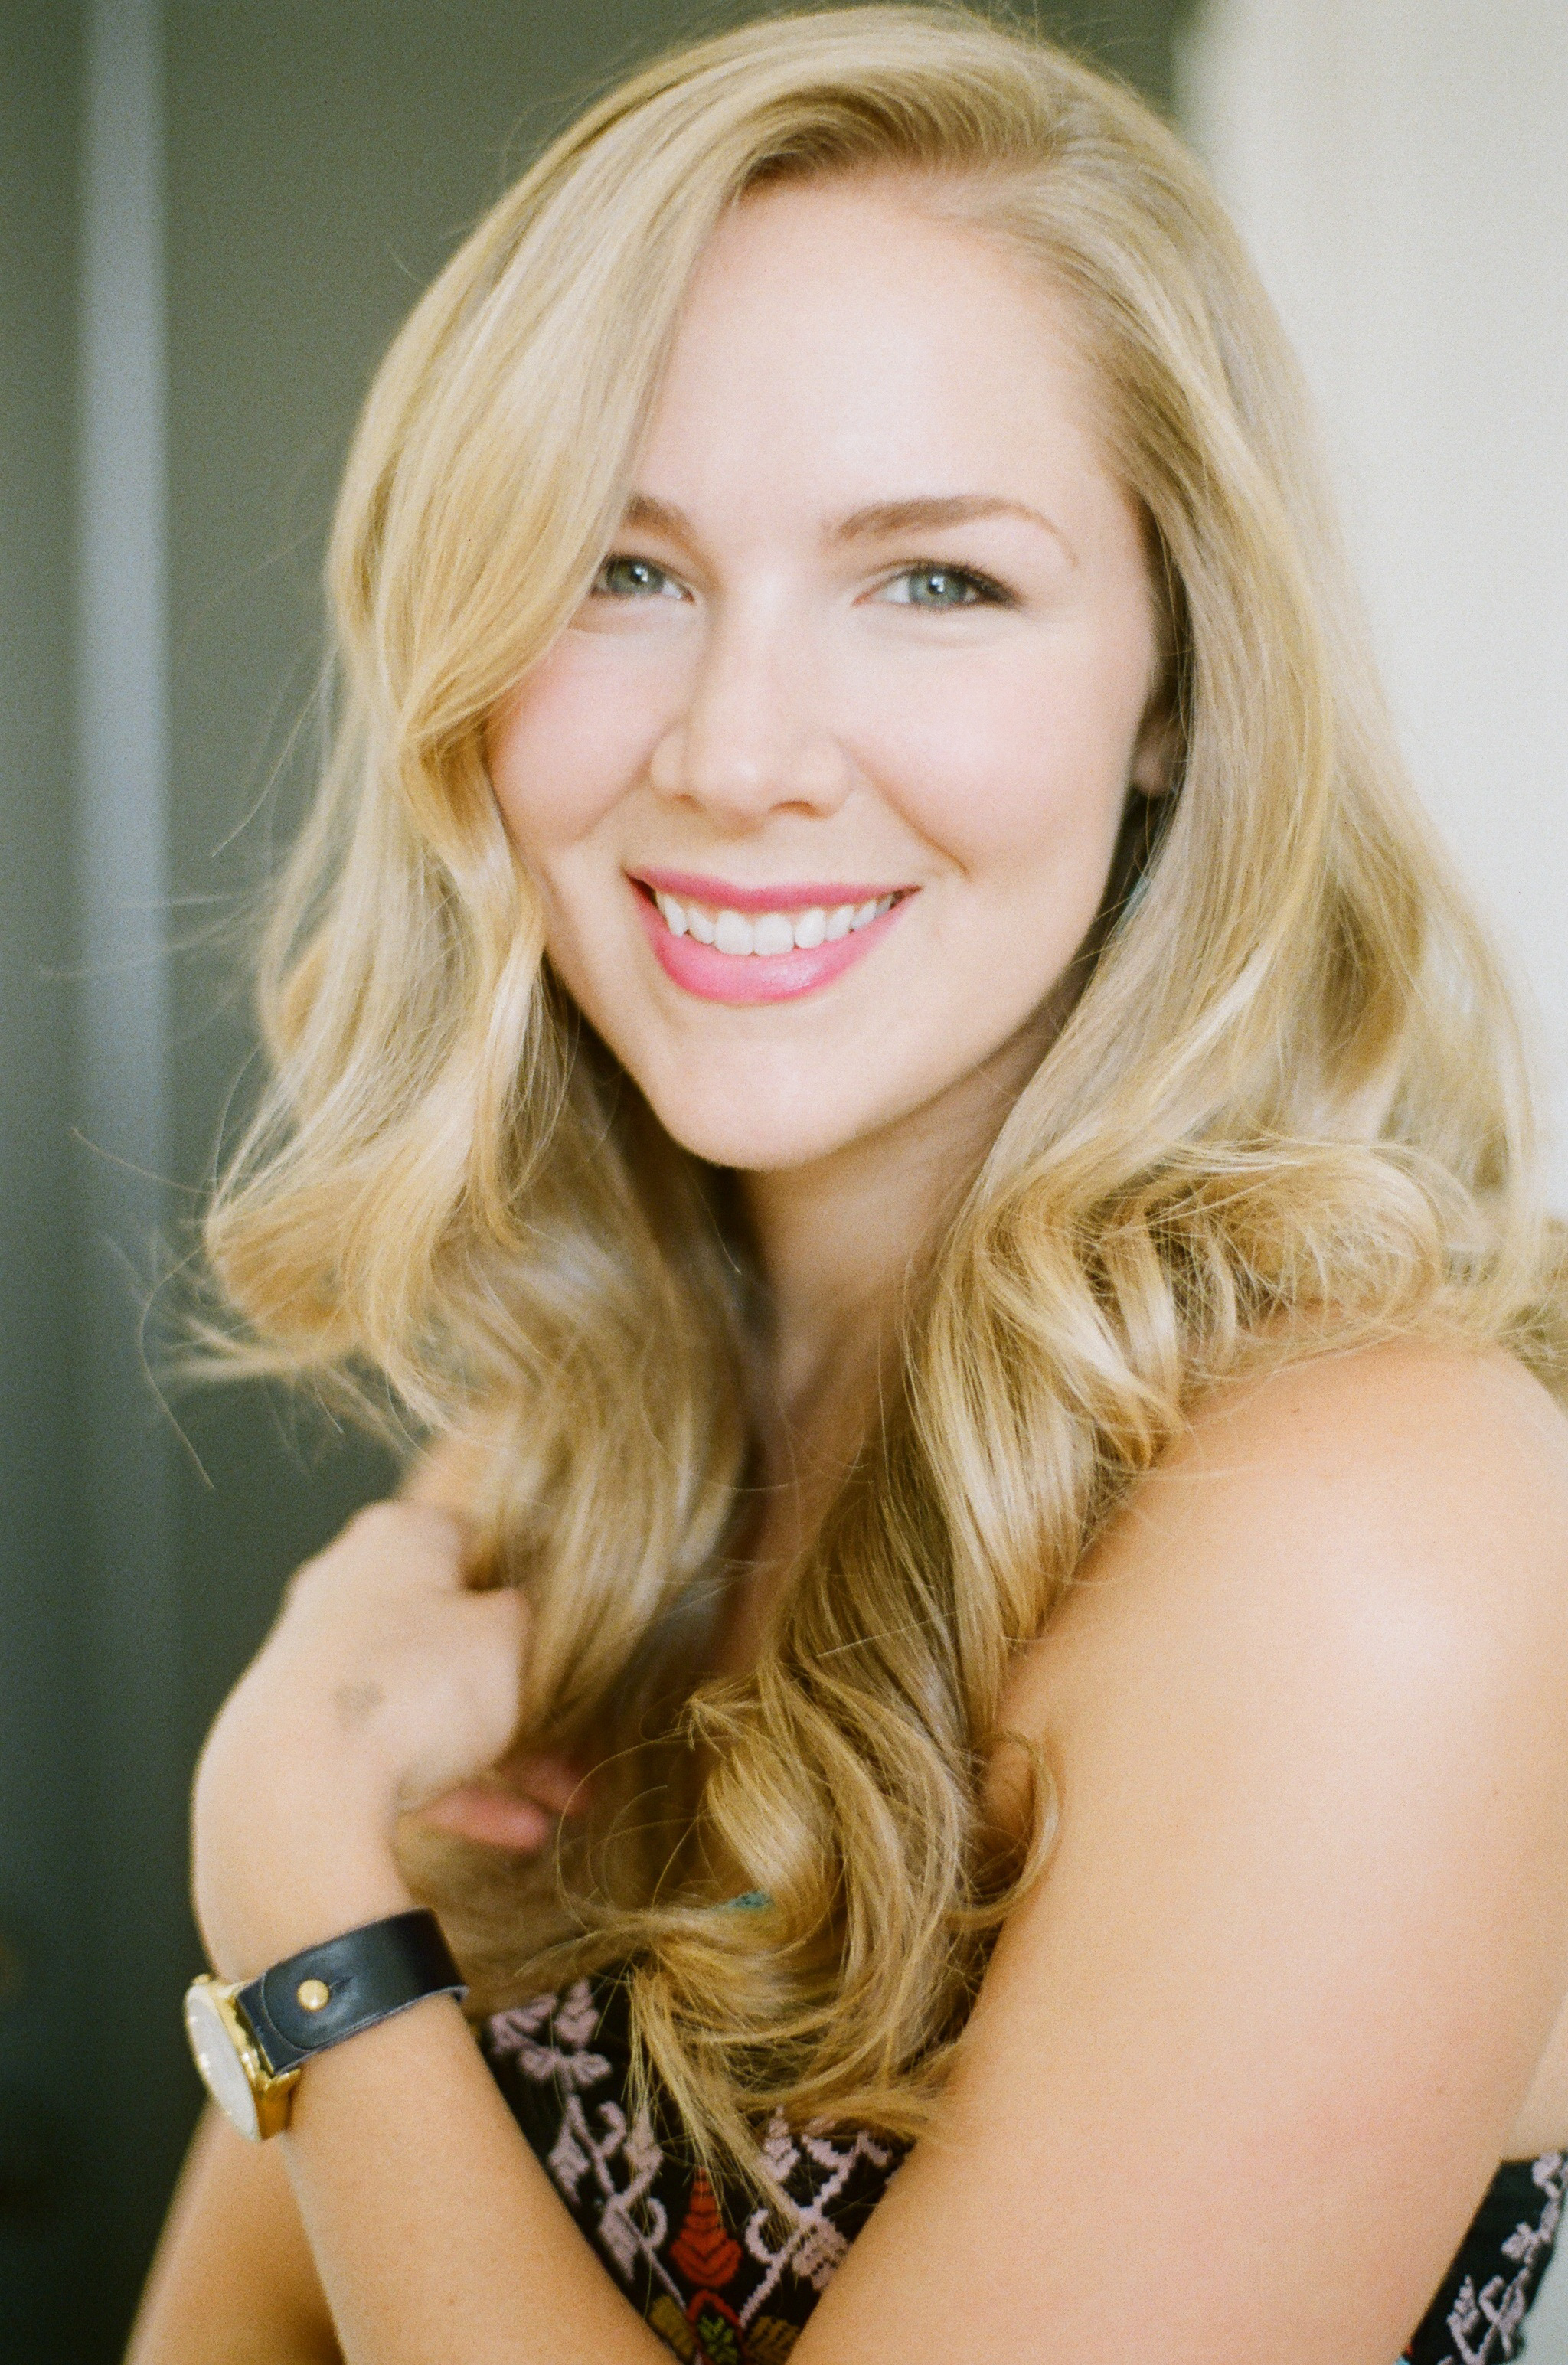
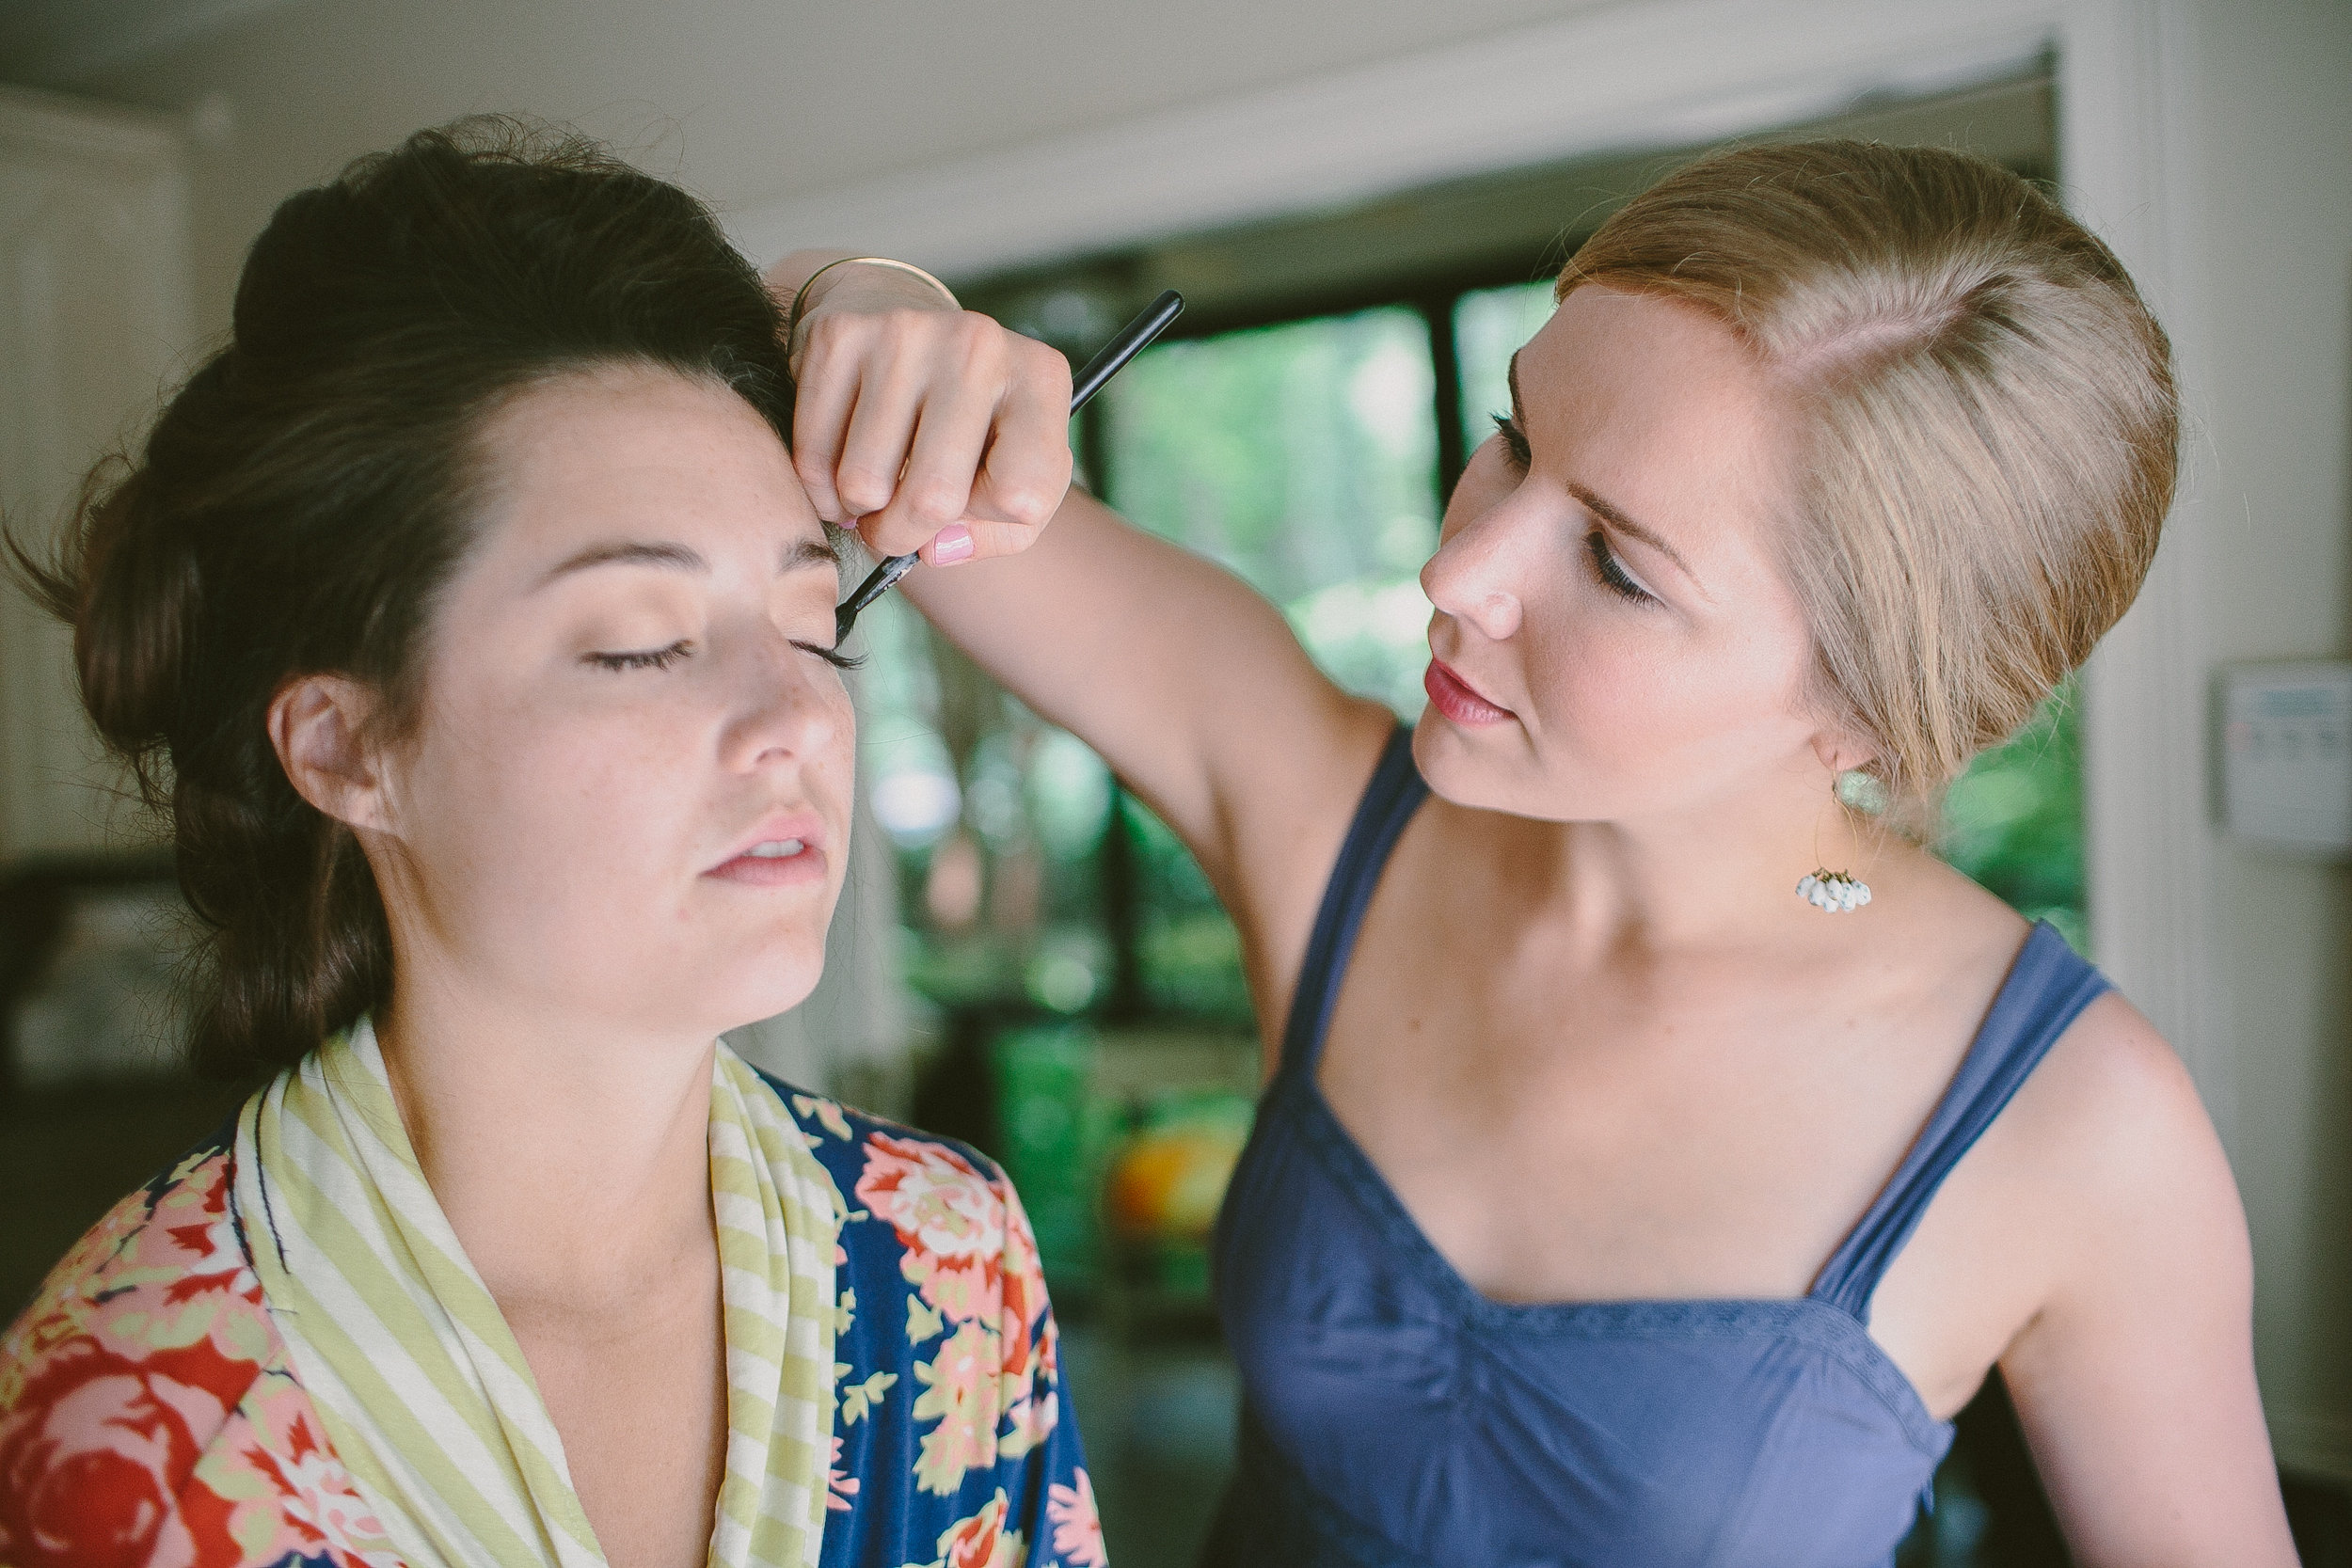
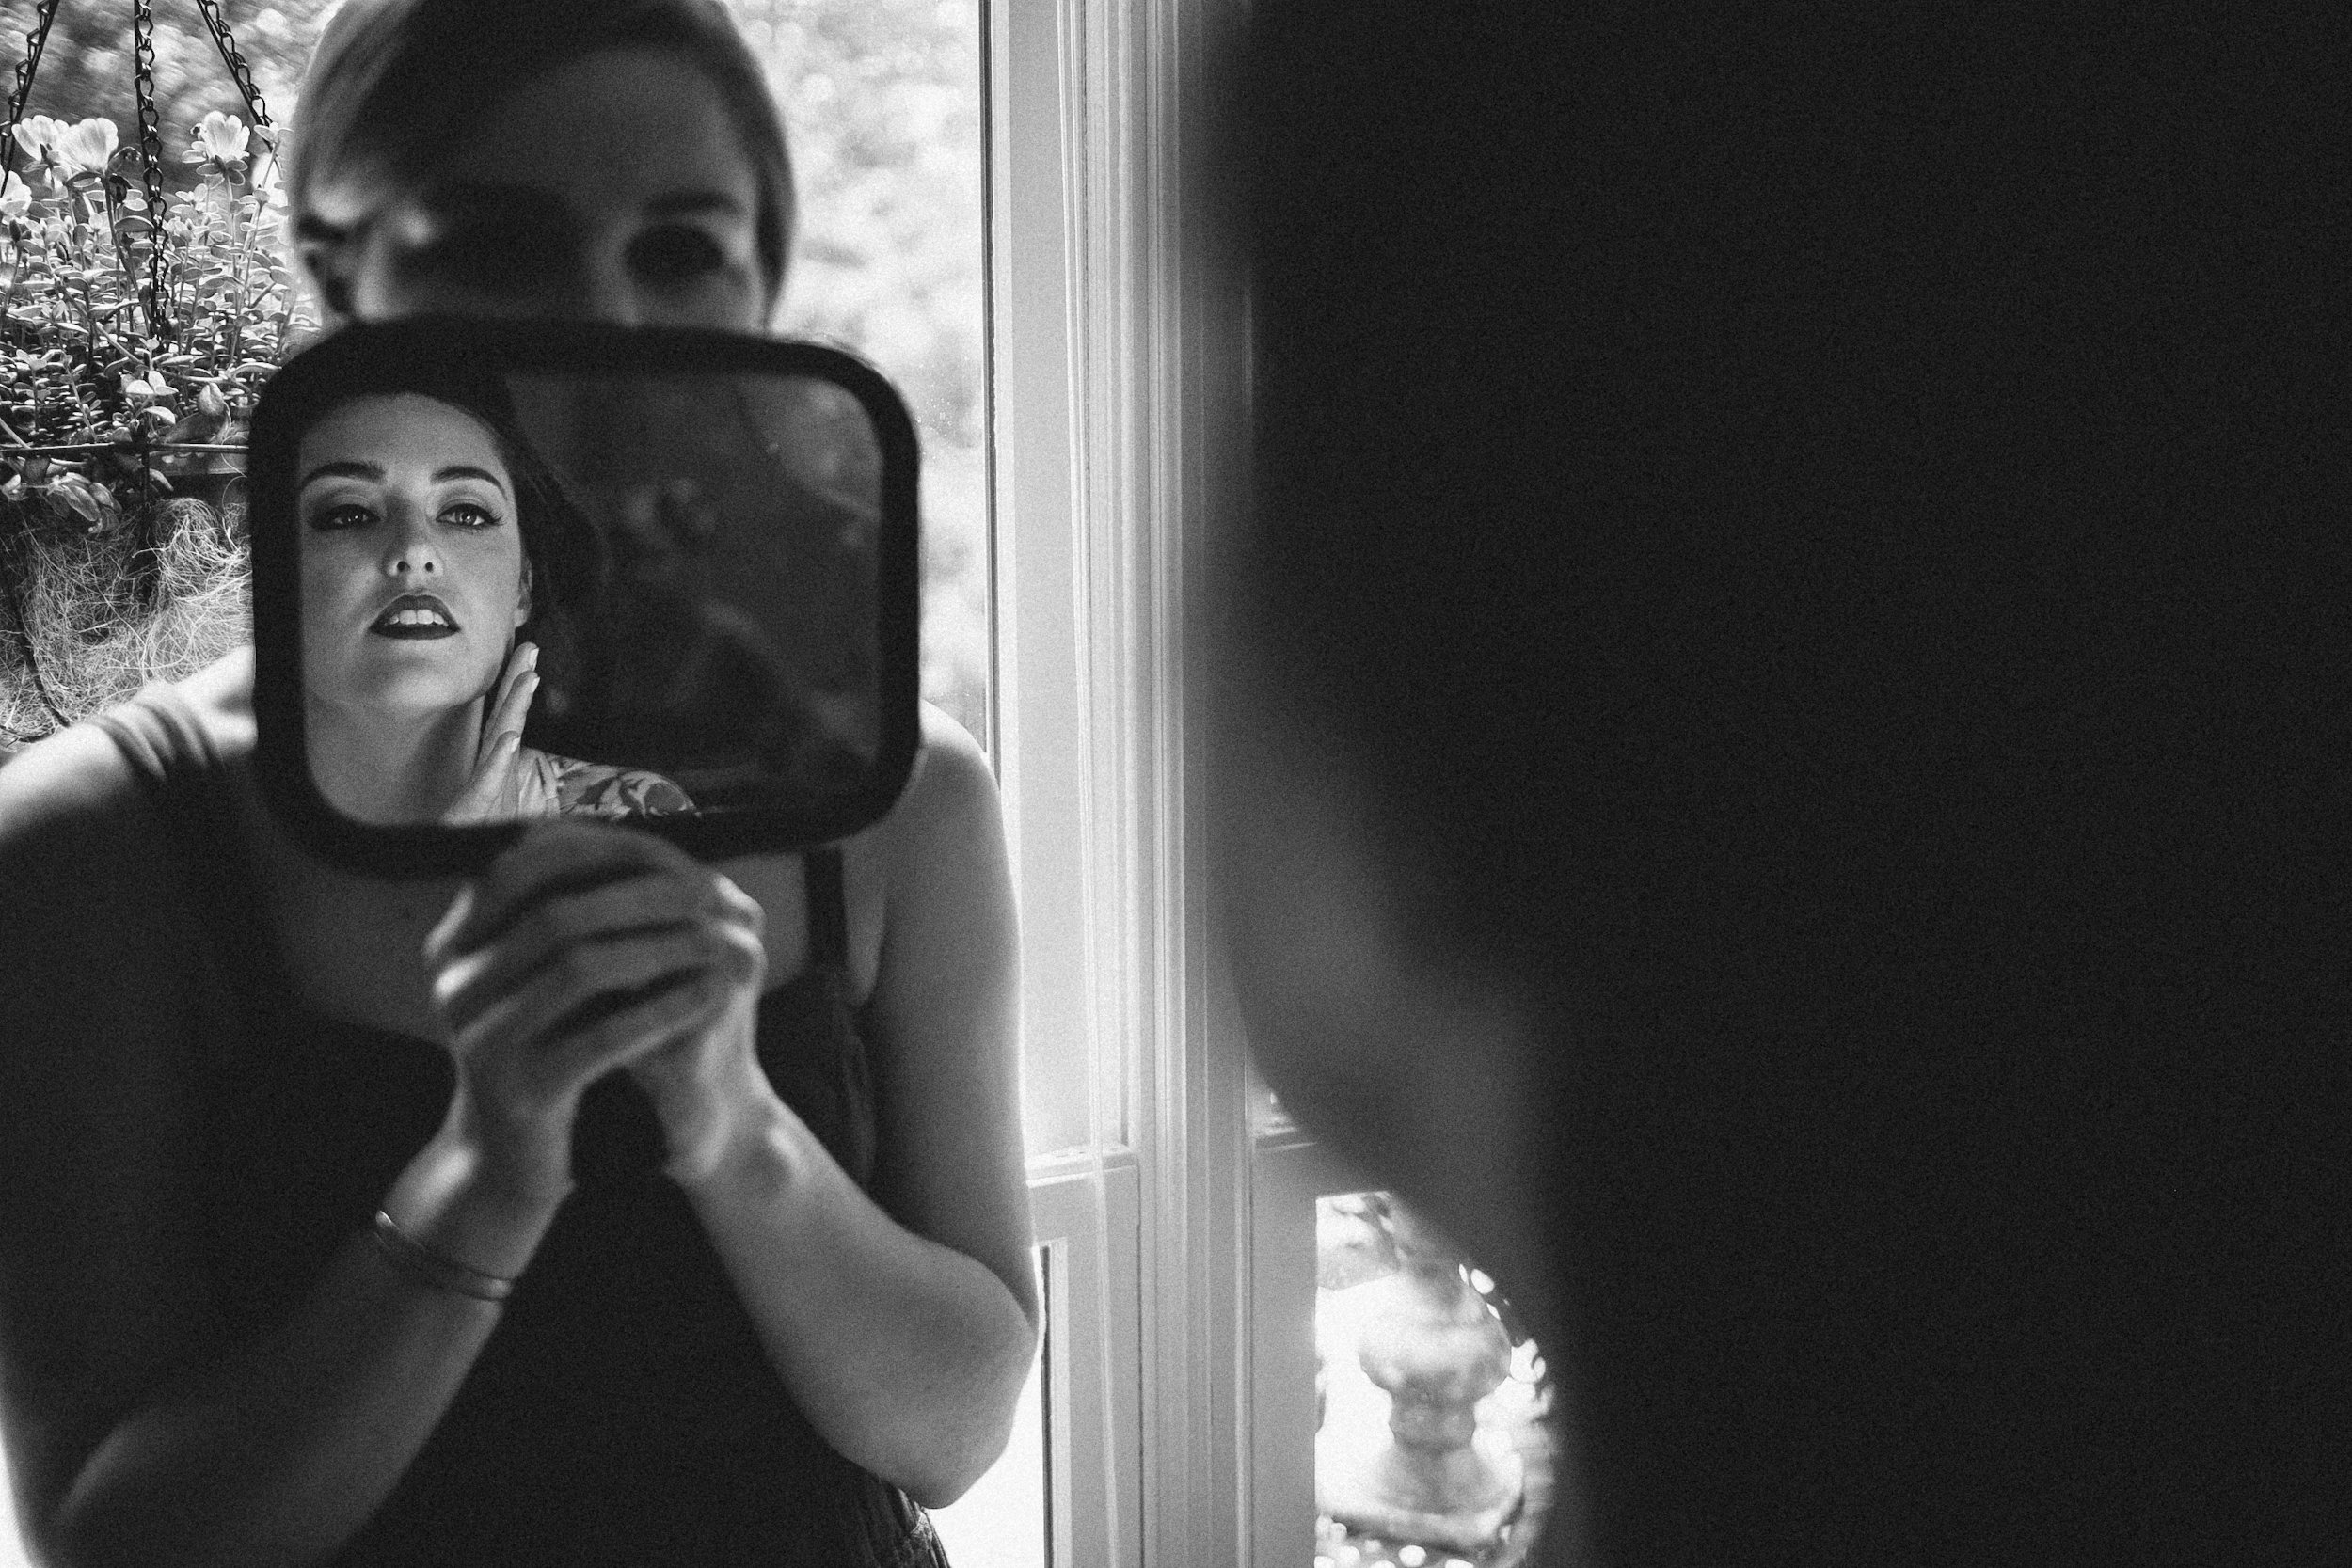
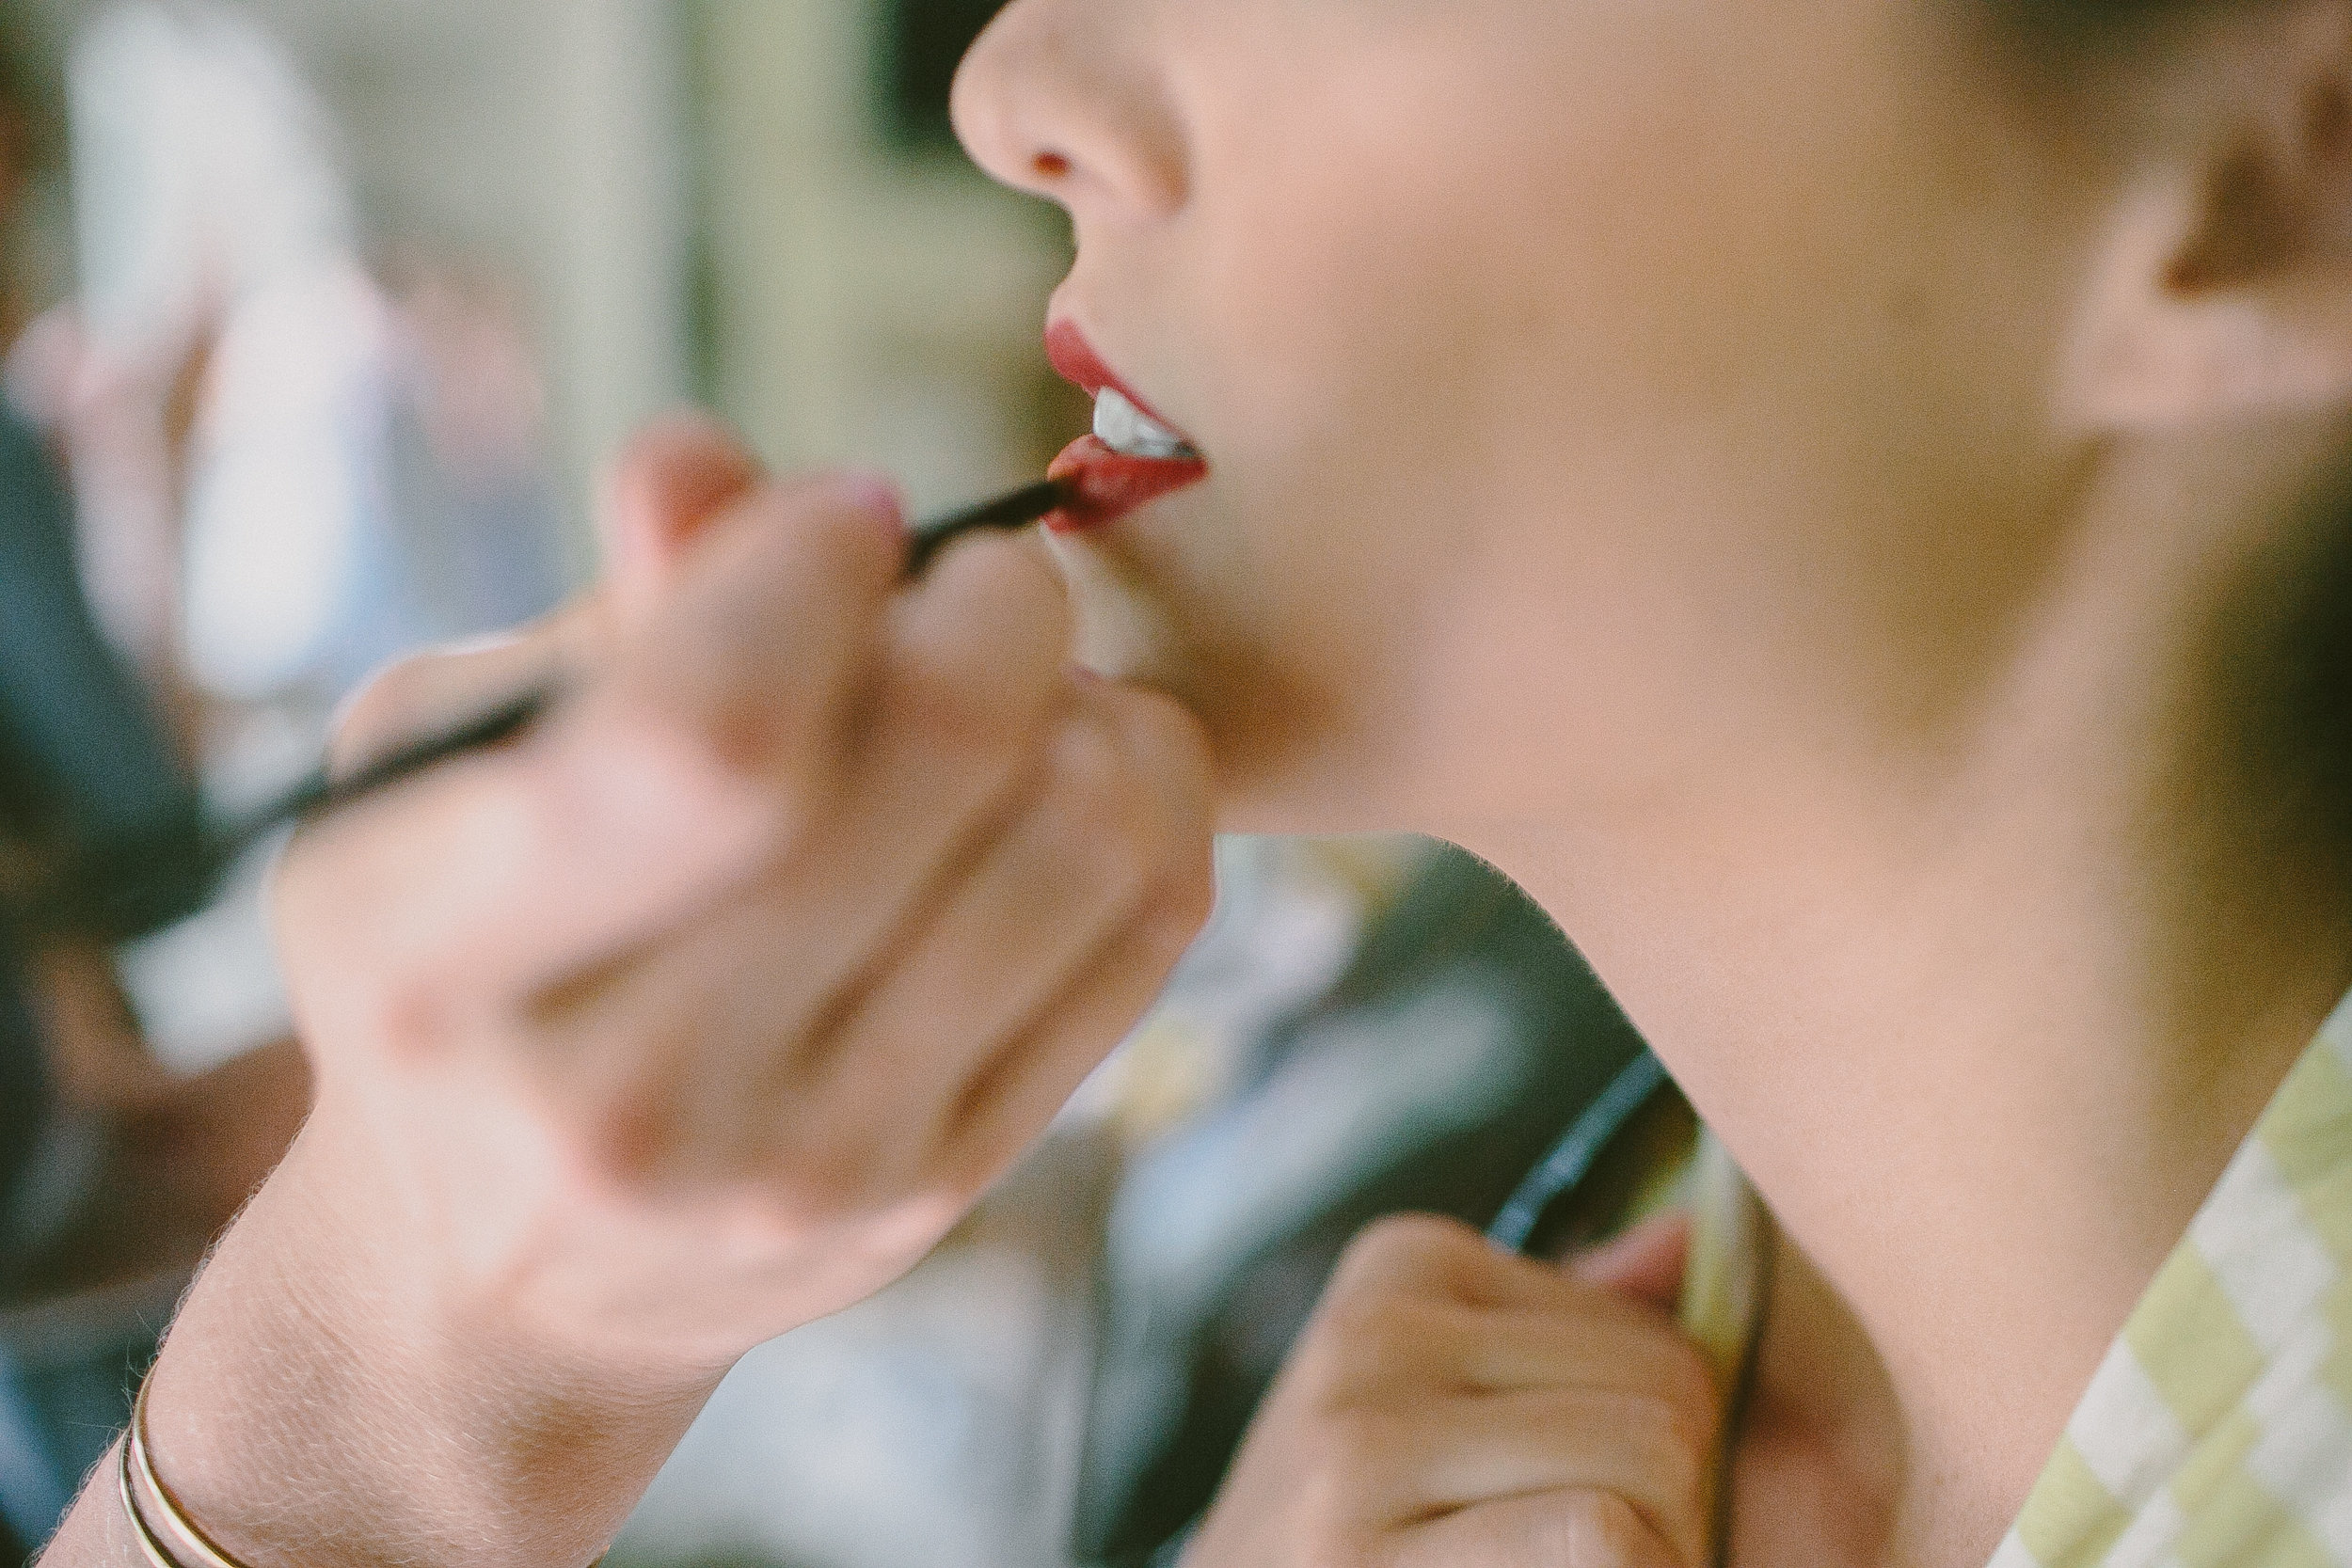
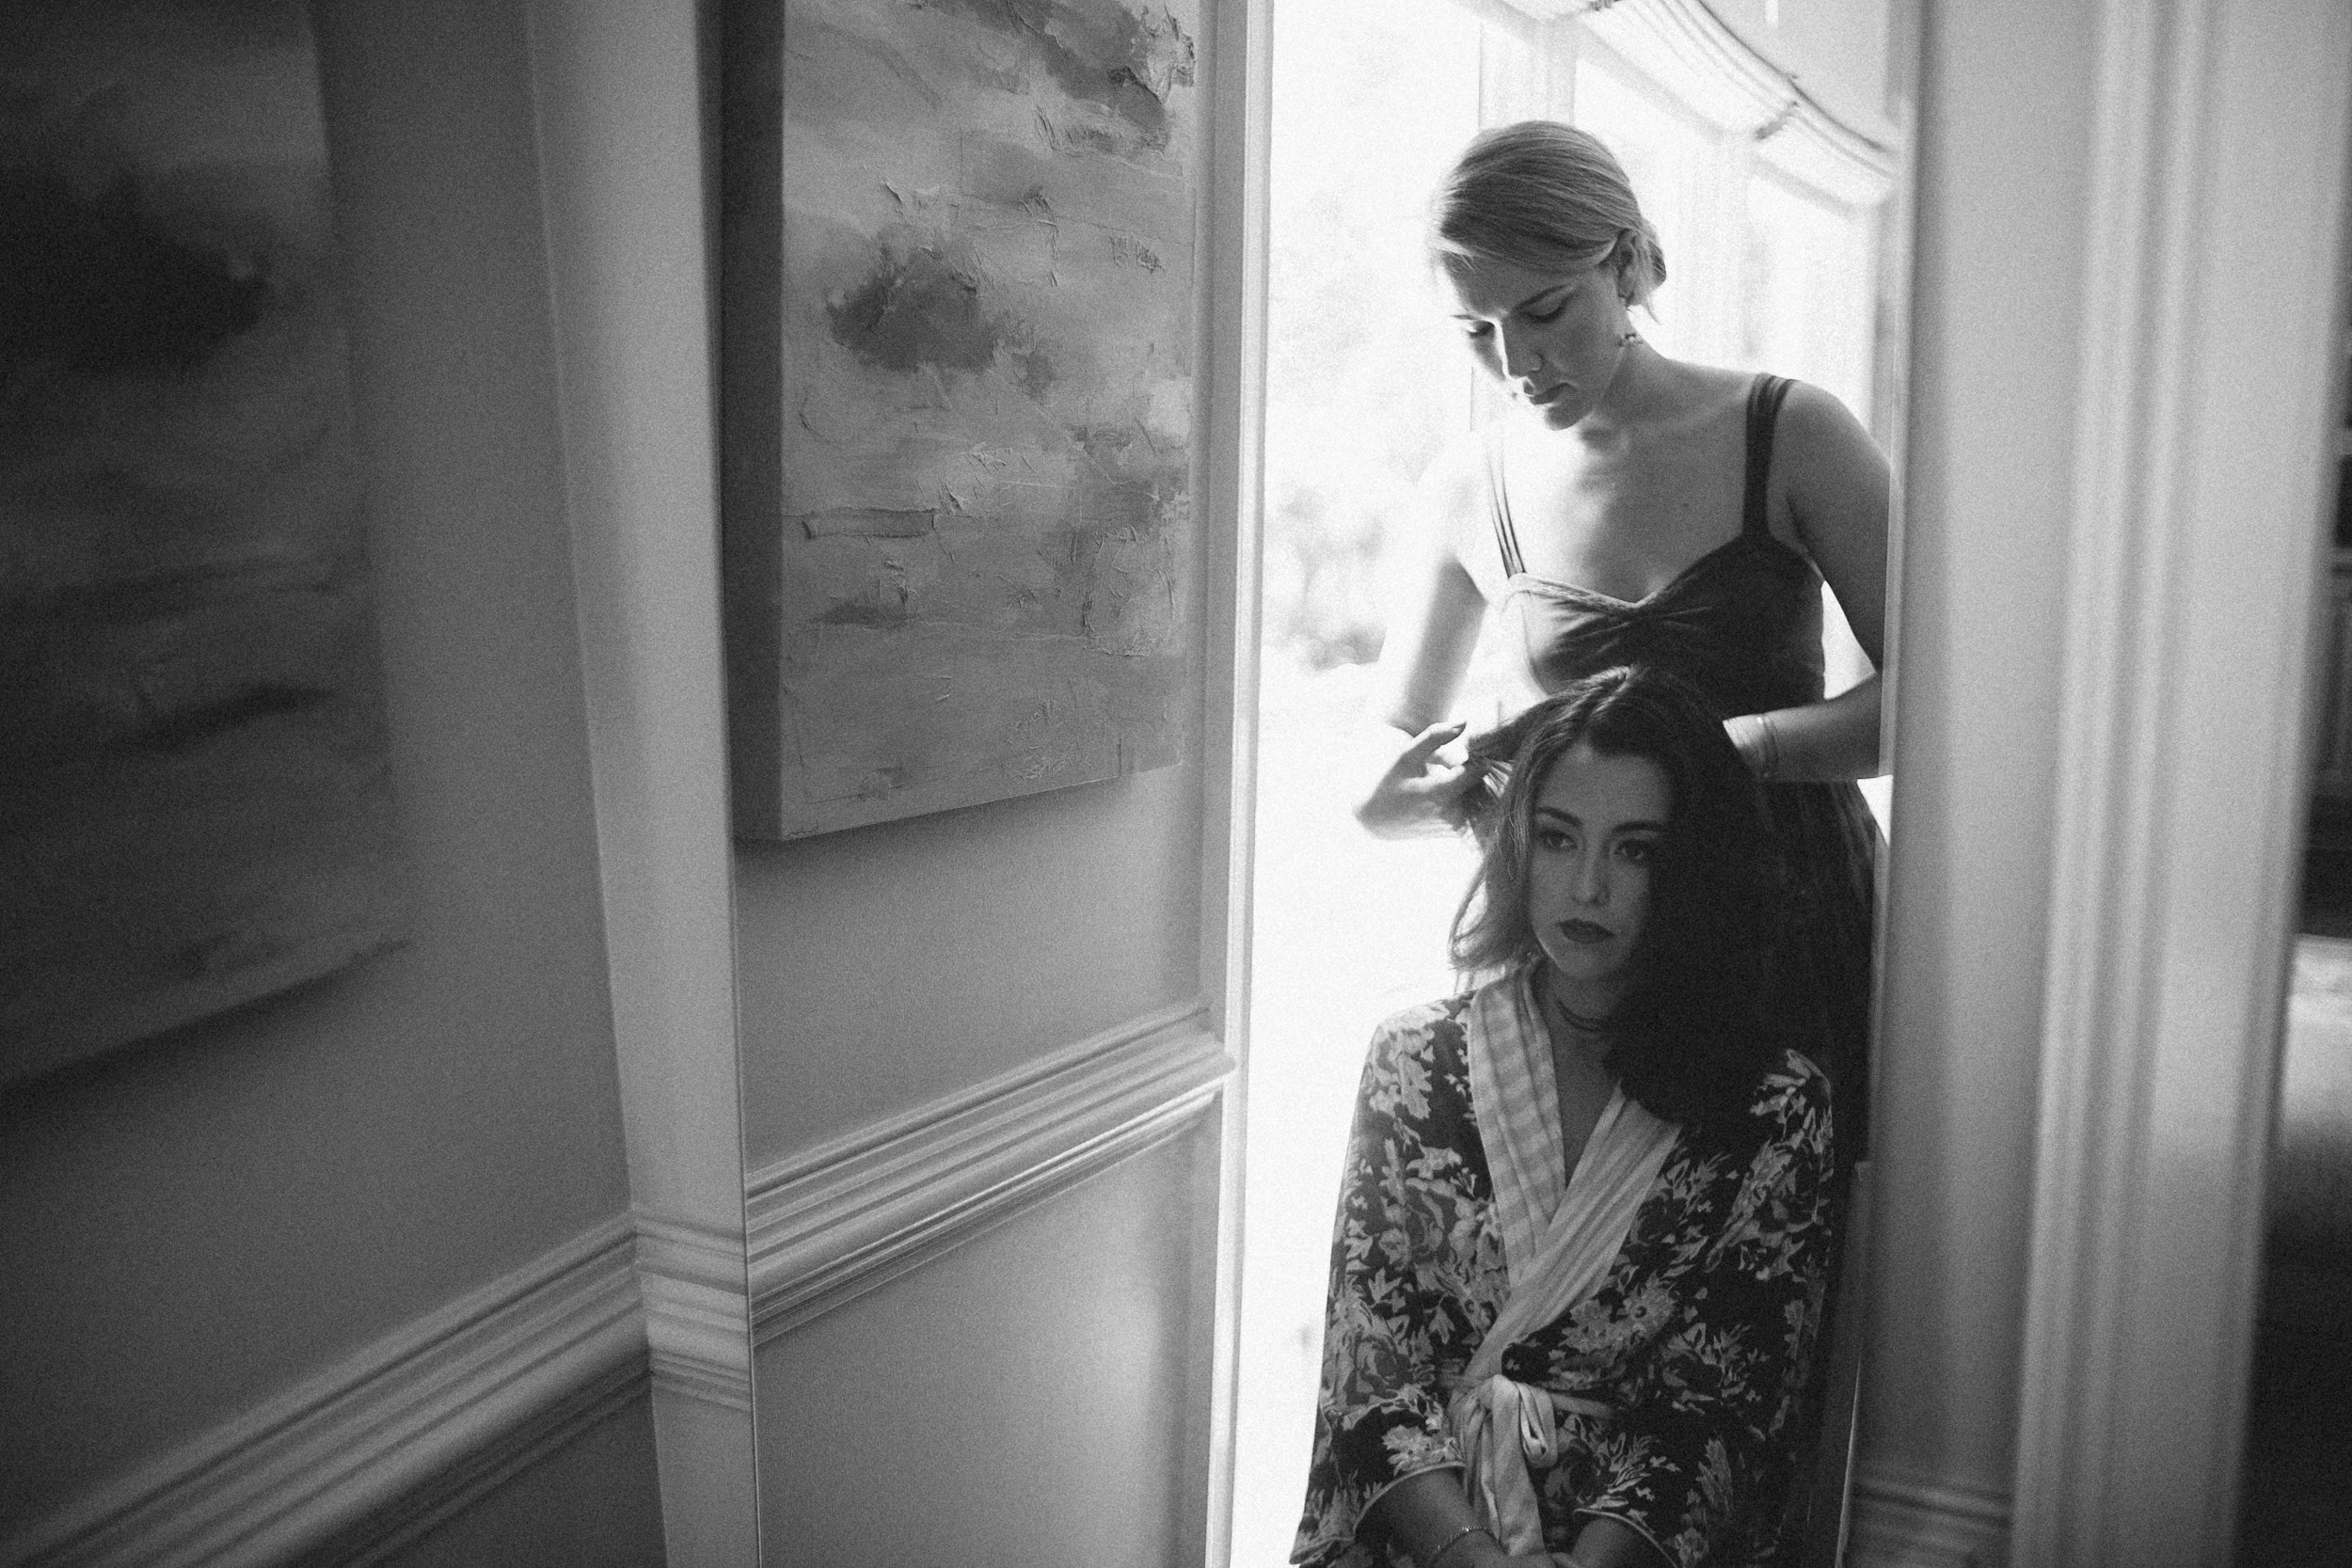
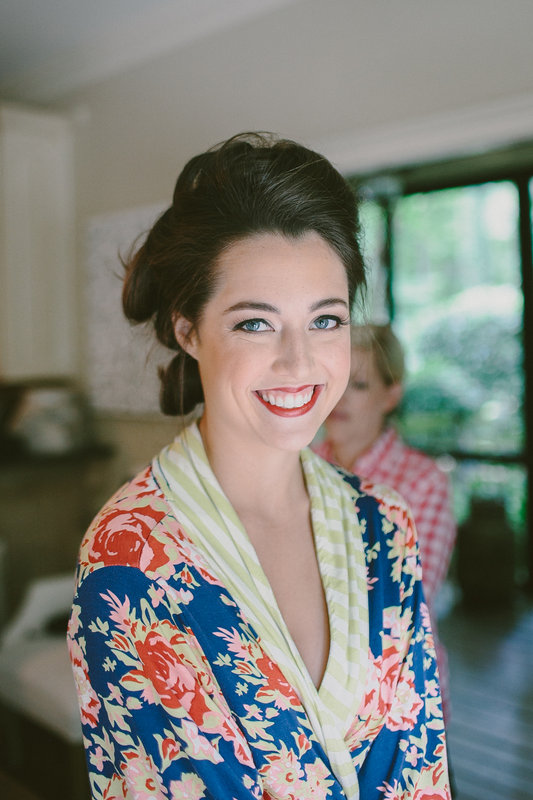
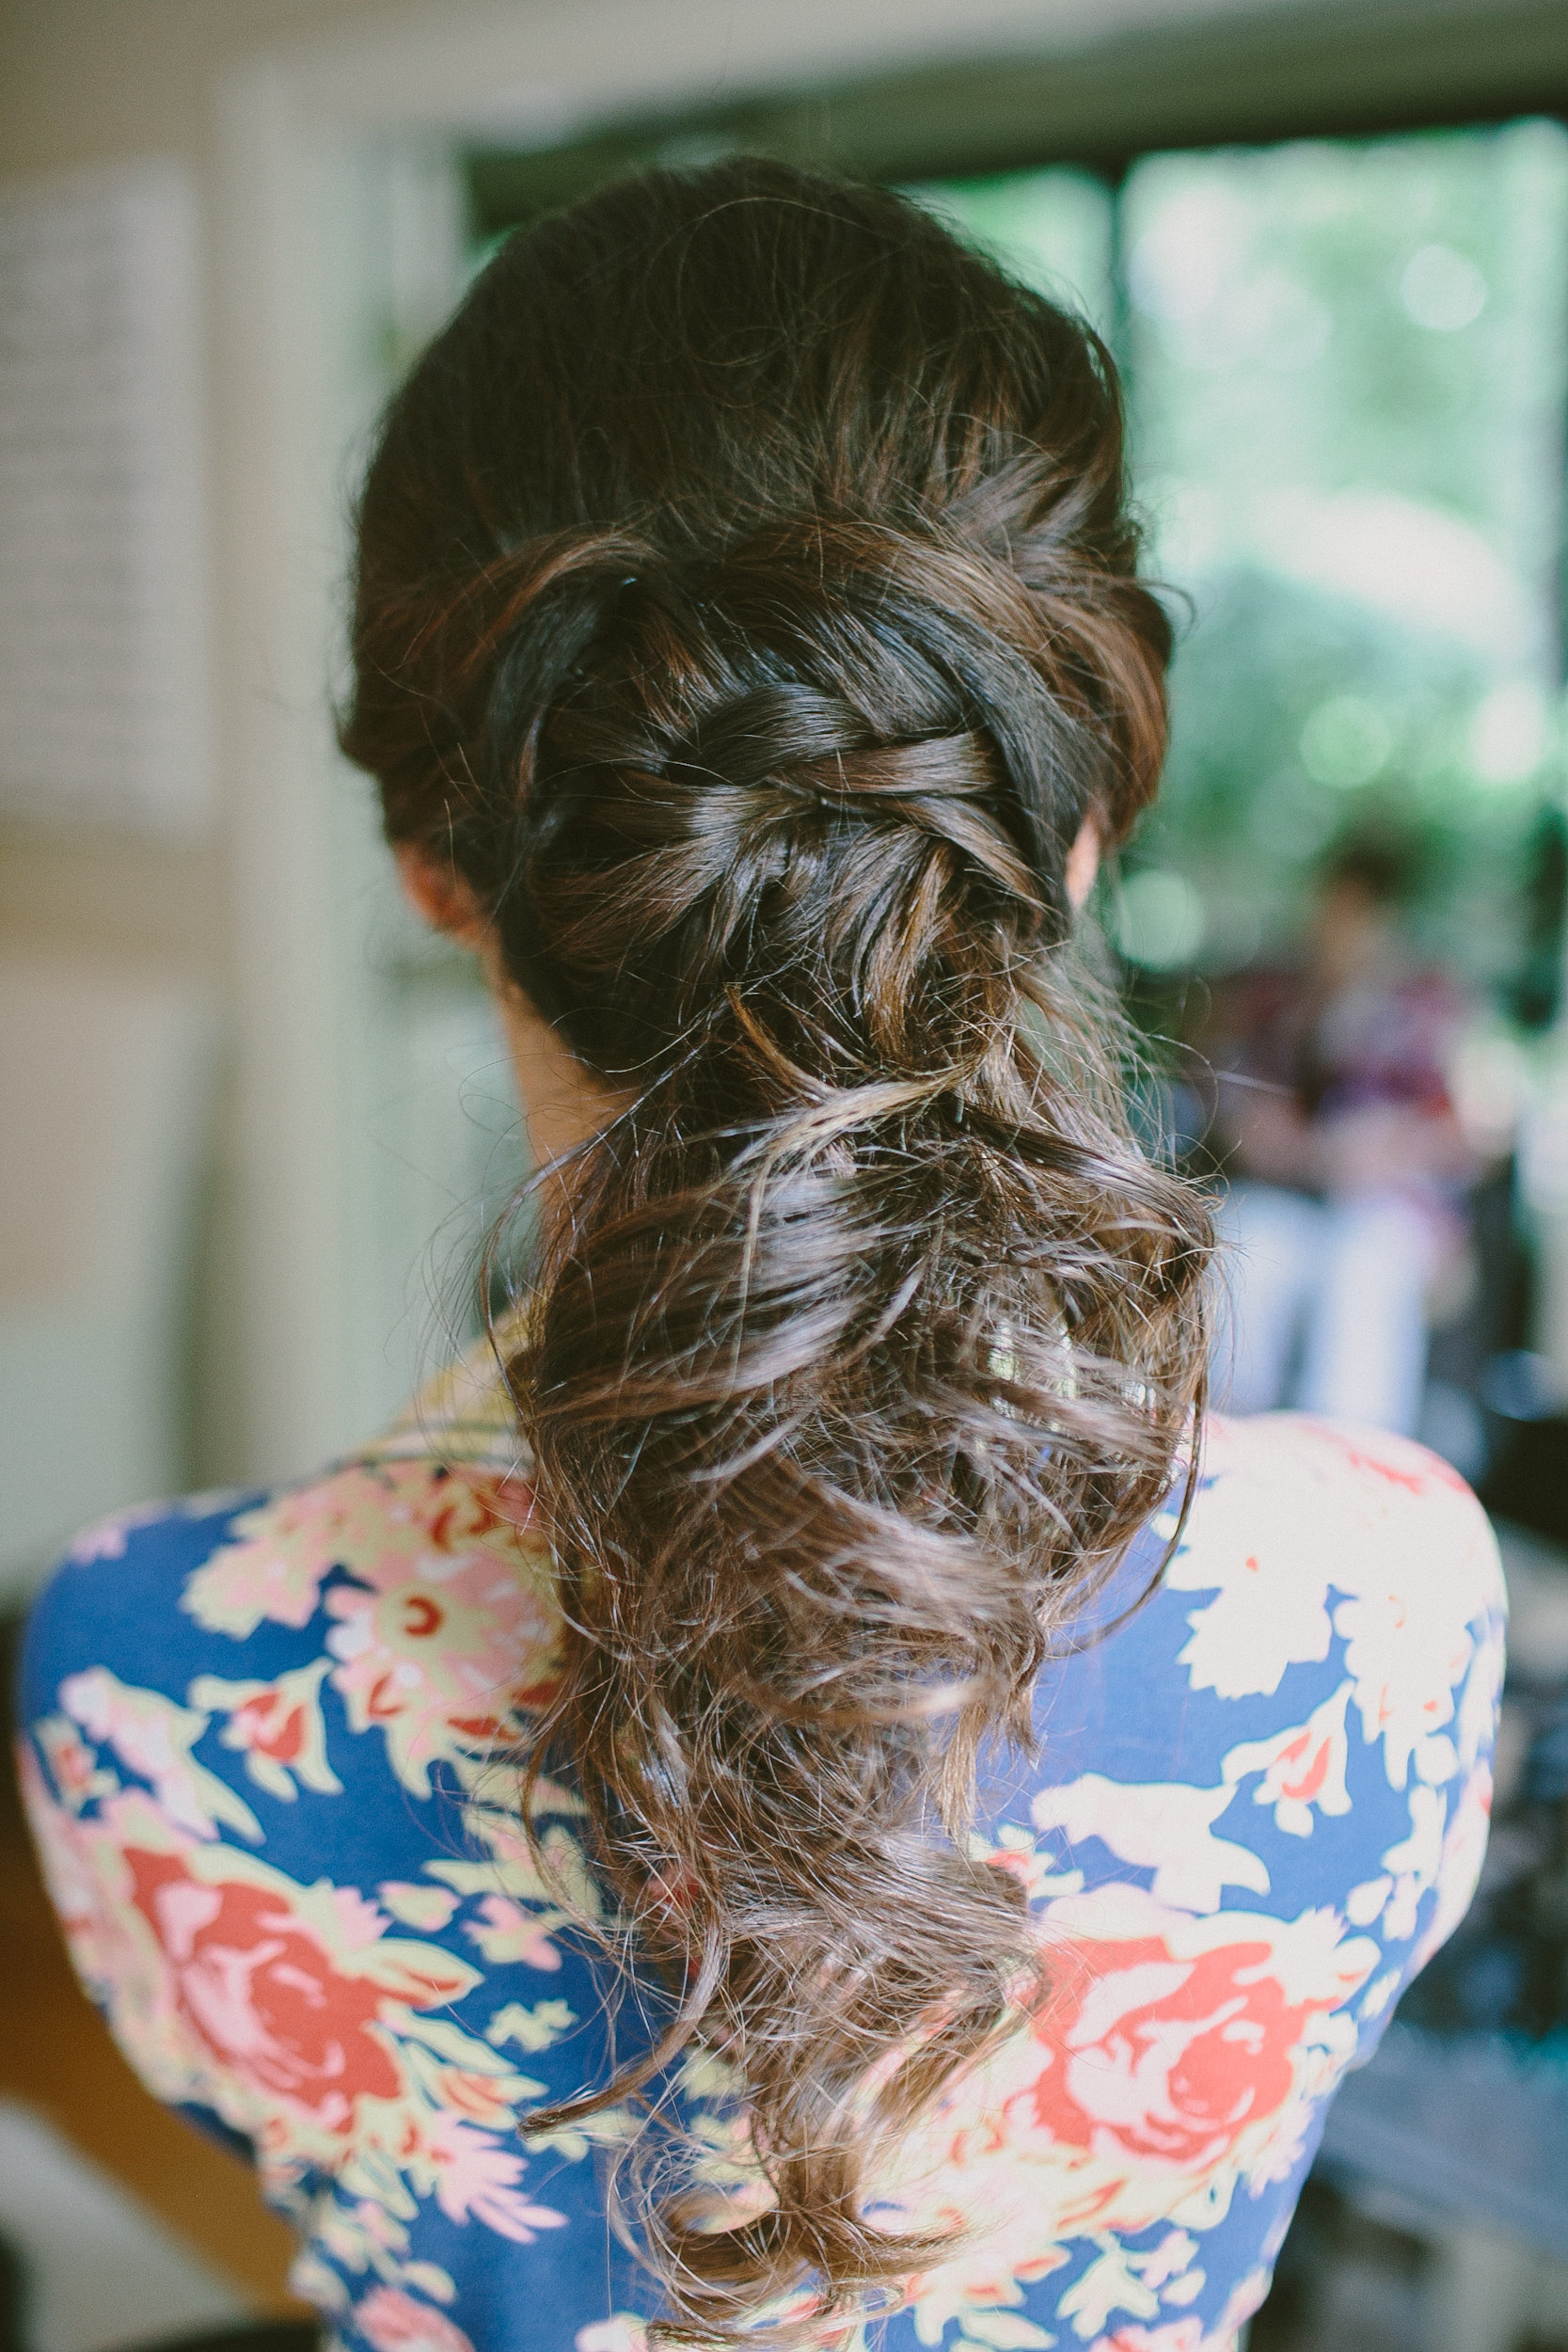
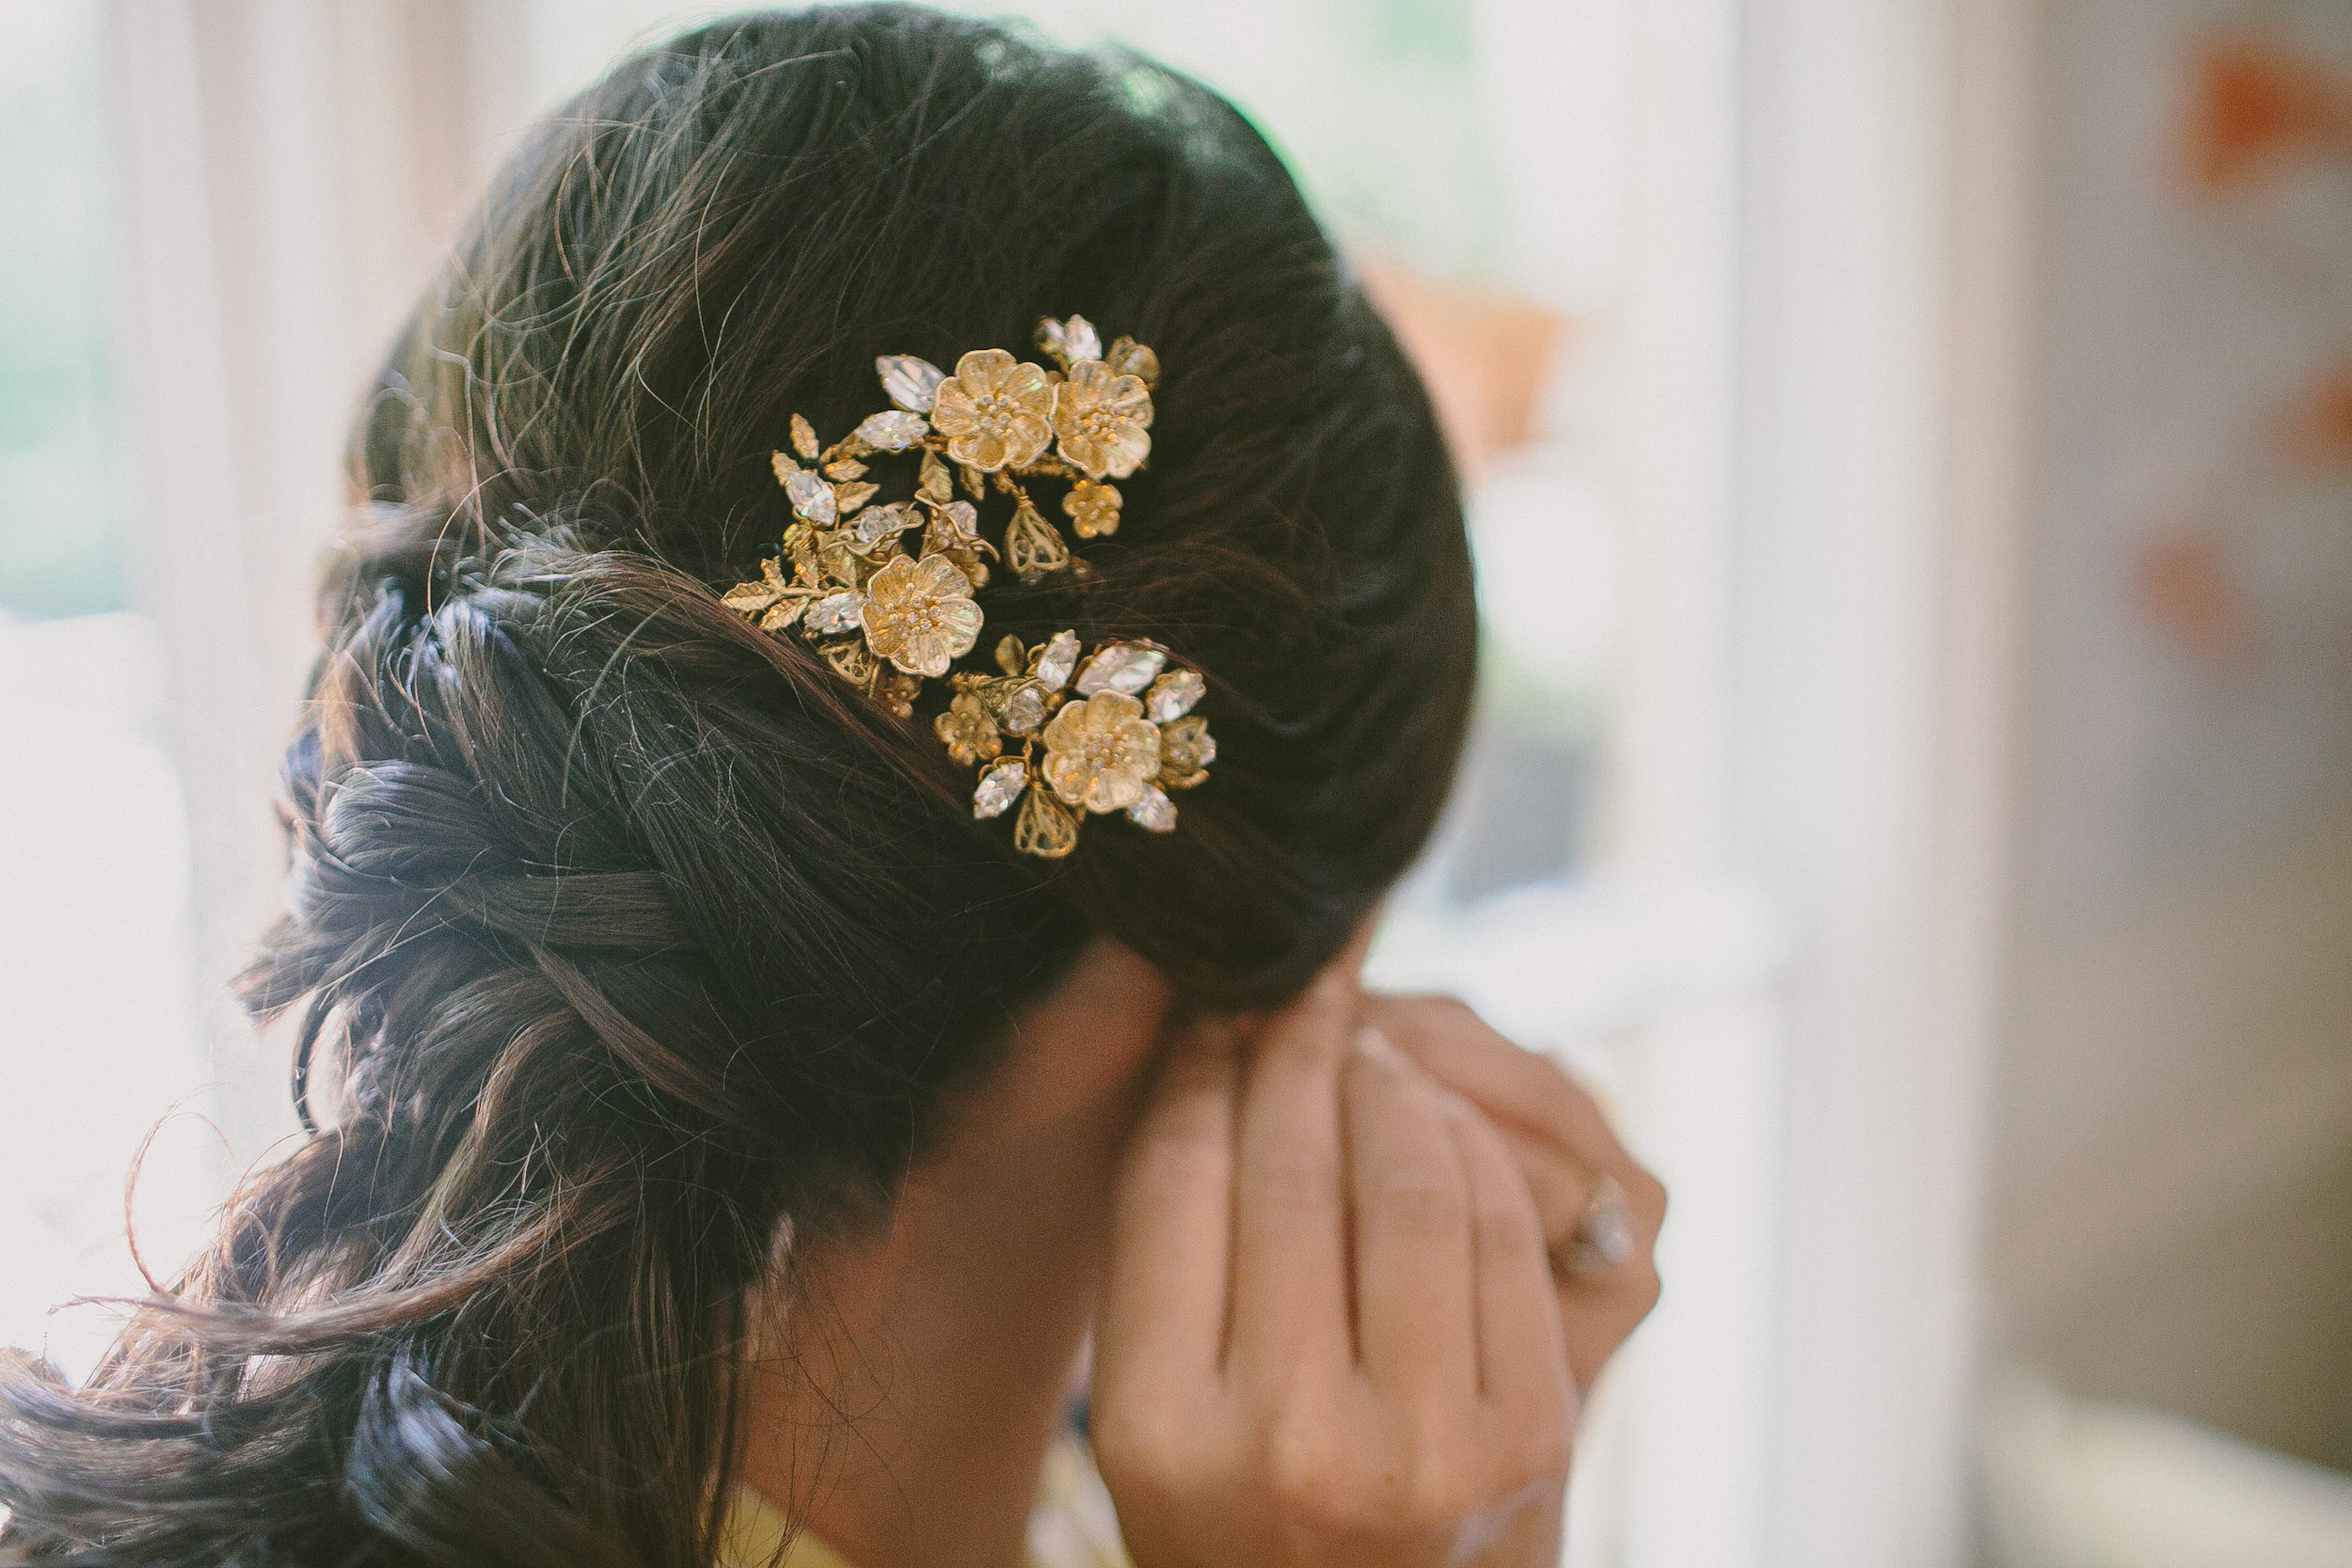
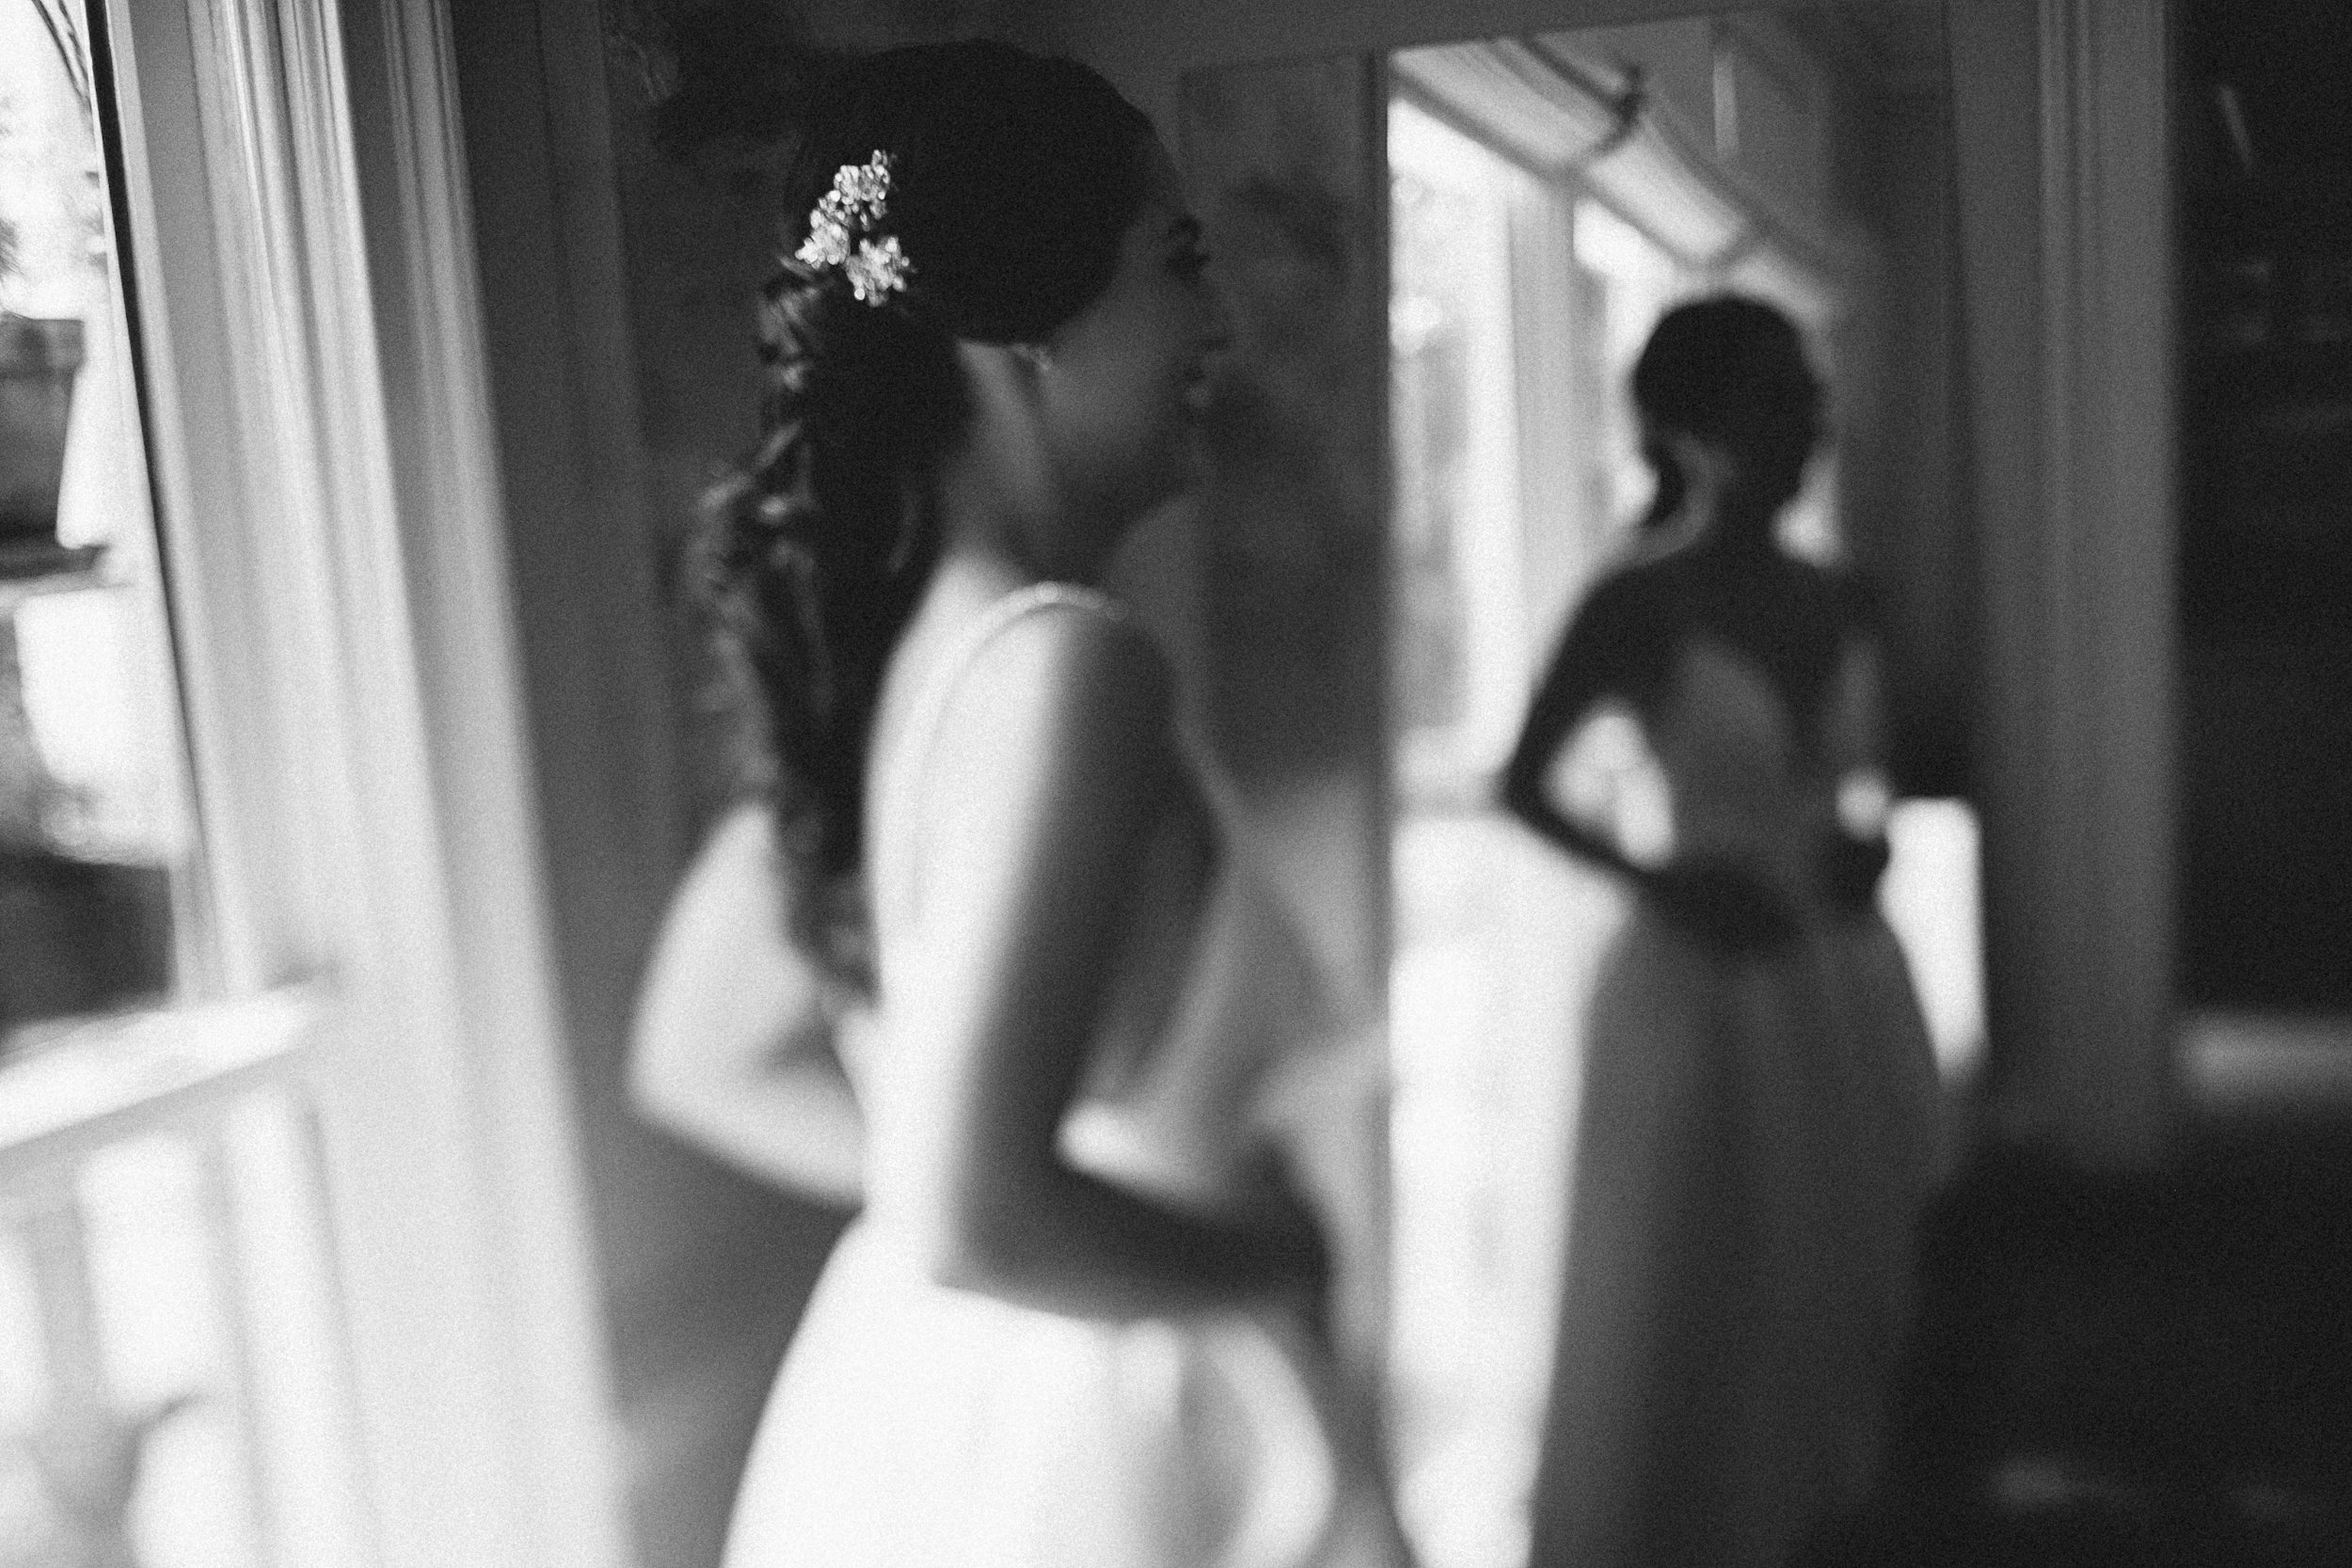
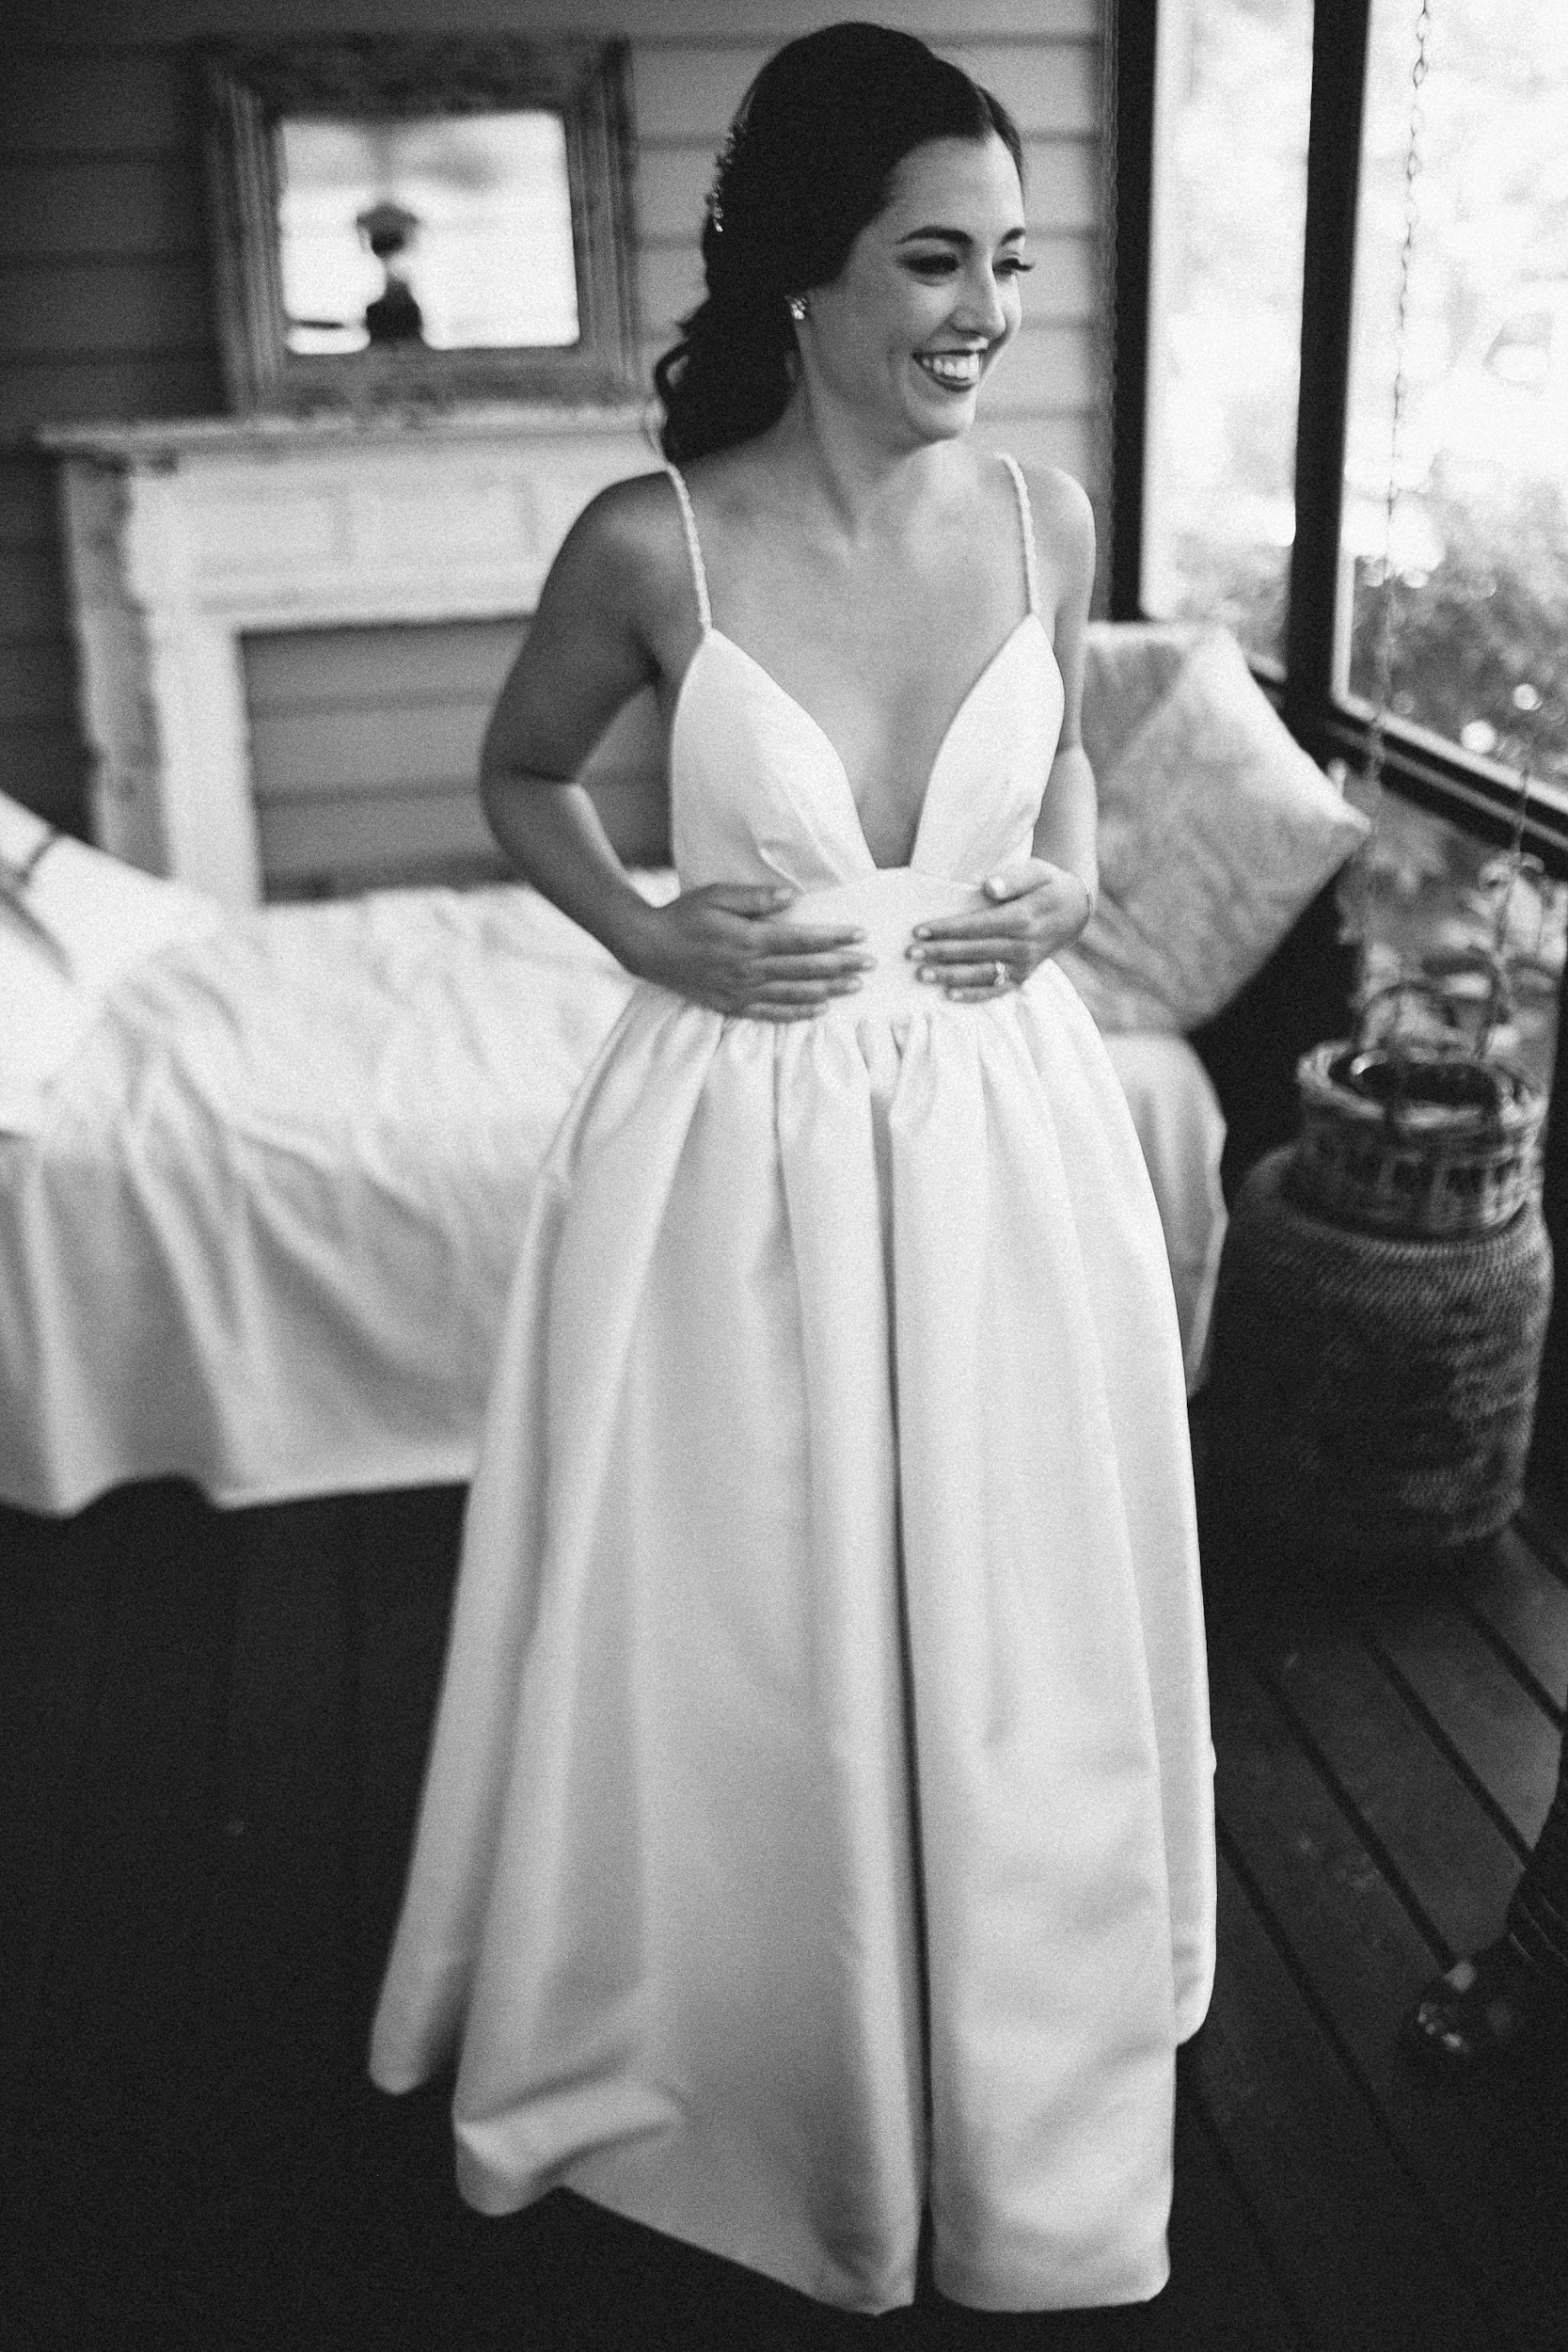
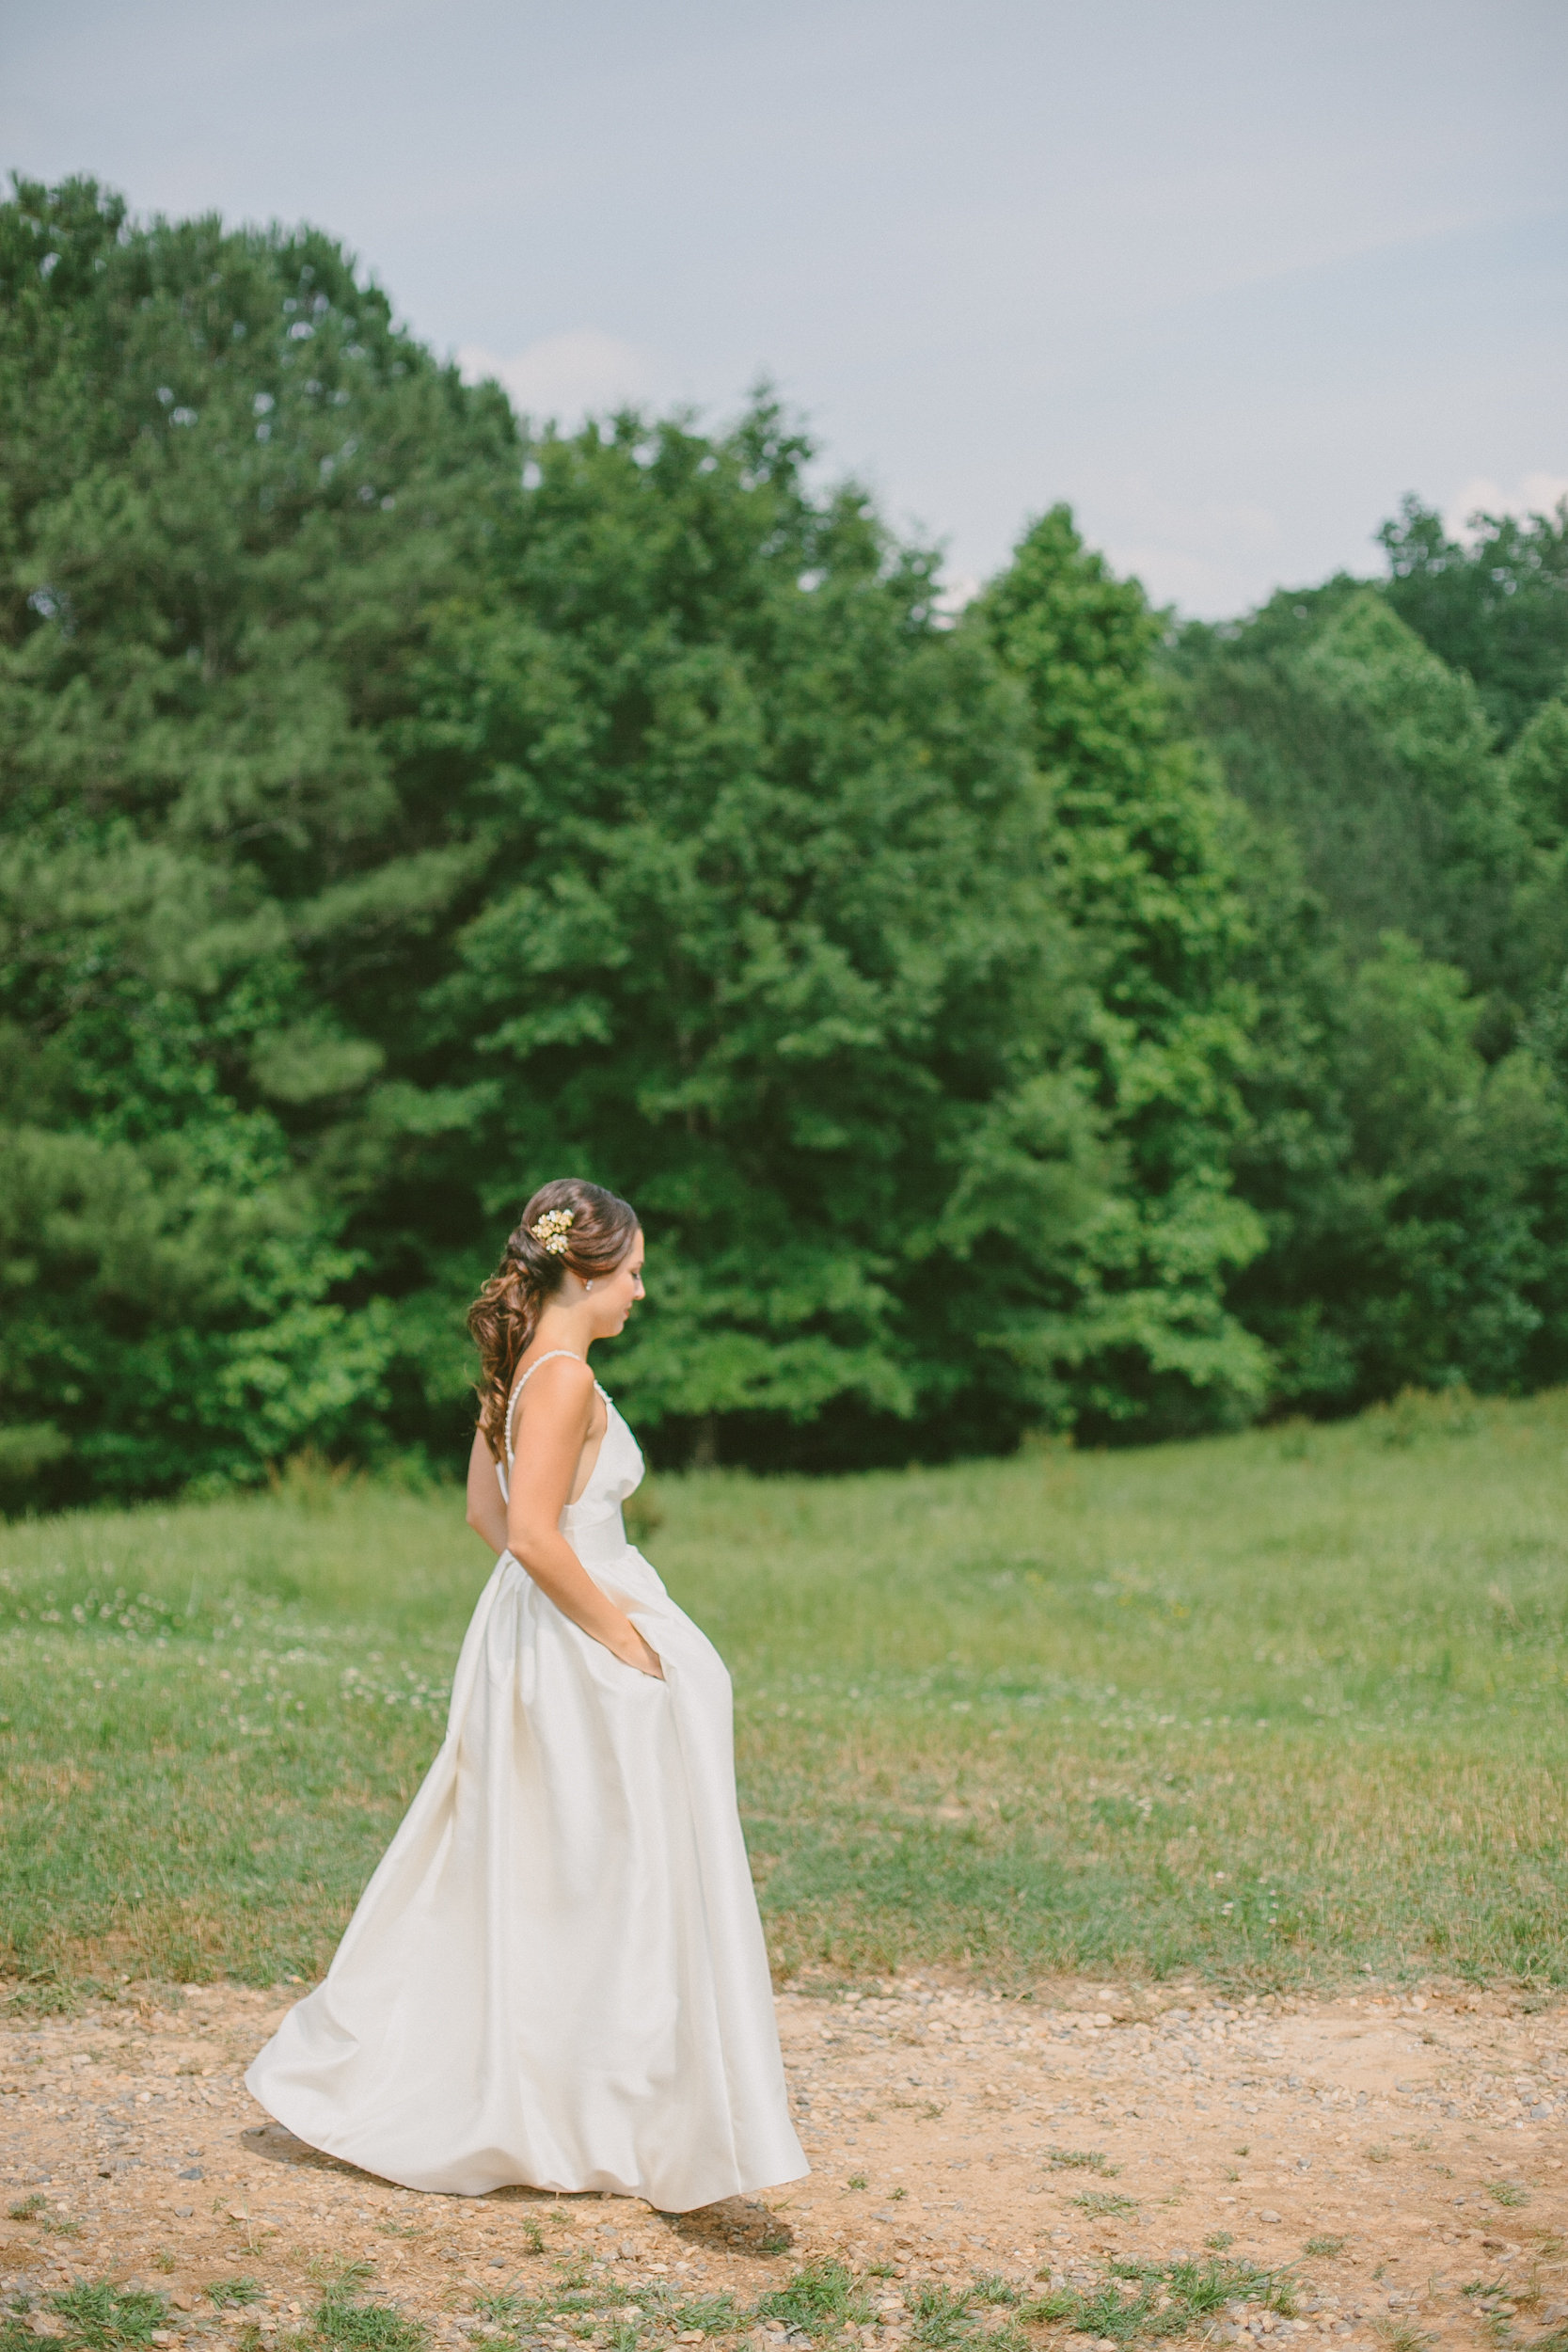
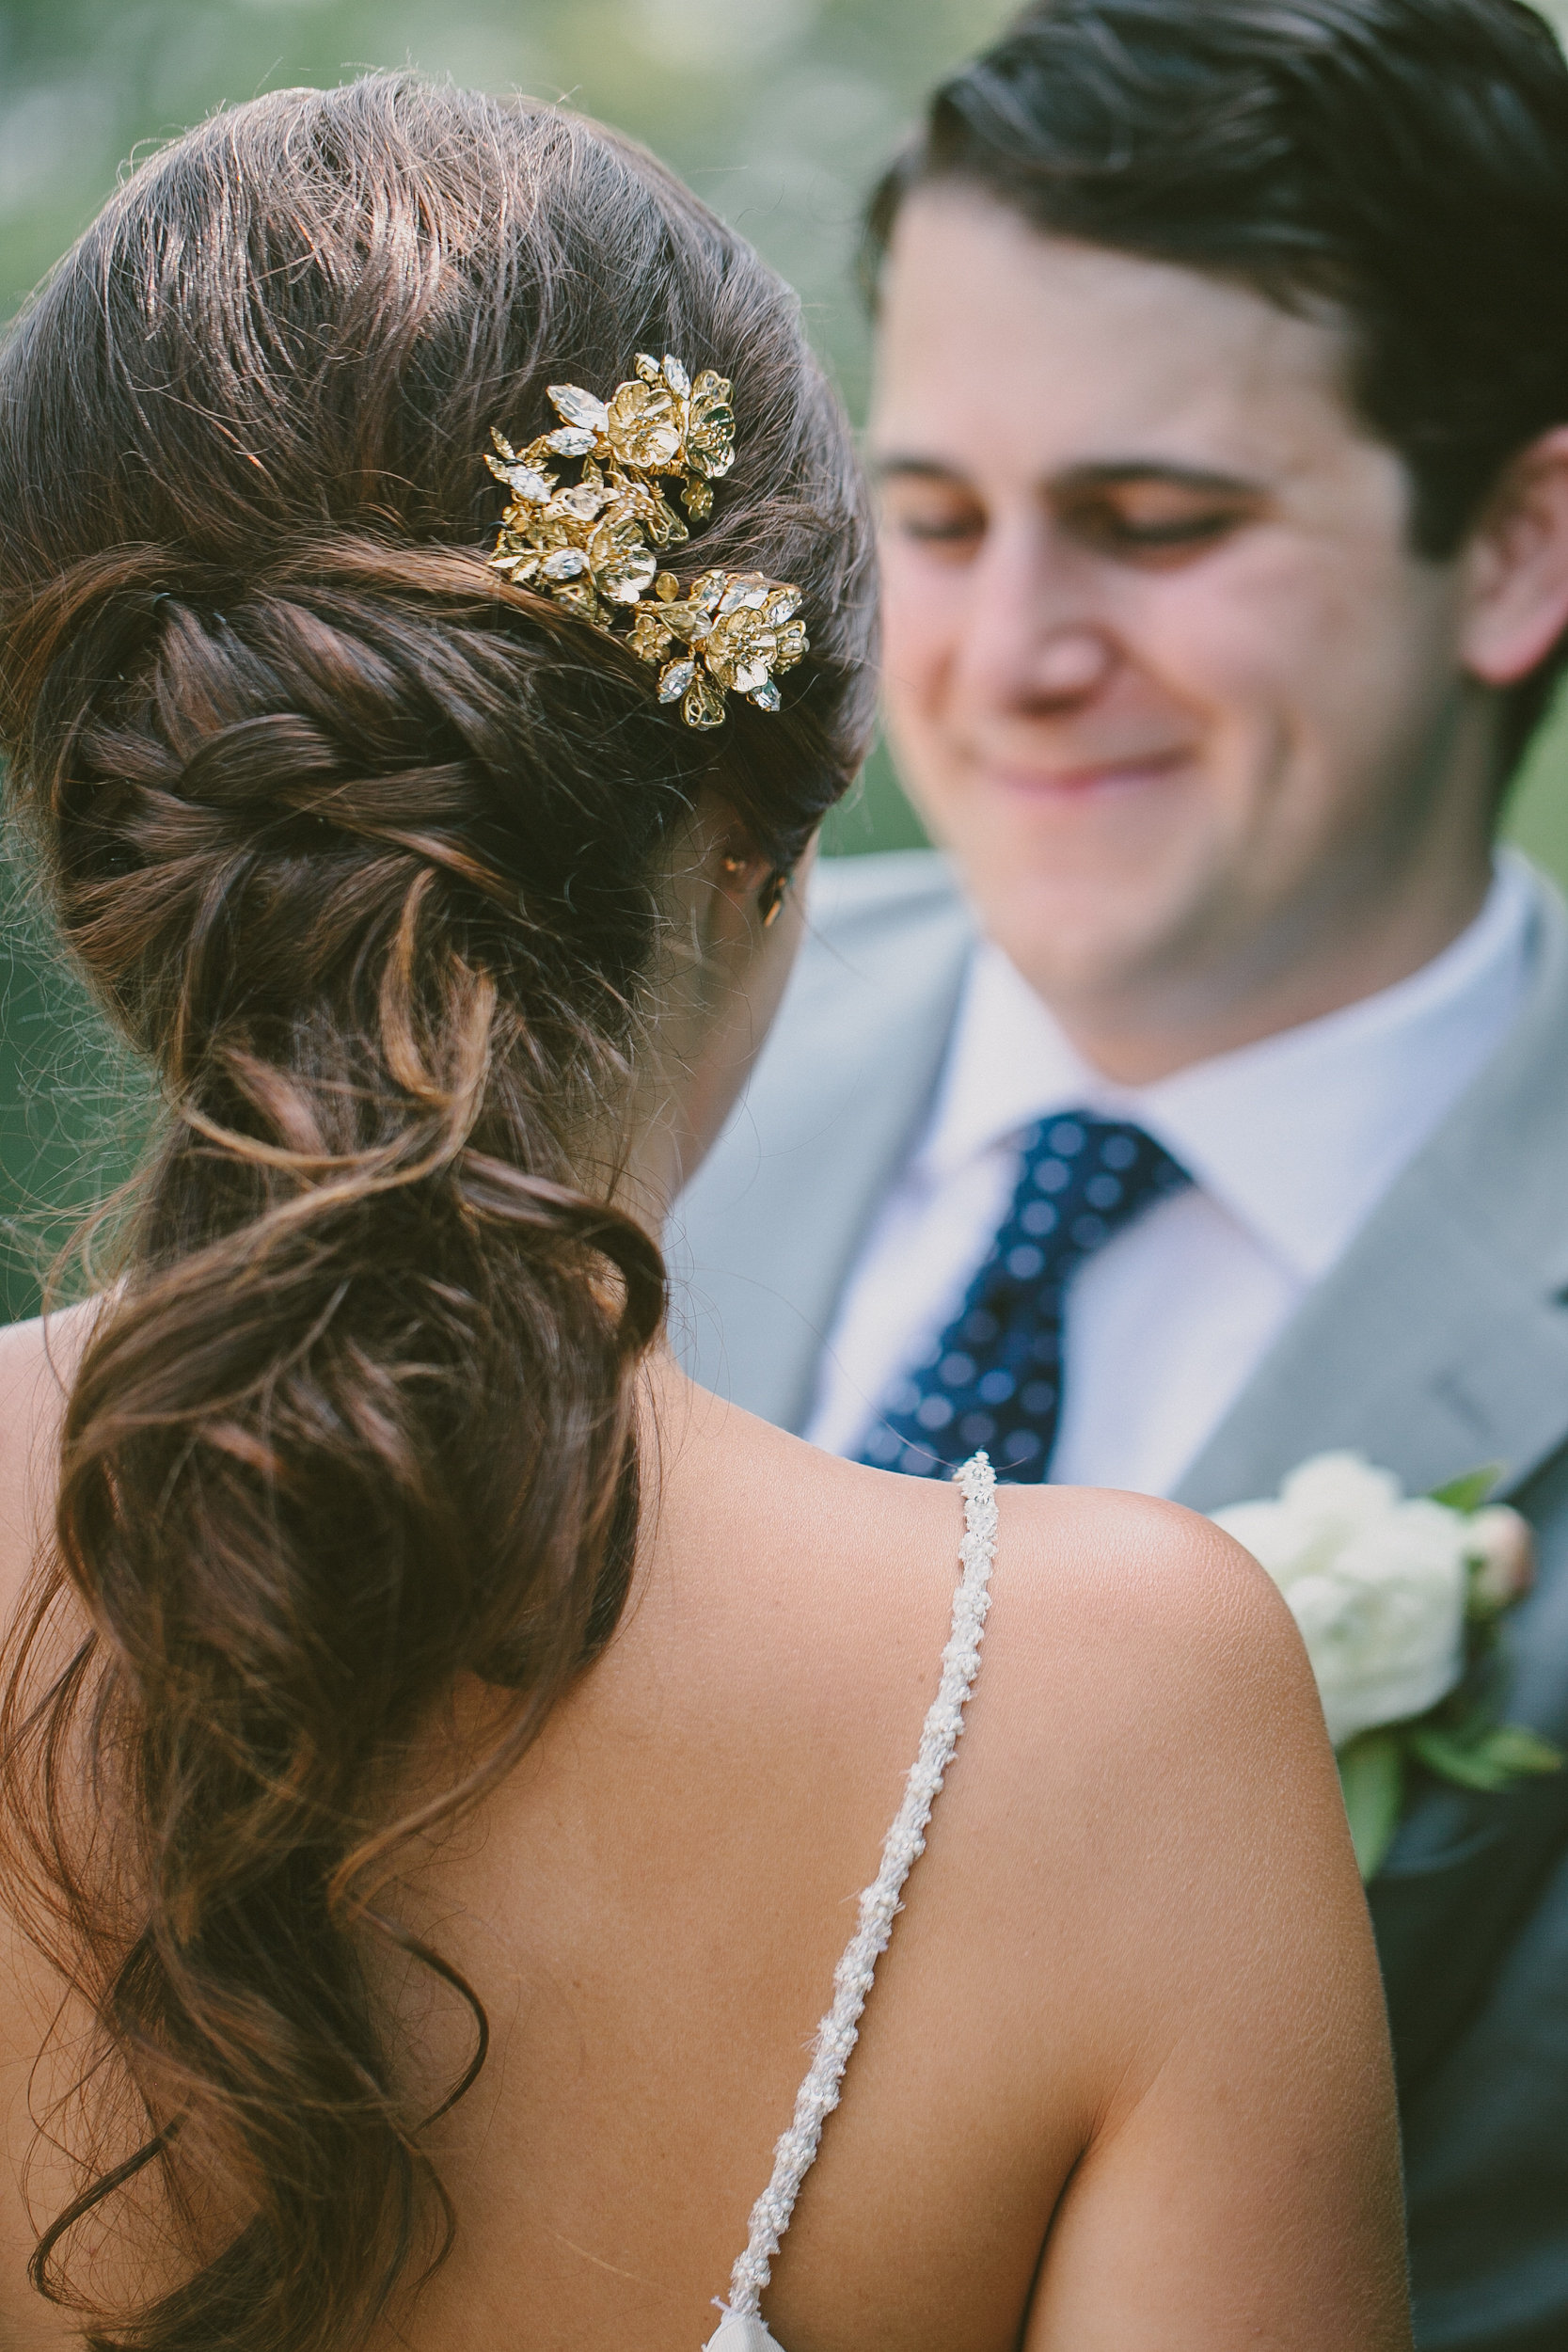
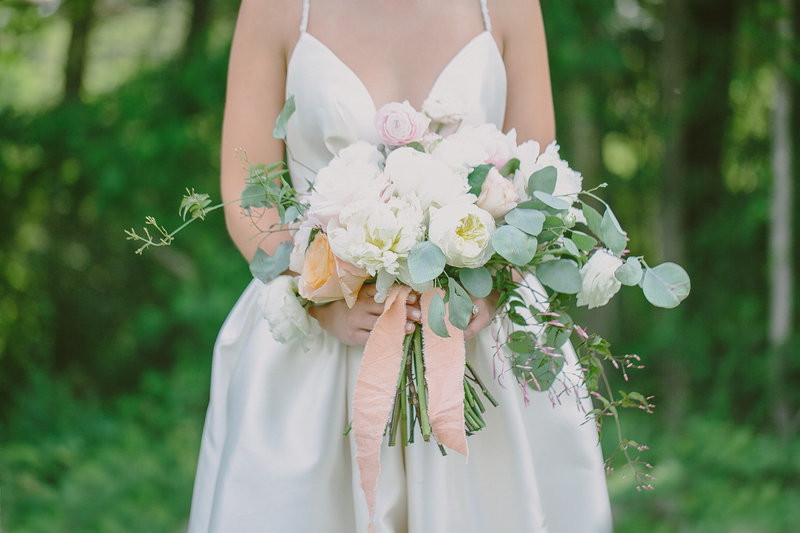
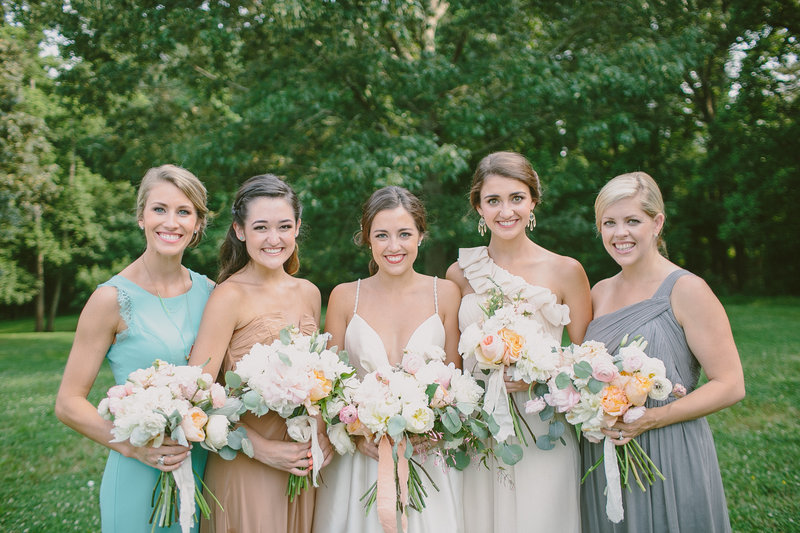
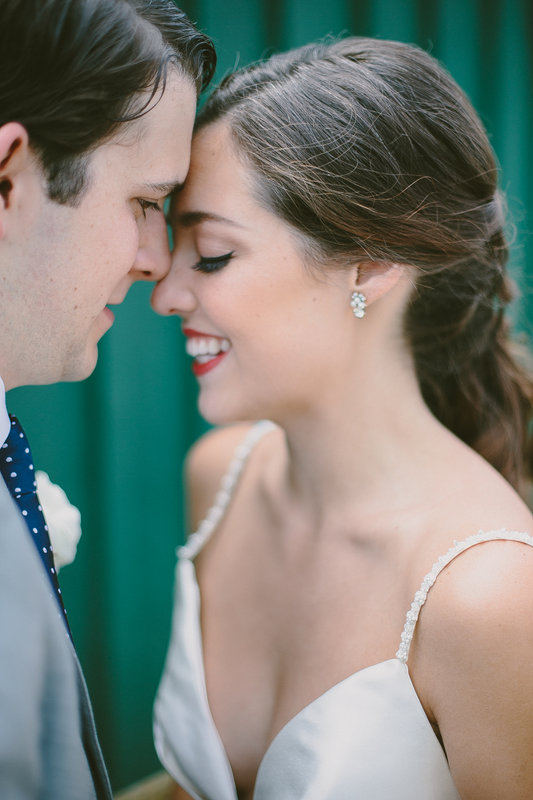
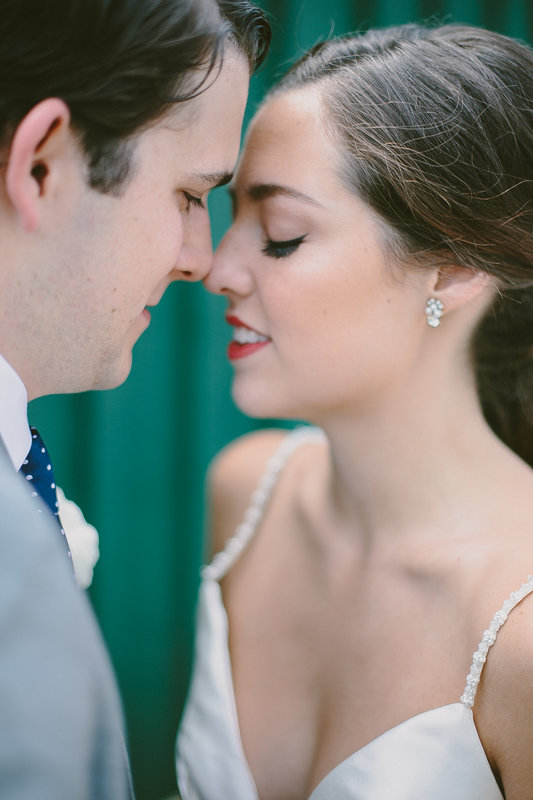
I got to team up with my dear friends at Rustic White Photography to put together a hairstyling tutorial. Like most gals, I love seeing hairstyles broken down. I can lose myself to photo and video tutorials for hours to watch other pros create different looks. So I thought it would be fun to show the steps I took to create a hairstyle I did for a bridal collaboration a few weeks ago. Below are the photos, but you can find the step by step instructions for this look on The Bride Link.
journal
12 Makeup Tips for Headshots
There’s the rumor that you should wear more makeup than normal when you’re being photographed. That’s actually kinda true. But it’s not about just slapping on more of each product you normally wear—it’s about knowing which features to emphasize and the products and proper placement of those to help bring your face to life for the camera. And remember, your headshot is about YOU looking your best—not your makeup attracting the attention. So keep everything soft, well blended and natural so your natural beauty shines through.
Skin prep
Really, if your skin looks amazing, everything else will look beautiful. It’s important to prep your skin prior to applying foundation, concealer and powder so everything goes on smoothly.
1. Exfoliate – This step should be a regular part of your skin care routine, but it is especially important when prepping your skin to absorb moisturizer and to help foundation lay down smoothly. I often mix sugar with my normal face wash to turn it into an exfoliant. You can also use a warm, damp washcloth to gently scrub. And “gently” is key…don’t be aggressive or you will have red, irritated skin. Don’t forget to exfoliate those lips too so they’re soft and smooth.
2. Moisturize – Immediately following cleaning and exfoliating, while your skin is still slightly damp, apply a moisturizer. Find one that suits your skin. If you’re really dry, find one that is really nourishing. If you’re on the oily side, lean towards one that is lightweight and oil free. There are endless moisturizers to suit every skin’s needs. Make sure those lips get a doze of lip balm to make sure they’re moisturized too.
Creamy Moisturizer - Embryolisse Lait-Creme Concentre
Lightweight Moisturizer - Dermalogica Active Moist
3. Prime – Primer has become an essential part of getting a face photo ready. Primer helps prolong the life of your makeup, avoid unnecessary shine and can really help skin appear it’s most flawless. Focus the primer in the center of the face and work outward. Look for a primer to fit your needs. There are primers to reduce shine, redness, pore size, etc.
Embryolisse Emulsion Hydra-Mat
Skin perfecting
Once your skin is clean, smooth, moisturized and primed, it’s time to take it a step further and even out the texture and tone with foundation, concealer and powder.
4. Foundation – more than likely, foundation is a part of your daily routine or it totally isn’t. Regardless of your norm, foundation is a must for being photographed. Use a foundation that matches your skin tone, is SPF free and isn’t too dewy or moisturizing. A foundation that has a more skin-like, velvety or matte finish is going to photograph best and make your skin appear it’s most flawless in photos. I find I get the most even application with the use of a dense, soft makeup brush (one that’s about the size of a blush brush with synthetic fibers). Sponges and fingers work well too.
Giorgio Armani Luminous Silk (MY FAVORITE FOUNDATION EVER!)
5. Concealer – concealer is important in neutralizing any imperfections that your foundation didn’t take care of, particularly under the eyes. For a particularly dark under eye area, start with a pink or peach-based corrector to cancel out darkness prior to applying concealer. Concealer will brighten the under eye area further and help it blend into the rest of your skin.
6. Powder – Powder is the finishing touch to skin to even it out or reduce shine. Don’t overuse powder. Just dust it over the areas that need a little extra coverage or shine control like either side of your nose, chin and center of your forehead.
MAC Mineralize Skinfinish Natural
Make Up For Ever HD Microfinish Powder
Eyes, Cheeks, Lips
The next steps bring color and life into the face. And they’re the most fun.
7. Brows – brows are often forgotten but make a big difference. Fill in sparse or light brows to give them a definition and fullness so that they serve their purpose in framing your face. I prefer using brow powder (or just regular eye shadow) in a shade of gray to fill in brows with a small, stiff, angled brush. Start at the center and highest point of the brow with small, quick strokes and work your way out. Don’t overdo the product and be sure to follow your natural brow shape to keep ‘em from looking drawn on. Spray your brow brush (or a baby tooth brush) with a little hairspray then comb your brows up first, then over to give them some lift and keep them in place through your photos.
For light/medium haired gals / Bobbi Brown "Gray" Eyeshadow
For dark haired gals / Bobbi Brown "Smoke" or "Charcoal" Eyeshadow
8. Eye Shadow – Keep it natural. This isn’t the time to play with colors. Neutrals like vanilla, champagne, taupe, gray, brown, bronze are safe for anyone. Keep the lid light and bright with a wash of color. Work a medium tone shadow in the outer corner and crease to give your eyes some depth. And if you want a bit more definition, smudge a darker shadow into on the outer 2/3rds of the top lash line. This is a fool-proof way to do eye liner to ensure the line is soft but still defines the eye.
Bobbi Brown / Browns Eye Palette
Urban Decay / Naked2 Basics eye shadow palette
9. Lashes – CURL YOUR LASHES! Do not forget this step. This is the quickest way to make your lashes appear longer and your eyes bigger and brighter. Then wiggle the mascara wand horizontally into the base of the lashes and comb through the ends several times. Don’t be afraid to apply several coats of mascara on the top lashes. Long, full lashes will really make your eyes pop. Also swipe a light coat on the bottom lashes as well. And this occasion isn’t a bad time to try a waterproof formula just to prevent any smudging.
Laura Mercier Full Blown Volume Supreme Lash Building Mascara
10. Cheeks – It’s really important to get some color into your face with some blush. Make sure you’ve done your light dusting of powder on your cheeks prior to applying blush to make sure it lays down soft and evenly. (NOTE: If using a cream or gel blush, apply it after foundation/concealer before powder.) A fresh, bright pink works well on everyone. Use a soft, fluffy blush brush, swirl a little blush on the apples of your cheeks and blend along your cheekbones. Start with a little blush and add as needed to avoid overdoing it. Your cheeks should look flushed, not pink.
Bobbi Brown Blush in "Pale Pink"
11. Lips – Finish your look with a natural product that is a hint richer than the natural color of your lips. If your need to even out your lip shape, start with a lip liner. Otherwise, just pop a creamy balm or lipstick on your lips. Avoid super matte or super glossy formulas.
Revlon Color Stay Just Bitten Kissable Balm Stain in "Honey"
Clinique Almost Lipstick in "Black Honey"
12. Bronzer – Take a look at your gorgeous self now and see if you have enough warmth and color in your face. If you feel a little pale, use a soft, fluffy brush to blend a matte to slightly “glowy” (NOT glittery or too shimmery) bronzer on your forehead, along your temples and cheekbones. Again, start light and add as needed. It’s always easier to add product than undo the damage and take away.
NARS Bronzing Powder ("Laguna" for lighter skin tones, "Casino" for darker)
hair hair hair
one of the very best parts of my job is receiving images from a shoot. i get sooo giddy when a photographer sends me a gallery of images. i love that i have a tangible, visual result from my work, and the incredibly talented photographers i get to collaborate with make my work look that much better. recently, i was going through galleries of images on my computer and realized i had dozens of detail images of hair. not all of these images make it into my portfolio since it's sometimes difficult to see the big picture of the look, but gah, i love when a photographer has taken the time to capture my tiny piece of a shoot. so i pulled together some of my favorite hair-specific shots to share with you! i am so grateful for my work being documented by my dear photographer friends. i adore each of you, admire your unbelievable talent, and so enjoy every time i get to work/play with you. click on the photo for photo credit.
Chaviano Couture 2015 Collection, "Amore"
The only thing I love more than a photoshoot is a photoshoot where it is nothing but beautiful girls in gorgeous wedding gowns. Annette Thurmon of Chaviano Couture makes the most dreamy, feminine, fabulous gowns, and I got to play with her new collection a couple of months ago when we were shooting for her 2015 collection, "Amore". I love bridal beauty because it's soft and romantic, so I enjoyed the full day of doing hair and makeup for models that were wearing equally soft and romantic gowns. This latest collection features tons of lace, silk and tulle--all super feminine textures that make any girl feel pretty.
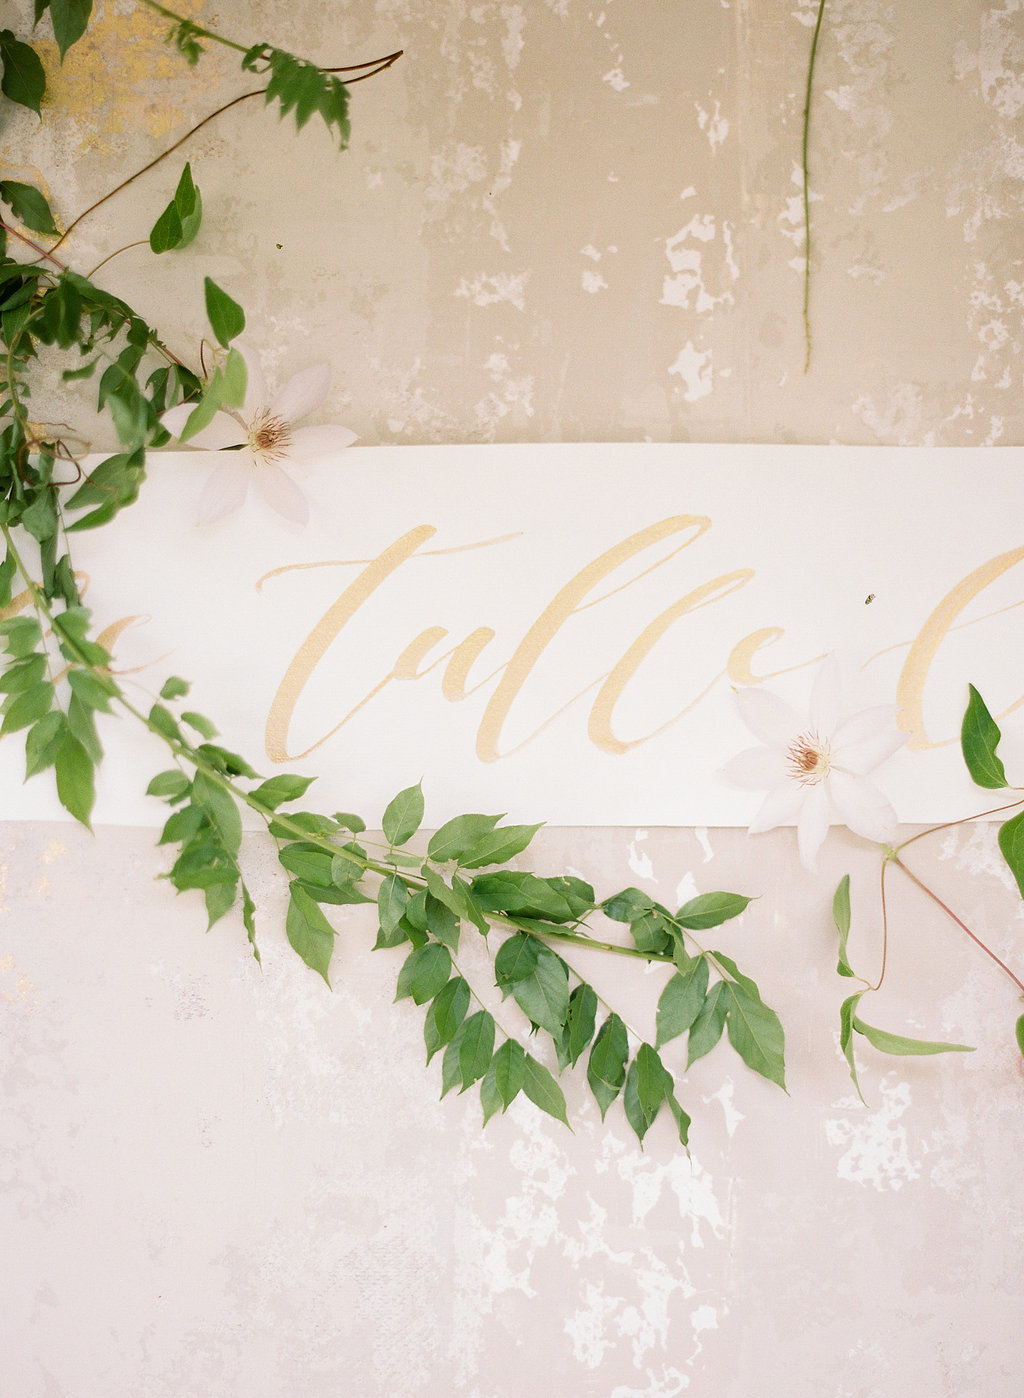
Enjoy thumbing through some of the stunning photos taken by Lauren Kinsey that are featured on Magnolia Rouge and Weddings Unveiled. This was such a fun shoot for me because I got to work with Lauren for the first time, an incredible photographer I had been dying to work with for some time. And also got to finally meet the crazy talented bridal accessory designer, Carlee Sizemore (who did my sweet sister's head piece for her wedding!) as well as Julia of Ink and Honey Calligraphy who has an aaamazing eye and talented hand. My dear friend Krista of Blue Eyed Yonder is responsible for that incredible backdrop--I want the walls of my house to look like that. And then Lindsay Coletta knocked the florals outta the park on this shoot. She is awesome.
Magnolia Rouge / Amore - Chaviano Couture 2015
Weddings Unveiled Magazine / Chaviano Couture 2015 Collection
5 multi-purpose products
makeup is fun. products that can be used for multiple purposes are even more fun. whether you want to get creative, maximize your makeup or try a monochromatic look, there are many products that can be used a few different ways. here are some of my favorite multi-purpose products that i reach for when doing client's and my own makeup.
MAC blush in "Warm Soul"
this has been a favorite blush for a while. MAC describes it as a "mid tone beige with gold pearl", but reads a little rosier on fairer skin tones. it's just this gorgeous warm (hence the name), glowy blush that's not too bronzy and not too pink. but recently, i fell in love with this blush as an eye shadow. since this particular blush is part of MAC's mineralize collection, it is sheer and buildable and looks as though it becomes part of the skin. it's great for a no-makeup makeup look by giving just a hint of color and shimmer to brighten especially blue eyes.
Bobbi Brown eyeshadow in "Grey"
this eyeshadow gives the most gorgeous haze of grey when use it all over your lid. it's also a great used in the crease/socket of the eye as a soft contour. but i love this shadow as a brow powder the most. it's kind of crazy how versatile it is, but i use it on about 90% of my clients -- it works so well on fair blondes to redheads to brunettes. for anyone with really dark hair or skin, i might go for a darker grey shadow, like Bobbi Brown's "charcoal," but it's pretty amazing how the "grey" shadow works on nearly everyone. it doesn't contain any warmth (red) in it like some brow powders and pencils which can often look unnatural. it's pretty neutral and gives just the right amount of definition. to apply, use a small, stiff, angled brush like the MAC 208 brush. start at the arch of the brow and work your way outward using short strokes to imitate the look of individual brow hairs.
RMS Living Luminzer
i had heard some buzz about this product for a while, but i was sold on it when my stylist friend Ginny Branch told me she bought it and was receiving non-stop compliments from people on her glowy cheekbones. RMS is a new favorite brand for me because they have some beauuutiful products with gorgeous colors and textures, and BONUS: all products are organic and non-toxic. the Living Luminizer specifically is amazing because unlike many highlighters, it's not glittery or even shimmery really. it just makes your skin look ridiculously glowy. i love to pat in onto the tops of cheekbones or brow bones or down the bridge of the nose. the inner corner of the eyes is another great area to brighten with the Living Luminzer. but my new favorite way to use this cream luminizer is as a lip gloss. you can tap some of the product on bare lips or over a lipstick or stain to to give a little "pop" to your pout. a lot of girls love the look of a gloss but don't love the feeling of something sticky or slippery on their lips, so the Living Luminizer is a great alternative.
Stila Convertible Color in "Lillium"
this nude pink cream that comes in the prettiest little compact has been a favorite product for quite some time. Stila was really the brand that got me hooked on cosmetics years ago because of their fun, playful packaging and wearable colors. their Convertible Colors are a great product for low-maintenance makeup or to pull off a monochromatic look because it is beautiful as both a blush and lip color. there actually isn't a color i don't love in their collection, but "Lillium" is a favorite because it's one of the best nude lip colors and it gives the perfect hint of something to the cheeks with out looking like you're wearing blush.
Bobbi Brown Shimmer Brick in "Bronze"
i just drool over Bobbi Brown's Shimmer Bricks. they're just so pretty and feel so special! the multi-color Bronze Shimmer Brick is an amazing way brighten and bronze the face. use a fluffy brush to sweep through all 5 shades and dust on the high points of the face where the sun would naturally hit. The Bronze Shimmer Brick is also one of my favorite products to create a bronzy eye. you can sweep your eyeshadow brush through all the different shades and dust a wash of color on the lids. or you can use specific colors on different parts of the eye to create more dimension. and i looove to use the Rose Shimmer Brick the same way, or as a brightening blush.
all about brushes - part 1
the brushes you use to apply your makeup are as important as the makeup itself. using a quality brush that is designed for applying a particular product to a specific part of your face is a game changer. when you're trying to apply bronzer with a small, dense brush, the product will go on too heavy and unnaturally--you'll probably look dirty. if you apply a base eye shadow color all over your lid with a small, dense angled brush, the shadow won't lay down smoothly. so, to do your makeup and to do it well, you are going to need a few brushes that serve a specific purpose. each unique brush shape, size and type of bristles makes a difference.
photo by Tin Can Photography
SYNTHETIC vs. NATURAL MAKEUP BRUSHES
the first thing to know is there are two types of bristles used to make brushes: synthetic vs. natural. each type of bristle is designed to work best with certain types of products.
synthetic bristles often look shiny and feel really slick. there are no strict rules, but brushes made with this type of bristle is best used with creams, gels and liquid products like foundation, concealer, lipstick, gel eye liner, etc. they just don't pick up powder products well.
VS.
natural bristles are made from natural hair from an animal. they often seem fluffy and soft, but some can be a little stiff and scratchy--don't get anything that doesn't feel good on your skin! these are best used with powders like eye shadow, bronzer, blush.
SIZE, SHAPE & DENSITY
so once you know if you need to be looking for a synthetic or natural makeup brush, you can move on to selecting a brush based on size/shape/fullness. i hate rules when it comes to makeup because makeup is an art, but here are some guidelines to keep in mind when selecting makeup brushes for a particular use:
the longer/"fluffier" the bristles, the sheerer the product will apply and the easier the product will blend.
VS.
the shorter/stiffer/more compact the bristles, the heavier the product will apply and the more control you have over product application
CLEANING
now let's talk about dirty brushes. i know a lot of us have these dirty makeup bags full of broken powders, cap-less creams that have leaked and our brushes are just floating around in there collecting all sorts of filth. or maybe you just haven't washed your brushes since buying them years ago. stop the madness! now i'm not perfect, so i know my personal makeup brushes go a bit longer than they should without a bath (don't worry, the ones i use on clients get a bath in between every person!!), but clean brushes make a world of difference.
for any of you who hate to admit that you've never washed your brushes, you will be amazed how much better makeup will go on and how much better those brushes will feel on your skin!
here are my thoughts on how often and how to wash your brushes:
- all brushes deserve a thorough bath every few weeks.
- brushes used for creams and gels (primer/foundation/concealer/cream eyeshadow/gel eyeliner/etc.) need to be washed more often--i recommend every other use since products that are moist (eeew that word!) can grow bacteria and also build up on brushes more so than powders.
- for quick, daily cleanings...use a makeup brush cleaner that you can spray directly on the brush or onto a towel. swipe the brush back and forth on the towel and see the product come off the brushes. not only do brush cleaners remove product, they disinfect the brush as well.
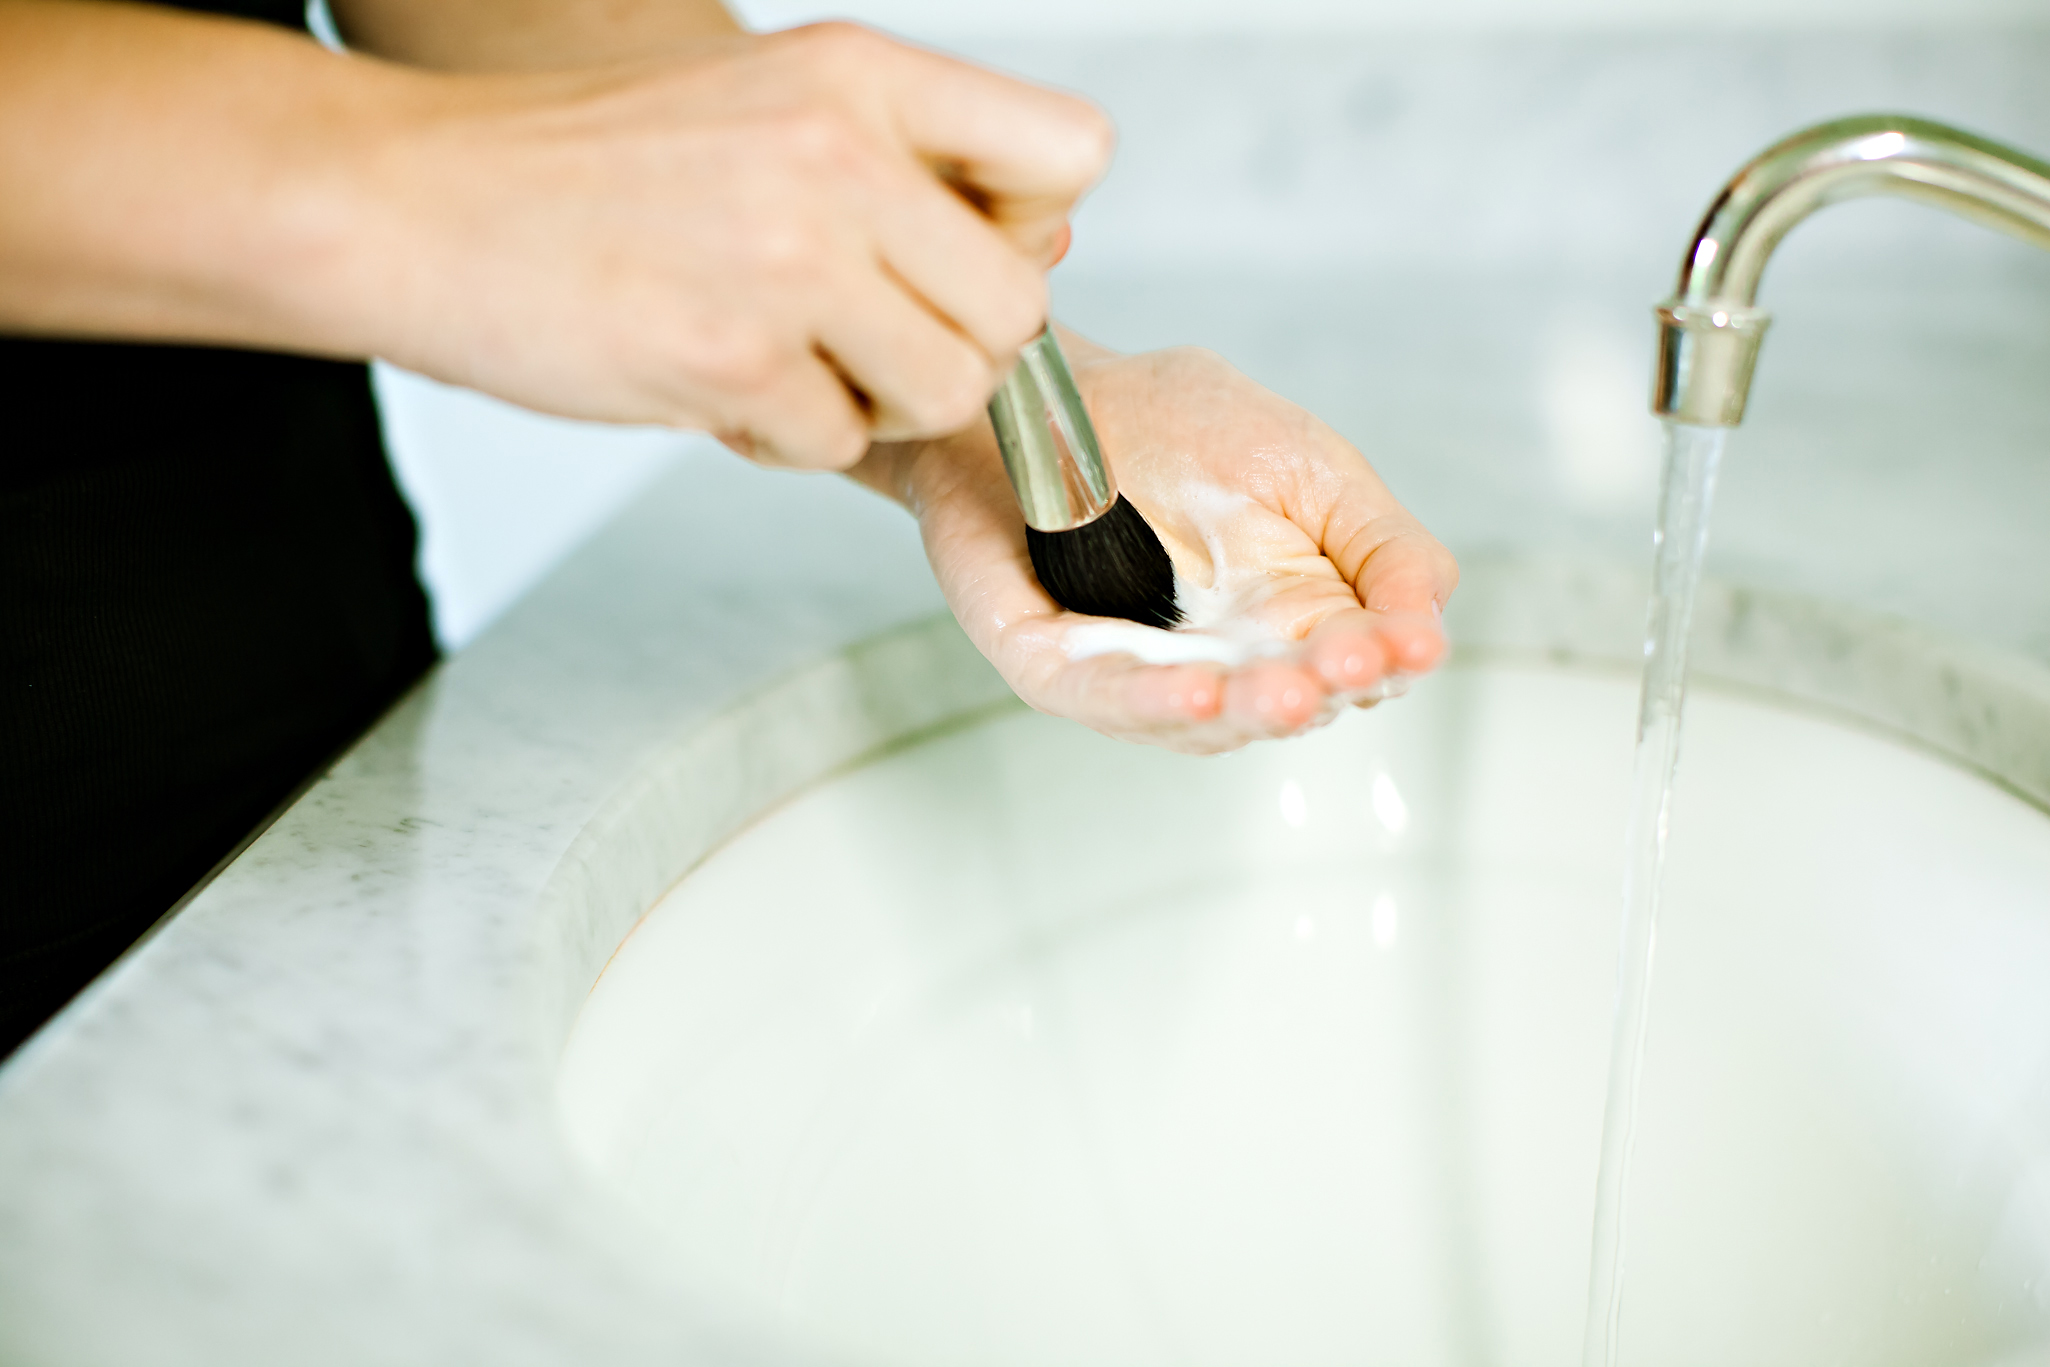
- for the more thorough brush cleanings, or "brush baths" rather...dampen your brush with COLD water and then use a pea sized amount of baby shampoo, clarifying shampoo or plain hand soap in the palm of your hand to swirl the brush around in it. suds up the brush and thoroughly rinse the soap/product out of the bristles. BE GENTLE. if you are careful with your brushes, they will last. so don't pull on the bristles and don't use warm water (it can loosen the glue at the base of the bristles and make the brush shed/fall apart). once you have gently squeeze any remaining water out of the bristles, lay the brush down on the edge of your countertop with the bristles hanging off so they get air circulation and will dry faster.
FAVORITE BRUSHES & BRANDS
stay tuned for more on the brushes i can't live without and some favorite brands of brushes to fit every budget. talk to ya soon! :)
have a great day,
claudia
15 Beauty Questions Answered!
In case you missed my last piece in Cotton Candy Magazine, here are my answers to 15 Beauty Questions!
No. 1
Where is the best part of my cheek to apply blush?
To brighten your face, first apply blush to the apples of the your cheeks, then blend upward toward your temples.
Product Recommendation: Dior Rosy Glow Healthy Glow Awakening Blush
No. 2
What is a good, natural moisturizer for sensitive skin?
Coconut oil! Coconut oil is great for dozens of uses, but a skin moisturizer is one of the best. Since it is oil and can be a bit greasy feeling, use it at night so it can absorb when you sleep. You’ll wake up to glowing, soft skin.
No. 3
Should women with oily skin still wear moisturizer?
Absolutely. A lot of people think that because they have oily skin, they need to deprive their skin of moisture, or worse, strip their skin of moisture. Doing either can cause the skin to overproduce oil and possibly cause breakouts. Also, a lot of moisturizers have other treatment benefits like SPF, anti aging and firming, so you don’t want to miss out on those. Look for oil-free, non-comedogenic formulas.
No. 4
Do I need to wear foundation every day?
There are no rules for foundation, but using some sort of product to even out your skin on a daily basis will instantly make you look fresh. If you don’t have time to mess with foundation, try a multi-tasking product like a tinted moisturizer or BB cream.
Product Recommendations: Laura Mercier Tinted Moisturizer and Dr. Jart Beauty Balm
No. 5
Will eyeliner make my eyes look smaller?
Eyeliner properly applied should actually make your eyes look bigger. You can’t go wrong by lining your top lash line. If you line your lower lashes, line from the outer corner inward about half way. And avoid liner on your waterline. That can be a fun look to play with, but it can also start making your eyes seem smaller.
No. 6
How can I do my makeup in 5 minutes?
It’s fun to spend 30 minutes in the mirror playing with makeup, but sometimes all you have is five minutes. Here are the five features that I recommend tackling in five minutes:
Skin – even out your skin with a tinted moisturizer
Brows – brush brow powder through and comb through brows to put them in place
Lashes – wiggle a couple coats of mascara on your top lashes
Cheeks – dust a bright pink blush on your cheeks to instantly bring your face to life
Lips – swipe on a moisturizing lip stick to polish off the look
No. 7
Why won’t my eye shadow last all day?
A couple of things prevent eye makeup from making it through the day. First, a lot of women have the bad habit of touching or rubbing their face—this obviously rubs makeup off. Secondly, any moisture around the eye area, such as natural oils or moisturizer, prevent products from staying in place. There is a lot of talk about foundation primers, but I think eye shadow primer is an absolute necessity. It provides a good base for eye shadows to stick to and holds the product in place all day. Also, be careful to not get your daily moisturizer on your eyelids or too close to your lash line because any eye shadow or liner applied over will just slide off.
Product Recommendation: Trish McEvoy Eye Base Essentials and Urban Decay Primer Potion
No. 8
What is one thing I shouldn’t leave the house without doing?
Give your brows some love! A lot of women overlook their brows in their beauty routine, but that is one thing that can really pull your face together. Patchy, sparse or fair brows don’t frame the face the way they could if they were filled in and shaped. Brush some brow powder (or eye shadow) that is a tad lighter (and not in a warm hue) than the color of your brows. This is a super fast way to look polished.
Product Recommendation: Bobbi Brown Eye Shadow in Grey works on red heads and blondes beautifully. For darker hair colors, try Smoke.
No. 9
How often should I exfoliate?
You can exfoliate daily as long as the grit in the scrub is fine and you don’t use an exfoliant that has harsh chemicals. Try mixing sugar in with your usual face or body wash. That will help slough off dead skin without being too tough on your skin.
No. 10
What beauty products should I splurge on?
I always love a good drug store find, but there is something about indulging in a luxurious product. Foundation is one of those products I totally think you can justify splurging on. I’m not saying less expensive foundations are bad, but you really do get what you pay for with most high-end foundations. You can be specific with your foundations needs and get exactly the color, texture and amount of coverage you want. And I also love that cosmetic specialty and department stores allow you to try out the product before making the investment. Since you show your skin everyday, it is worth the price to make it look it’s best.
Product Recommendations: Giorgio Armani Luminous Silk Foundation, Chanel Pro Lumiere Foundation, and Bobbi Brown Skin Foundation
No. 11
Should I wash my hair everyday?
Heck no! Don’t waste your time or put your hair through the abuse. Over washing your hair will strip the wanted oils from your hair making it dry, dull and frizzy. Of course some people with finer, thinner hair might need to sud up more often than others, but how often you shampoo is really a matter of personal preference. Instead of washing your hair daily, try using a dry shampoo the days following a washing to give your hair some life. Or you could scrunch some surf spray throughout your hair to give it some wave and pull the hair back in a bun or ponytail.
Product Recommendation: Lulu Organics Hair Powder
No. 12
How can I look glowy and not greasy?
It’s all about strategic placement of shimmer and dewy textures. First, show off your beautiful skin with a sheer foundation or tinted moisturizer. Blend a cream blush on the apples of your cheeks, and pat a little highlighter on the high points of your cheekbones, temples and brow bone. Dust bronzer on the outer edge of your forehead and across your nose and cheeks. And powder on either side of your nose and your chin. Whatever you do, don’t use shimmer all over.
Product Recommendations: Nars Multiple in “Copacabana” for highlighting, Laura Mercier Bronzer in “Golden Bronze”, and Jouer Cheek Tints in ANY color!
No. 13
How often should I wash my makeup brushes?
I think most women are guilty of not giving their brushes a bath as often as they should. Dirty brushes spread bacteria and don’t blend product as well as if they were clean. You can use a brush cleaner that you spritz on the bristles every few days or give them a good washing with baby shampoo and cool water every couple of weeks. Wash your brushes you use for creams and foundation every couple of days to avoid serious product build up.
No. 14
It’s hard for me to apply eyeliner to myself. Any tricks to make it easier?
Eyeliner doesn’t have to be perfect, but it definitely doesn’t look good if it’s sloppy. Instead of trying to make a perfect, crisp line, soften your stroke of pencil eyeliner by smudging it with a Q-Tip. You can also use a small brush that has short, dense bristles to blend a similar color eye shadow over the eyeliner to diffuse the eyeliner, making mistakes less noticeable.
Product Recommendation: Trish McEvoy Va Va Voom Brush
No. 15
What is a good lip color to try for spring?
Orange! Orange is a great color to try this season. It’s bright and fun, and there is a shade to suit everyone. You can try a pinky orange, red orange or if you’re bold, you can go for straight orange. If you’re unsure of the color, you can use a sheer gloss, or if you really want to make a statement, try a matte formula.
Product Recommendation: MAC lipstick in “Dangerous” and Revlon ColorBurst Balm Stain in “Rendezvous”
**Photos by Chealsea Patricia Photography and Meredith Mejerle
new momma makeup
I am surrounded by friends who are new moms. And around the three month mark when they go back to work or are ready to escape the house and join the world again, they start asking me about makeup routine recommendations. I know for moms with little ones and busy gals alike, they want easy, quick makeup.
Luckily, nobody needs 30+ minutes of makeup application time to look gorrrgeous. I think the priority for most women in this "new mom" category is to look like they got 8 hours of sleep. With a few products, tools and tricks, you can be out the door in under 5 minutes and look awake and rested.
recommended products and application:
tinted moisturizer - A favorite of many is the Laura Mercier Tinted Moisturizer. It gives sheer coverage, evens out the skin, and has SPF. Tinted moisturizers are great because they can be applied quickly with your fingers and don't require a ton of blending. Rub a dollop of product between your fingers, then start applying the tinted moisturizer in the center of the face and work outward.
concealer - Not surprisingly, new moms battle dark circles as a result of getting less sleep than they need. So concealer to the rescue! It's amazing how brightening the undereye area can bring the whole face to life, so this product is a must. Laura Mercier makes a great concealer, Secret Camouflage. Apply thin layers of the product by patting into the skin with your finger or buffing it in with a small, dome-shaped brush. I looove the Real Techniques brushes for these types of tasks! And in terms of color, go for a concealer that is about the color of your skin on your jawline. You're a bit lighter in this area so this is a good gauge for how light you can go with concealer. Much lighter than this and you're going to look plain strange. And again, work in thin layers and only apply where you are dark. Overusing concealer can work against you.
cream blush - I am a big fan of cream blush lately. I love the way it melts into the skin and looks totally natural. In terms of colors, you can't go wrong with a pinky or rosy hue. Stila's Convertible Color has been a favorite cream blush for years and they make several gorgeous colors. Fuscia and Sweet Pea look super bright in the compact, but I promise they look beautiful once they are blended it. You can pat the product onto the apples of your cheeks with your fingers and blend up toward the temples. Cream blushes are a great multi-use product, so use it as lip color as well!
brow pencil - A lot of women won't leave the house without mascara. I won't leave the house without giving my brows some love. Brows are totally under rated when it comes to low maintenance makeup. They have the power to make you look awake and polished by simply brushing a bit of powder or pencil through. I recently learned about the Hourglass Brow Sculpting Pencil. Oh my goodness, these are fantastic. The colors are excellent and the texture of the pencil is perfect. Focus on the arch of the brow and make sure you maximize the length of the brows toward the outer corner--this will lift and elongate your eyes, making you appear fresh and awake.
mascara - You're probably not surprised that I am recommending mascara since most women can't leave the house without it. But applying your mascara a certain way can really maximize the benefits. Really wiggle that mascara wand into the roots to really coat the base of the lashes--this makes the lash line seem thicker. That way you can skip eye liner. And using a lengthening formula is great because long lashes make you look bright and wide awake. Don't be afraid to do 2-3 coats on the upper lashes. I like Cover Girl Lash Blast Length
lip color - Revlon should be paying me for the number of times I have recommended their ColorBurst Balm Stain. I think I am their #1 fan. Anywho, I love these crayon-like lip balm/lipsticks that are in an array of beautiful, fresh colors. I love how they are easy to swipe on without a mirror, they are moisturizing aaaand they last! You'll probably want to buy one in every color. Which wouldn't be a bad idea because they are only about $6.
Hey, and check out this great video tutorial by one of my makeup artist idols, Lisa Eldrige. You'll probably fall in love with her yummy British accent like I have--oh yeah, and her amazing talent.
shoot for CULTURED blog...Fall 2013 trends
a couple of months ago, i had the pleasure of getting to work with Dana and Blake, the incredibly talented gals behind the blog, CULTURED. their blog is inspired by fashion, lifestyle and people. the clean, laid back and polished aesthetic of everything they style and feature is right up my alley. you HAVE to follow the blog if you don't already--it is done so very well.
our shoot back in october focused on how to wear 4 fall 2013 trends. Dana and Blake totally have an eye for how to pull together unique pieces to create a killer outfit. throughout the shoot, i probably said a dozen times "i would have neverrr put that together...but it looks so awesome!"
so Dana and Blake styled the outfits, and i got to do the hair and makeup for our beautiful model, Ally. i showed off her gorgeous skin by going light on the foundation and having fun with glowy products that highlighted her features. her eyes were defined with a mixture of browns, bronzes and champagne-y colors and then dark black liner was smudged along the lash line. and for each look, i changed up her lips to be some variation of a nude and warmed up her cheeks as the shoot progressed.
and in terms of hair, she had a ton of it, so it was a dream to work with. for a couple of looks, i created a messy, imperfect wave. then we did a high bun/top knot for a third look and finished the fourth look with a low knot anchored at the nape of her neck. this shoot allowed me to do a lil' bit of messy and a little bit of neat, polished hair--i love both ends of the spectrum.
after getting Ally dolled up for each look, it was so fun to sit back and watch our aaaamazing photographer friend Mary Caroline Mann make magic with our model, a solid background, and a few props. MC is incredible. she has captured a ridiculous number of people and places, has amazing eye for photographing people, and has such a gentle way of working with them. I just love her use of light and dark in her images and the way her photos are more than just stunning--they evoke a lot of emotion. gah, she is one of my very favorites to work with.
so enough of my yappin'...check out some of these stunning shots...
...so as you might guess from seeing these beautiful images, this was one of those shoots where i left feeling inspired and excited...kinda like the high you feel when you leave a really amazing concert or something. these are the kinds of shoots i need as an artist. i love every instance where i get to do what i love, but it is extra special when i get to collaborate with people i truly admire and bring out the best in me.
ATLANTA CREATES // Buffy Dekmar Photography
My dear friend Buffy of Buffy Dekmar Photography has initiated a project called “Atlanta Creates" to build creative community and share the faces and personalities behind creative businesses in Atlanta. Buffy is a favorite photographer among brides and families. She has such a gift to capture beauty and love in a photo. And as a makeup artist, I am OBSESSED with how beautifully she photographs people because she has a way of making skin look so gorgeous, smooth and glowy. mmmmm!
I am a lucky gal to be the first of 52 posts features on Atlanta Creates. Through my interview with Buffy, you'll get to know a bit more about me, my business and my personality. Stay tuned for more features spotlighting other creative folks!
Here is a direct link to my feature on Atlanta Creates on Buffy's blog.
Name and age: Claudia Rogers – 28 years old (Claudia Mejerle is my maiden name)
Current neighborhood: Poncey Highlands
Hometown: Dallas, Texas
What brought you to (or kept you in, or brought you back to) Atlanta?
The 1996 Olympics! Ok, not really. My family moved to Atlanta that year from Dallas, so getting to experience the Olympics in our new town was pretty cool. Fast forward several years, I went to The University of Georgia in Athens to study Advertising. Afterwards, I moved back to Atlanta for a big girl job in marketing. But now I am living my dream of being a makeup artist in Atlanta and anywhere else my job will allow me to travel.
How do you pay the bills? What is your “slash”?
Makeup artist / hair stylist / teacher / therapist…Through growing as a makeup artist/hairstylist, I realized I get to take on a few other roles. I looove talking products and techniques with clients, so I have kinda fallen into the role of “teacher” because I get to share my thoughts, knowledge and skills on hair and makeup with those who are interested. I have really enjoyed getting to teach others who love what I love! Now, about being a therapist…I love getting to know my clients beyond the surface and hear all that’s going on in their lives. Sometimes I get to hear about drama and offer my two cents. But I really love being there for brides who are in the midst of wedding planning and stress and offer any help or advice that I can. That season of life is one of the best, but it can also be the most emotional, and I love to be supportive and encouraging. I actually started out as a psychology major in school…maybe I should have stuck with that ?
What do you create?
I get to create outer beauty which translates to confidence and joy. Women look their best and radiate when they feel like the best version of themselves, so like to accentuate their favorite qualities and characteristics instead of masking their flaws.
What do you collect?
Makeup! Makeup makeup makeup. I have always loved buying and experimenting with cosmetics and finding new favorites. Now that I am a makeup artist professionally, I can justify my obsession a bit more. “It’s for the biz,” I have to remind my husband when I present him a mile long receipt from my latest purchase.
Your favorite artist now and as a child:
Monet was a favorite when I was growing up. I always loved the softness and imperfection of the shapes and lines in his work. I minored in art history in college (ok, I was one class short of a minor) and studied Monet more closely than just looking at my Monet calendar that I had posted on the back of my closet door as a 7 year old. But I continued to gravitate toward impressionist artists and Paul Cezanne became a favorite. I feel like my work as a makeup artist reflects my love for impressionism because of my soft and sheer approach. Today, I often look to art for inspiration to see different uses of colors an light. That near-minor in art history has really paid off!
Last memorable home-cooked meal:
Oh man, the last memorable home-cooked meal I ate was definitely home-cooked, but not by me. It was one of the most beautiful dishes I have ever seen, prepared by our sweet friend Jamie and her chef hubby, Jason. They also cook amazing meals for this thing called Homespun. If you don’t know about it, you need to!
A favorite local business:
Hmmm nearly every favorite local business is more than likely a restaurant. Probably a sign that my husband and I enjoy eating a lot. Local Three is a favorite just because we have spent many a date nights there sipping delicious cocktails and trying everything on the menu.
Favorite way or place to unwind:
The mountains are my happy place. Really, any kinda natural beauty chills me out.
If you were a color in the biggest crayola box, which would you be?
I love any variation of blue. I love greeny blue, purple-y blue, blueish gray, midnight blue, turquoise, mint … but if I had to choose a color from a box of crayons, I would have to go with Blue Green. That was my favorite as child. Think I actually would steal that color from boxes and hide them.
Latest great adventure:
The last few years of growing my business have been an adventure. I left my “real job” in corporate America to pursue my dream of being a makeup artist in 2010. There has been a ton of unknowns in the process, but it has been so much fun navigating this owning my own business thing. I highly recommend quitting your job and doing what you love.
Favorite US city? Favorite international city? (And why?)
Seattle is my happy place. I have a lot of precious family and friend memories spending time there in the summers since my grandmother got a house on the Puget Sound. So much beauty in and around that city. Brad and I hope to live there one day.
What occupation did you want to do as a child?
I wanted to be a teacher when I was a child. But it was probably because I have two younger siblings who I would play “school” with and I l just loved being in control of the class.
What is your favorite dessert?
Definitely creme brulee. And Krispy Kreme Doughnuts. Oh, and vanilla Blue Bell ice cream. And I don’t hate bread pudding…
What is your favorite artifact, heirloom, or art piece in your home?
My new favorite piece of art hanging on our wall at home is a painting by the incredible Britt Bass (brittbass.com). I love color and texture and this piece is all about both. It’s so hard to chose just one of her paintings so I know this won’t be the last.
What song do you love most (or what’s on your playlist now)?
I love Fleet Foxes. If I could only listen to one album the rest of my life, it would be their latest album, Helplessness Blues.
What are some of your favorite websites?
One of my favorite makeup artists that I look to for inspiration is Lisa Eldridge, an artist based in the UK. She is known to make up faces of hundreds of stars and models all over the world, but she has an amazing talent for educating other makeup artists. She does outstanding tutorial videos if you’re ever wanting to learn a thing or two about makeup: lisaedridge.com
Concerts or museums?
Oh man, I love both. But if i had to choose, I would say concerts. I especially love live music in smaller venues because I enjoy the more intimate feel. There is something so inspiring to me to see musicians live creating their art. One of my favorite musicians is Josh Ritter, who is the most incredible performer. Joy just radiates from him and I hope that’s how I am when I create my art.
Sweet or savory (or your favorite brunch menu item)?
Sweet! Unless it’s chips and salsa.
Favorite dog breed:
yellow english labs. the best.
dreamy summer farm wedding
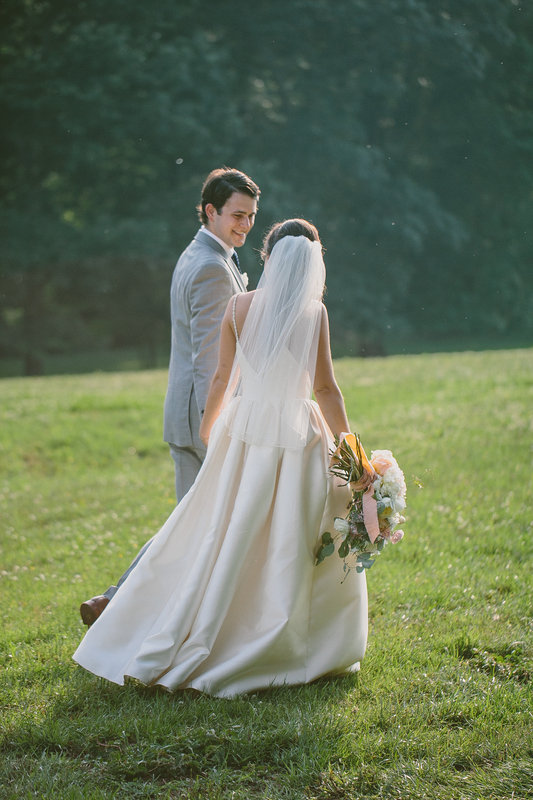
it was such an honor to get to work with my sweet friend, Britt Bass on her wedding day this summer. it's always special to be trusted by a friend to doll them up on one of the biggest days of their life. now, if you don't know Britt, you need to. she is first of all, one of the kindest gals i know. but you should also know her because she is one of the most talented artists i know. if you love color, texture and shape, you will looove her paintings. i am lucky enough to have a couple of her works, and i know they aren't the last i will be acquiring.
anywho, back to Britt and Ren's wedding...wow, what a picture of love and joy. i spent the day with Britt and her family and sweet girl friends and the whole time i was working, i kept thinking, "gah, i can't believe this is my job." i felt so blessed to get to do what i love for a living and then every once in a while get to work with such a lovely group. i was also giddy to work with Britt because she wanted to do a look that was slightly outside the usual wedding day hair and makeup requests. we did some variation of a low ponytail that was really interesting in the back. and then she requested a red lip which is totally "her." but the thing that was so great about working with Britt was she was the kind of dream client that just trusts me and let's me do my thing. nothing is more inspiring and flattering than that.
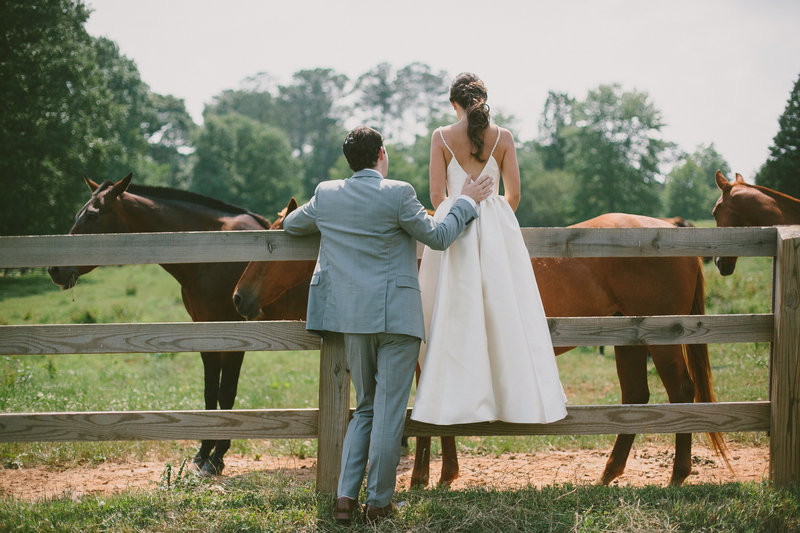
another happy piece of Britt and Ren's wedding day was getting to work with my photographer friend Paige Jones and her sweetie, Michael. these two make an incredible team and the images prove it. these are some of my favorite wedding photos.
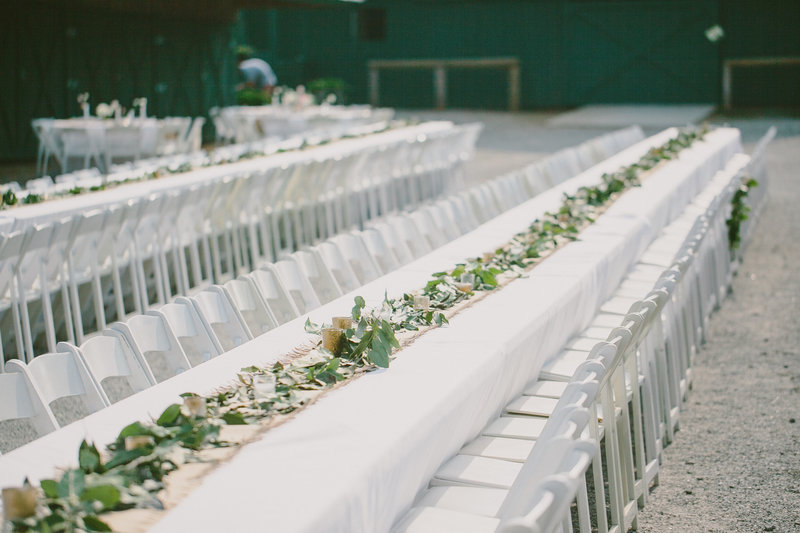
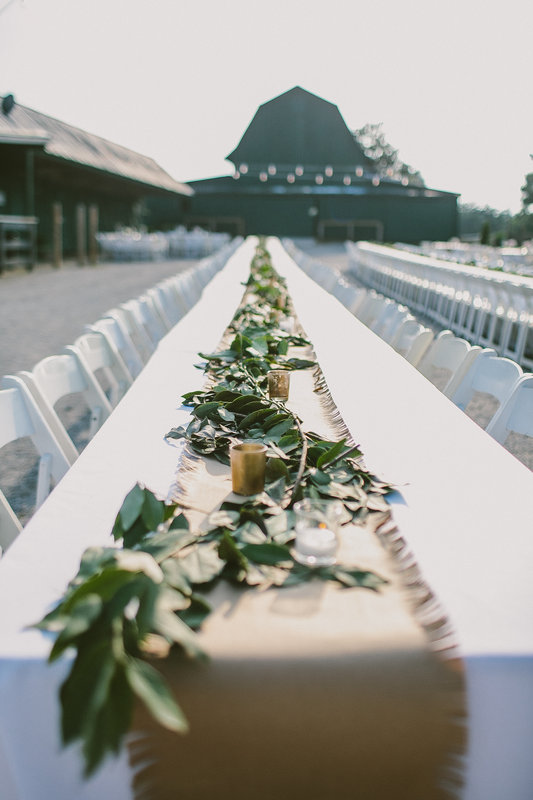
my husband and i got to attend the wedding and reception too which took place at a polo club near where i grew up outside Atlanta. Chukkar Farms is beautiful. as you will see in photos, it is the setting for a dream wedding. wide open space with beautiful views. rolling hills. and horses!! it was also so fun for us to attend the wedding to see the beautiful works of my sister, Meredith Mejerle. Meredith has had the joy of getting to learn from and work with the event and floral design genius Amy Osaba over the past year. this was Meredith's first wedding getting to lead the creation of arrangements and bouquets and set up. i was in awe of how beautiful everything looked. Mere did gooood. she sure is a talented lil' lady, but she sure has had an amazing teacher, that Amy. :) it is so fun when Meredith and i get to be involved with the same wedding!
yesterday, this stunning wedding was featured on Southern Weddings! horray! so enjoy looking at more of the beautiful images shot by Paige Jones and learning more about the sweet couple, Britt and Ren.
favorite tanners
This past weekend, I went to Miami with some gals to celebrate a dear friend's upcoming wedding. Approaching the weekend, I knew there would be a lot of swimsuit wearing and picture taking. I know this sounds insecure and ridiculous, but I was kinda dreading the swim suits and photos because the majority of these friends are the opposite of me: tan. And they aren't a damaged, leathery tan. They're the kinda tan that makes you look smooth, healthy and toned. (Ok, maybe they are that too.) So, I knew baking myself prior to the trip wasn't an option because A.) there's no chance of me getting dark even if i lived in a tanning bed B.) it's probably not the smartest thing for my fair skin.
Sooo fake tan to the rescue!! I have always been a fan of tanning alternatives since they came out when I was in middle school. Somehow the dirty palms and joints (ankles, knees and elbows) were better than being pale. But luckily, tans from a bottle have improved dramatically over the years. I'm most excited because I recently found one that doesn't smell like burning flesh and the color looks great! I had great luck with the L'Oreal Sublime Bronze sunless tanning lotion in "medium". I applied it every other day the week before my trip and had great results. I didn't smell filthy and the color looks totally believable. Success! I didn't have to look sickly next to my friends!
I also have to note 2 other favorite products that I recommend to fellow fair friends that beautifully warm up the skin.
2.) Ben Nye Bronzing Body Tint - This was a recent find. I thought, I can't possibly like anything as much as my Sally Hansen Leg Makeup, but boy, this stuff sure does the trick. It looks like soy sauce in the bottle because it's a very dark liquid. I would recommend transferring the product to a spray bottle for easier, more controlled application. Unlike the Sally Hansen product, it is sheer in that it doesn't cover the skin like a makeup. It's kinda like it stains the skin, so you won't cover skin imperfections or freckles. It just gives a beautiful glow to the skin! And it is also water resistant.
1.) Sally Hansen Leg Makeup "Airbrush Legs" - Oh my gosh, this stuff is one of the best things to come out of a drug store. My best friend and I are huge fans of this product. It's excellent to use all over your body, but I especially love it for my legs. I have a never-ending battle against razor-burn, and this "leg makeup" evens out any redness and skin imperfections I may have. And great news: it's water resistant! You can totally get away with wearing it at the beach or pool. I actually will make a little concoction of the product and sunscreen when I plan to be in the sun.

